Every prepper should carry a compact sewing kit with heavy-duty needles, strong thread, patches, scissors, and safety pins. The most useful survival sewing skills are backstitch, running stitch, whip stitch, patching, and seam reinforcement for repairing backpacks, tents, clothing, and straps in the field.
Key Takeaways
- Build a compact kit with 3-5 heavy needles, bonded nylon thread, patches, repair tape, and seam sealer.
- Learn four stitches: running, backstitch, whip, and ladder; practice until confident in low light.
- Overlap strap repairs by multiple rows and add diagonal cross-stitches to distribute load at stress points.
- Extend tent patches 1/2 to 1 inch beyond damage, round the corners, then seal needle holes with seam sealer.
- Run 20-30 minute practice sessions: thread needles, sew running and backstitches, then attach a patch with whip stitch.
Survival Sewing Skills: Master Gear Repair on the Trail
TL;DR
- Survival sewing skills are the basic stitches, tools, and repair methods to keep shelters, packs, clothing, and straps functional in the field.
- Carry a compact kit: heavy needles, bonded nylon or polyester thread, waxed thread or dental floss, small snips, safety pins, patches, repair tape, and a thimble.
- Learn a few stitches: running, back, whip, ladder. Practice patching and reinforcing seams.
Survival sewing skills let you repair torn tents, ripped pack seams, broken straps, and damaged clothing with minimal gear. A small kit and a handful of reliable stitches get gear functional fast and stop small damage from becoming a mission-ending problem.
Learning time varies by person.
What “survival sewing skills” means
- Practical techniques for functional repairs when replacements are not available.
- The goal is strength, waterproofing, and load-bearing capacity, not cosmetic perfection.
Why these skills matter
- Keep essential gear working so you can move and stay sheltered.
- Prevent small failures from becoming critical problems.
- Maintain mobility when resupply is not possible.
- Make improvised repairs from scavenged materials.
Field sewing kit - checklist
Essential items:
- 3-5 heavy-duty needles, include one sailmaker/upholstery needle
- Bonded nylon or upholstery thread plus a polyester spool
- Waxed thread or dental floss as a backup heavy-duty option
- Mini snips or scissors
- 4-6 safety pins and a few small clips
- Pre-cut patches (ripstop nylon, canvas)
- Repair tape (Tenacious Tape or similar) and a small seam sealer tube
- Thimble or sailmaker’s palm
- Seam ripper or small multitool blade
- Extra buttons or snaps and a lighter for melting synthetic thread ends
- Optional: awl, needle-nose pliers
Packing suggestion (compact): needles, two small thread spools, one patch, mini snips, four safety pins, thimble, repair tape.
Best materials for field repairs
- Bonded nylon/upholstery thread: highest strength for straps and load points.
- Polyester thread: general-purpose; resists UV and moisture.
- Waxed thread or dental floss: excellent temporary heavy-duty stitch material.
- Ripstop nylon patches: ideal for tents and lightweight shells.
- Canvas or heavy cotton: good for packs and durable clothing.
- Repair tape and seam sealer: restore waterproofing or act as fast temporary fixes.
Quick fixes: priorities and common repairs
Prioritize repairs in this order: function, strength, speed, waterproofing.
Repairing a torn backpack seam
- Empty the pack and remove tension from the seam.
- Trim loose threads and inspect the fabric under the seam.
- Use a heavy needle and bonded nylon or polyester thread; knot the end.
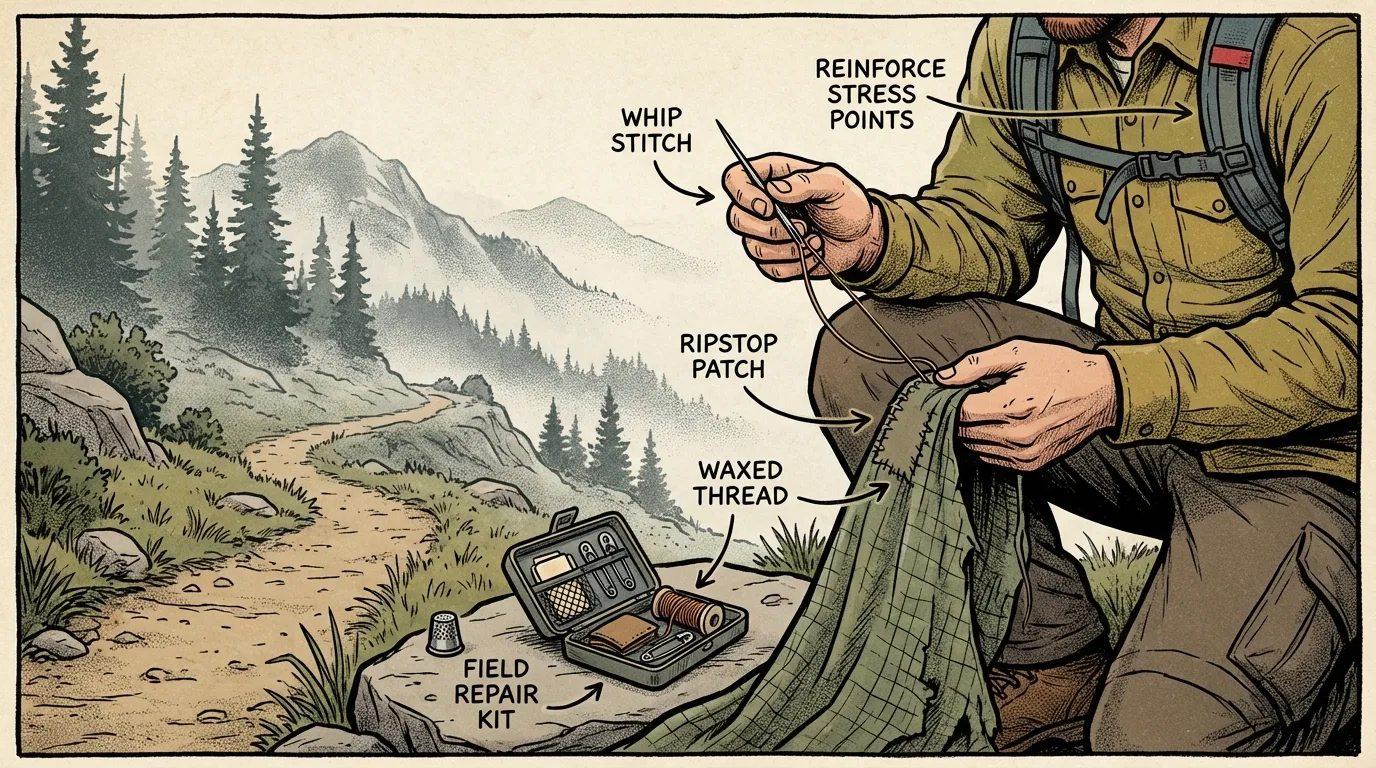
- Align edges and sew a backstitch along the original seam.
- Add a second row or an X-box where the strap joins to spread load.
- Tie off securely and add a backing patch if the fabric is weakened.
Tip: Multiple rows plus diagonal cross-stitches at strap attachments increase strength. Try two parallel rows and an X-box at the load point.
Patching a tent tear
- Clean and dry the area as best you can.
- Trim ragged edges and round patch corners.
- For small holes, apply repair tape on both sides.
- For larger tears, sew a ripstop patch with a whip or running stitch, then apply seam sealer to cover needle holes.
Needle holes perforate fabric. Always combine sewing with seam sealer or tape for waterproofing.
Fixing torn clothing
- Lay fabric flat and determine seam split versus fabric tear.
- For seams, backstitch along the original line.
- For tears, place a backing patch and secure with whip stitch or backstitch.
- Reinforce high-movement areas like knees and elbows with extra stitching or durable patches.
Temporary options: safety pins or a quick stitch with dental floss can hold until you can do a stronger repair.
Repairing straps, webbing, and loops
- Overlap damaged ends when possible.
- Sew multiple rows across the overlap with bonded nylon or waxed thread.
- Add diagonal cross-stitches to disperse loads.
- Test under light load before trusting with heavy weight.
If the webbing core is shredded, field repairs are temporary. Plan to replace the section.
Stitches to learn (when to use them)
- Running stitch: fast, for low-stress temporary fixes and basting.
- Backstitch: strong and durable; best for seams and load-bearing repairs.
- Whip stitch: good for attaching patches and closing raw edges.
- Ladder (invisible) stitch: neater for clothing repairs but not as strong for load points.
Practice until you can make even stitches in low light or under stress.
Patching and reinforcement rules
- Use a patch larger than the damage. Overlap 1/2” to 1” for light fabrics; more for heavy ones.
- Round patch corners to reduce peeling.
- Stitch into solid fabric beyond the tear edges, not only into frayed material.
- Add a second line of stitching or a backing patch at high-stress points.
- After sewing a tent patch, apply seam sealer to restore waterproofing.
Practice plan (20-30 minute session)
- Thread needles and tie secure knots.
- Do several lines of running stitch on scrap fabric.
- Practice a backstitch along a seam.
- Attach a patch with a whip stitch.
Repeat sessions to build speed and confidence.
Safety and common-sense tips
- Use a thimble or palm to push needles through thick fabric and protect fingers.
- Keep needles secured when not in use.
- Do not rely on sewing for critical life-safety equipment like life jackets without proper materials and testing.
Sewing’s role in survival and preparedness
Short-term fixes keep you moving and sheltered. Long-term, sewing extends gear life, enables repurposing, and reduces reliance on spares. A torn tent seam or failed pack seam can become a serious hazard. Timely repairs often prevent emergencies.
FAQ: survival sewing skills (short answers)
Q: What basic tools should a prepper carry? A: Heavy-duty needles, bonded nylon or polyester thread, waxed thread or dental floss, mini snips, safety pins, thimble, patches, repair tape, and seam sealer.
Q: How do I repair tents and keep them waterproof? A: Sew a patch for strength, then apply a silicone- or urethane-based seam sealer and repair tape to cover needle holes.
Q: What stitches are most useful in the field? A: Running for speed, backstitch for strength, whip stitch for patch edges. Learn extra rows and cross-stitch reinforcement for load points.
Q: Can beginners learn these skills quickly? A: Yes. Basic stitches and simple patching are learnable in a short session. Competence comes from regular practice.
Q: Buy a premade kit or build your own? A: Both work. Premade kits are convenient. Custom kits let you choose heavier materials to match your gear.
Final note: carry a compact kit, practice reliable stitches on scrap materials, and make gear maintenance part of your routine. Function matters more than looks on the trail.
The Complete
Prepper's Reference.
149 articles synthesized into one comprehensive PDF — twelve chapters covering water, food, shelter, first aid, comms, and scenario-specific preparedness. Free with your email.
Unsubscribe anytime · We never share your email
You're in. Check your inbox.
Keep Reading
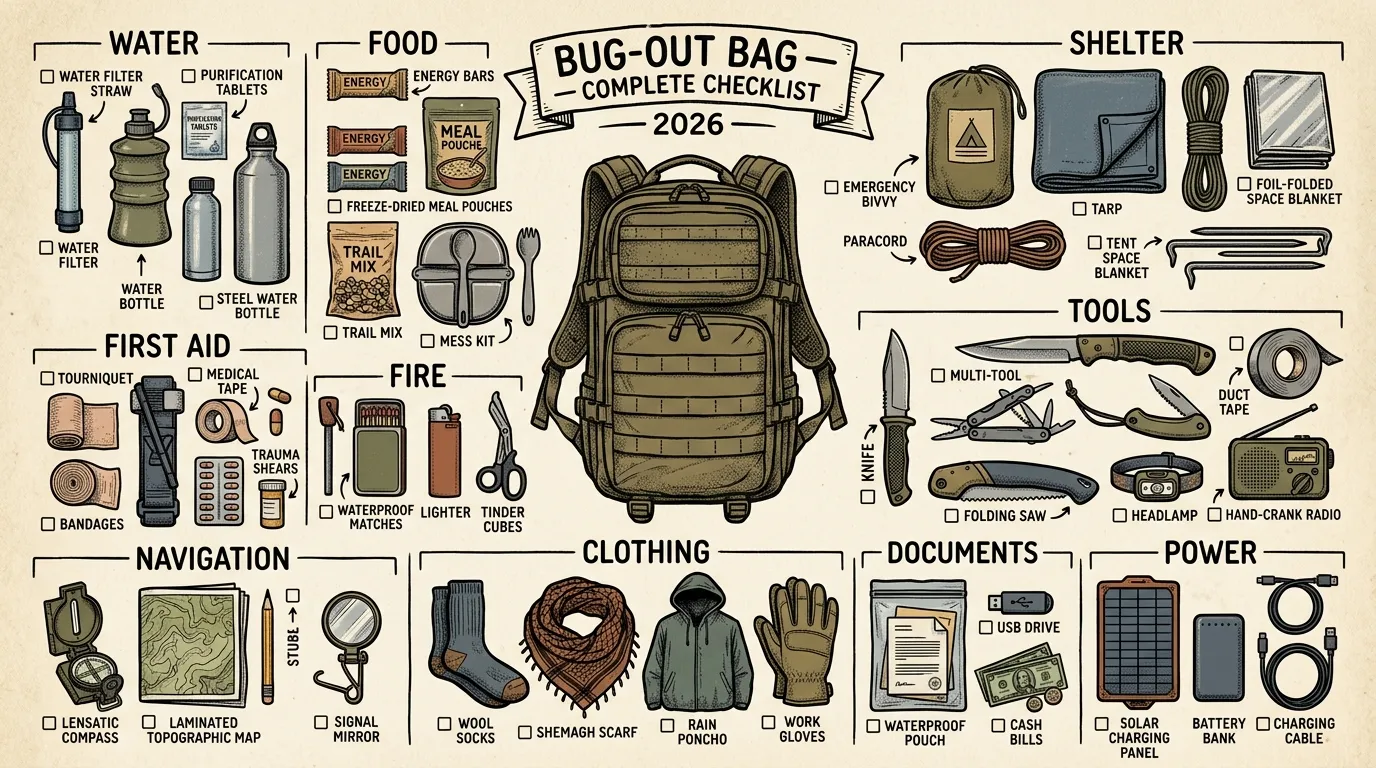
Bug-Out Bag List: Complete Checklist by Category (2026)
Field-tested bug-out bag list with 8 survival categories, weight budgets, and a 3-tier priority system. Printable checklist included — start packing today.
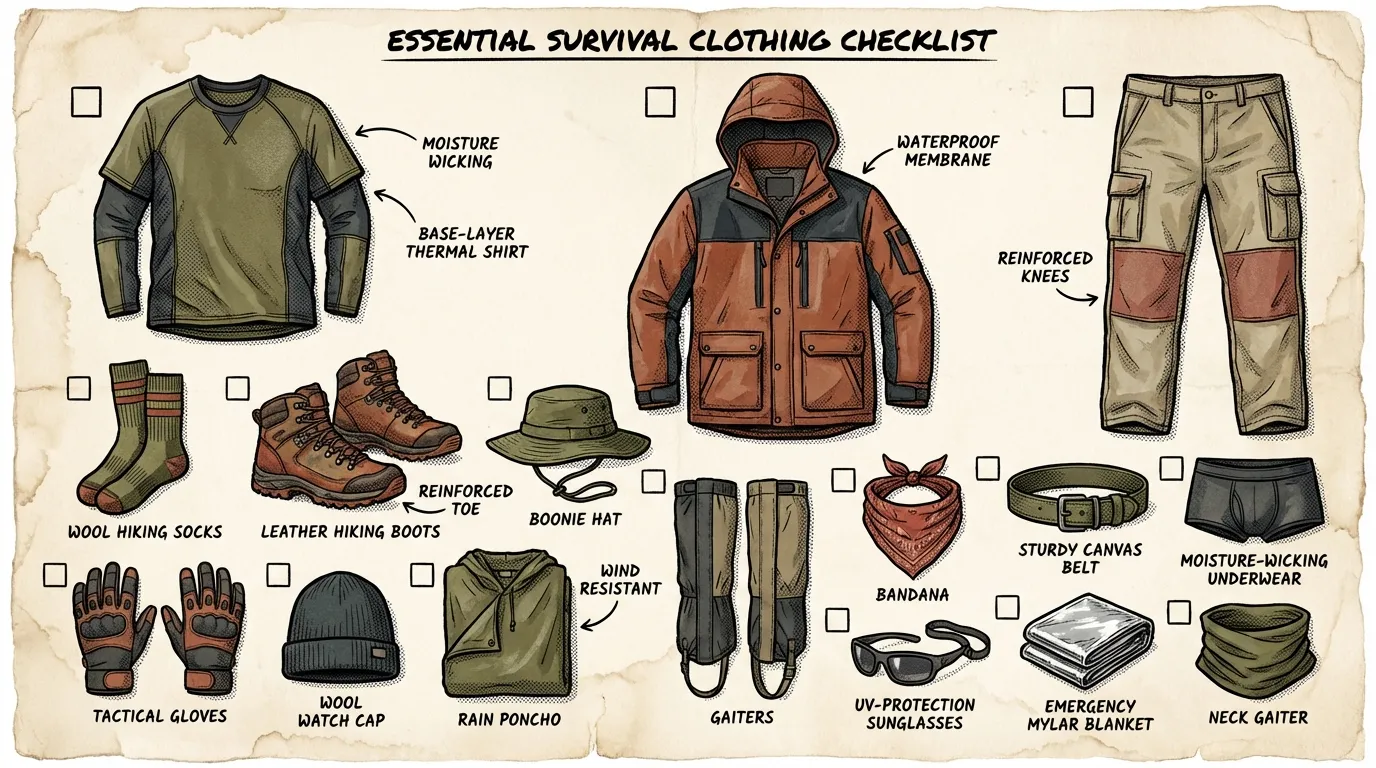
Survival Clothing: Dress for Success When Disaster Strikes
Learn how to choose survival clothing for cold, hot, and wet conditions, with practical layering tips, fabric advice, and beginner-friendly gear picks.
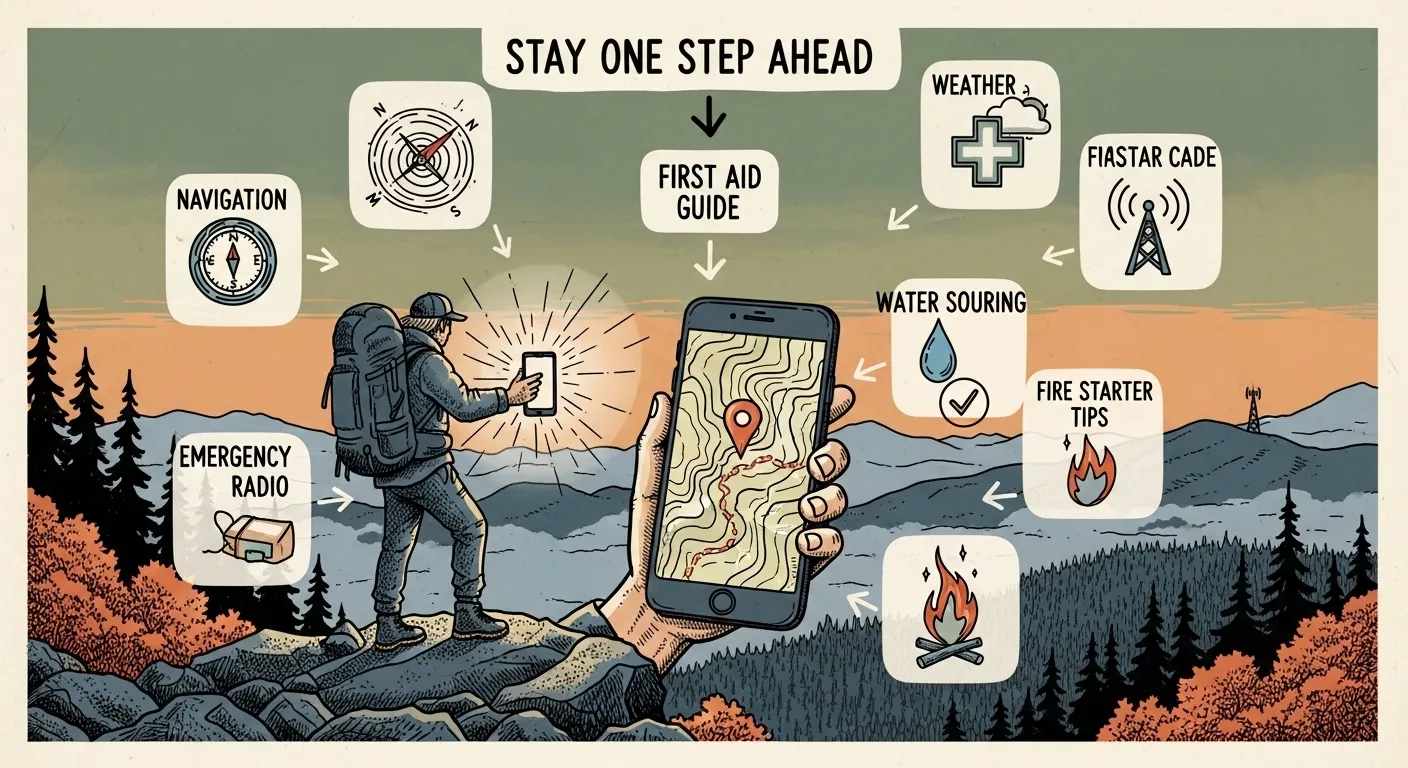
The Best Prepper Apps to Keep You One Step Ahead
Discover the best prepper apps for alerts, navigation, first aid, food, water, and communication so beginners can prepare smarter.