The best tents for emergency shelters prioritize fast setup, waterproofing, durable materials, strong poles, and enough space for both people and gear. For new preppers, reliable options include the REI Co-op Base Camp, MSR Elixir, ALPS Mountaineering Lynx, Coleman Sundome, and Kodiak Canvas Flex-Bow depending on budget and use case.
Key Takeaways
- Size up one tent category from the label — two adults with packs need a 3- or 4-person tent, not a 2-person.
- Require a hydrostatic head of 1,500-3,000 mm plus taped seams and a bathtub floor; HH alone doesn't keep you dry.
- Choose aluminum or DAC alloy poles over fiberglass — they flex instead of snapping and you can splint them in the field.
- Practice pitching your tent in the dark and in wind until you can do it in under 10 minutes without reading instructions.
- Inspect seams, poles, zippers, and coatings every 6 to 12 months, and rotate your emergency tent into actual camping trips so problems show up before a disaster does.
Best Emergency Tents: How to Choose Fast-Setup, Weatherproof Shelter
I’ve pitched tents in a lot of bad conditions over the years — sideways rain on the Olympic Peninsula, 20-degree windchill in the Cascades, and more than a few 2 a.m. emergency setups during search and rescue callouts. The tent that looks great in a sporting goods store aisle isn’t always the one you want when you’re cold, tired, and your hands don’t work right anymore. This guide is built from that experience, plus my FEMA training and years as a Wilderness First Responder, to help you pick shelter that actually performs when it counts.
Quick Summary
- Prioritize setup speed you can hit under stress — 2 to 10 minutes, not “10 minutes if everything goes perfectly.”
- Demand a full rainfly, taped or welded seams, and a bathtub floor; hydrostatic head numbers alone don’t keep water out.
- Buy aluminum or DAC alloy poles over fiberglass — they’re field-repairable and won’t shatter in cold weather.
- Size up one tent category from the label. A “3-person” tent fits three people with zero gear, which is basically never your situation.
- Match tent weight and durability to how you’re actually deploying it: vehicle camping, foot-mobile bug-out, or long-term basecamp.
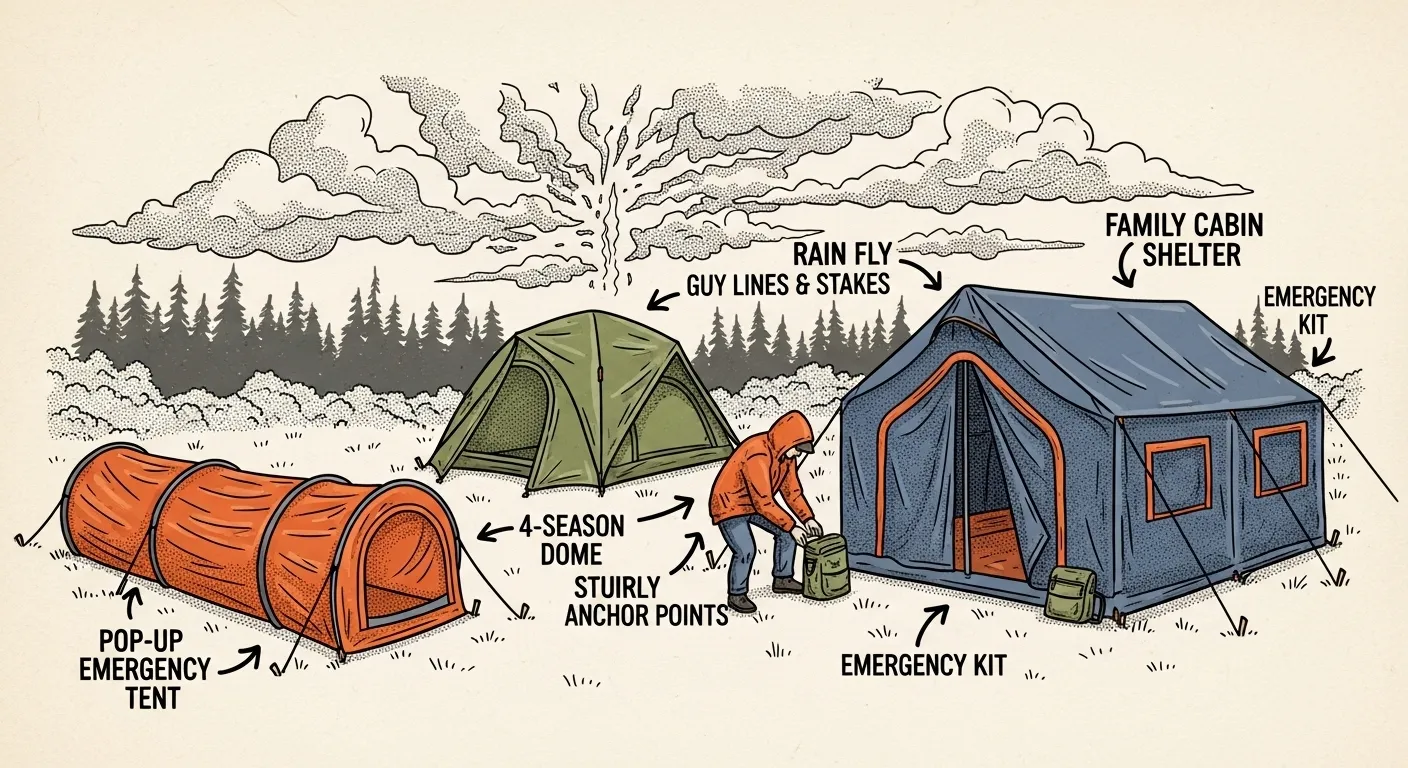
What Counts as an “Emergency Tent”?
An emergency tent isn’t a special category of gear you’ll find labeled that way at REI. It’s any shelter that meets a specific bar: fast to deploy, genuinely waterproof, and roomy enough for people plus the gear they’re carrying. That’s it. A backpacking tent, a family car-camping dome, and a canvas basecamp tent can all qualify — the question is whether it matches your plan.
What doesn’t qualify? Anything that takes 30 minutes to figure out on a good day in your backyard. If you can’t set it up fast when you’re calm and well-lit, you definitely can’t when you’re not.
A wildfire evacuation order comes through at 2 a.m. You’ve got ten minutes to load the car. The tent you grab needs to go up later that night, in the dark, possibly in wind, without you fumbling through a instruction booklet you’ve never read. This is the actual test every emergency tent needs to pass.
What to Look for in the Best Emergency Tents
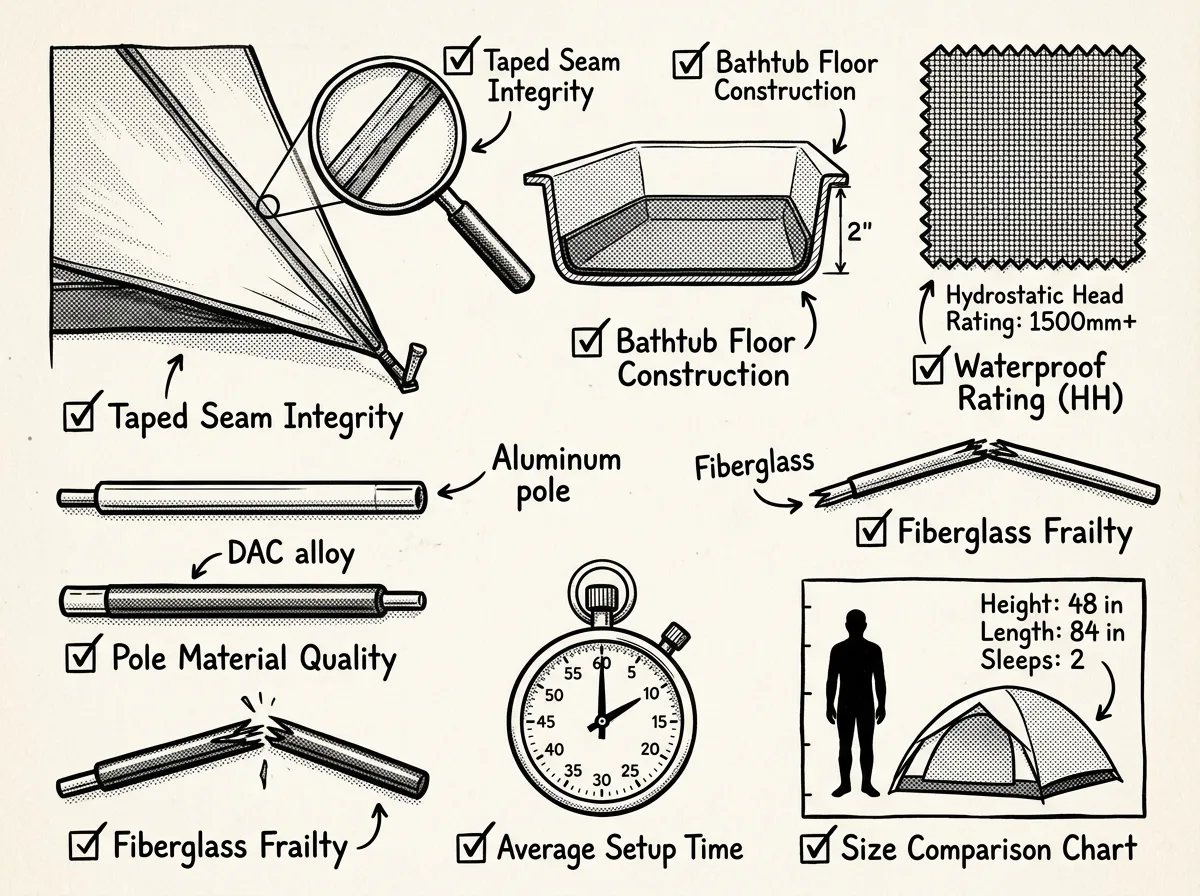 Key features checklist for emergency tent evaluation
Here’s the shortlist I run through every time I evaluate a tent for emergency use, whether I’m testing gear for a review or restocking my own kit:
- Setup speed: 2-10 minutes with practice
- Full rainfly with taped or welded seams
- Bathtub floor design
- Aluminum or DAC alloy poles
- Mesh panels and vents for condensation control
- Sized one category up from realistic occupancy
- Ripstop nylon or polyester with PU/silicone coating and DWR
- 3-season rating minimum; 4-season if winter is in your plan
- Spare parts availability and field-repairability
Specs change model to model and year to year, so always cross-check current numbers against manufacturer spec sheets before you buy. What doesn’t change is the underlying logic behind each item on that list.
Why Shelter Matters More Than People Think
Here’s something I saw constantly during my WFR training and in the field afterward: people underestimate how fast a wet, unventilated shelter turns into a medical problem. Hypothermia doesn’t need a blizzard — it needs wet clothing, wind, and a few hours. A leaking tent or one that traps condensation checks both boxes.
On the other end, poor ventilation in warm climates creates its own misery — condensation soaking your sleeping bag, humidity making sleep impossible, and in a Gulf Coast summer, that moisture doesn’t go anywhere fast. Dry, ventilated shelter is one of the first priorities emergency responders and relief organizations name after any disaster, and there’s a reason for that. It’s not comfort. It’s survival math.
A tent that leaks isn’t shelter — it’s just a wet room with walls.
Key Features and How They Actually Behave
Size: Buy for Reality, Not the Label
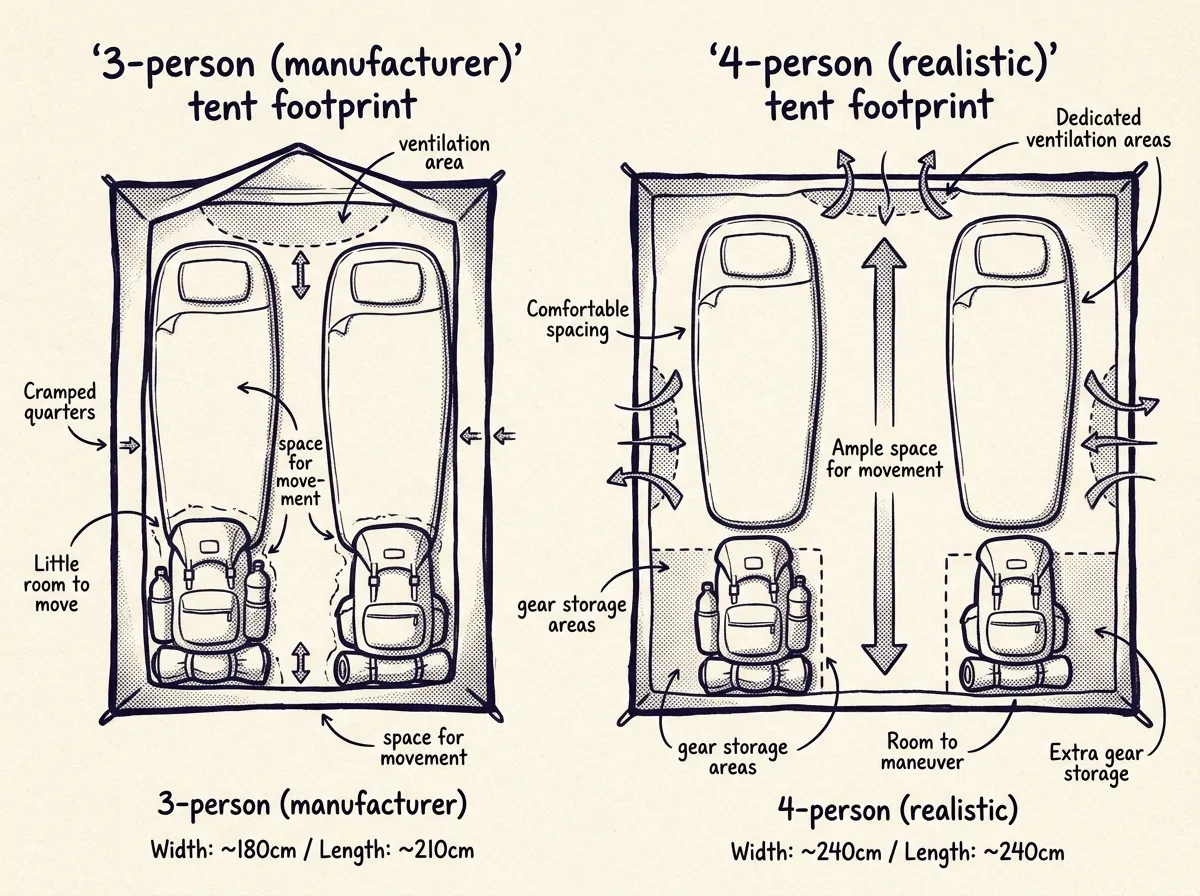 Realistic tent sizing with gear and two occupants
Manufacturers label tents with an optimism I don’t share. A “3-person” tent fits three compact sleepers shoulder to shoulder with zero gear inside — no packs, no boots, nothing. I’ve watched people make this mistake constantly: they buy a 2-person tent for two adults, then discover on night one that there’s no room for anything except their bodies.
Size up one category. Two adults with packs generally need a 3- or 4-person tent to have room to actually move and store gear where it stays dry.
Weight and Portability: Match Your Actual Plan
If you’re bugging out on foot, weight is everything — every extra pound is a pound you’re carrying for miles. If you’re vehicle-based, weight barely matters and durability wins instead.
Match the tent to the plan, not the other way around. A bug-out bag built around a 12-pound canvas tent defeats the purpose of packing light.
Materials, Coatings, and What the Numbers Mean
Denier measures fabric toughness — higher denier resists abrasion better, which matters if you’re pitching on rocky or brushy ground. Ripstop weave limits how far a small tear spreads before you can patch it.
Hydrostatic head (HH) is the number most people fixate on, and it’s useful but incomplete. It measures how many millimeters of water pressure the fabric can withstand before leaking. A rating of 1,500 to 3,000 mm is common on quality tents; go 3,000+ mm if you expect sustained heavy rain, like a Pacific Northwest atmospheric river event.
I’ve had customers tell me their tent has a “great waterproof rating” and then complain it leaked. Almost every time, the problem wasn’t the fabric — it was untaped seams or a floor that wasn’t raised into a bathtub shape. HH numbers get all the marketing attention, but seam construction is what actually determines whether you stay dry. Don’t buy on HH alone.
Weather Resistance and Ventilation
A full-coverage rainfly that extends well past the tent body, a raised bathtub floor, and mesh vents or panels are the trio that actually keeps you dry and comfortable. Reinforced stake loops and enough guy points matter more than people expect once wind picks up — I’ve had a cheap tent’s stake loops rip clean off in a 30 mph gust while a better-built tent next to it held fine.
Ease of Setup
 Pitching an emergency tent under realistic field conditions
Hub-style poles or pre-attached pole sleeves go up fastest — some of these tents pitch in under 3 minutes once you know the motion. Freestanding domes are the reasonable middle ground between speed and versatility. Tunnel and multi-pole designs give you more livable interior space but take longer and require more precise staking to stay stable.
Practice your setup in your backyard at night with a headlamp, ideally with a garden hose running to simulate rain. If you can pitch it calmly under those conditions, you can pitch it during an actual emergency.
Pole Materials
Aluminum or DAC alloy poles are what I recommend across the board. They flex under stress instead of snapping outright, and if one does crack, a simple pole splint sleeve fixes it in the field in under two minutes. Fiberglass poles are cheaper but brittle — I’ve snapped fiberglass poles in cold weather just from normal flexing during setup. Steel shows up on heavy canvas cabin tents where weight isn’t a design constraint, which is fine for basecamp use but useless if you’re moving on foot.
Season Rating
A 3-season tent handles rain, wind, and moderate cold just fine, and covers most emergency scenarios most people will actually face. Only step up to a 4-season tent if your preparedness plan specifically includes winter conditions — heavy snow loads and sustained high wind. A 4-season tent for a mild-climate emergency plan is overkill and extra weight you don’t need.
Top Picks by Scenario
Confirm current specs before buying — manufacturers update models regularly, and prices shift with supply.
- Coleman Sundome — Budget pick, generally under $100. Widely available, decent for fair-weather backup, but I wouldn’t trust it in sustained heavy rain.
- REI Co-op Base Camp — All-around family choice. Roomy, durable, and built to last, but it’s heavy — this is a car-camping tent, not a foot-mobile one.
- MSR Elixir Series — Good for mobility plans. Balanced weight and durability with straightforward setup, priced in the mid-range for backpacking tents.
- ALPS Mountaineering Lynx — Strong value, usually around $100-150. Aluminum poles and a full rainfly at a price that doesn’t feel like a compromise.
- Big Agnes Copper Spur HV UL — Premium lightweight, expect $400+. Very light with genuinely good livability for the weight class, but you’re paying for it.
- Kodiak Canvas Flex-Bow — Long-term basecamp option, typically $500+. Breathable canvas that holds up for years, but it’s heavy and it’s a two-person job to set up.
- Gazelle T4 Hub Tent — Fast vehicle-based setup, usually $300-400. Hub design goes up in minutes and the interior space is genuinely spacious.
If I had to keep one tent in my own emergency kit for a mixed-use plan — some vehicle-based, some short foot-mobile scenarios — it’d be the ALPS Mountaineering Lynx. It’s not the lightest, it’s not the most premium, but the aluminum poles and full rainfly at that price point punch way above what you’re paying. I’ve recommended it to more new preppers than any other tent on this list, and I haven’t had anyone come back disappointed.
Cheat sheet: Budget → Coleman. All-around family → REI Base Camp. Bug-out/mobile → MSR. Best value → ALPS. Premium lightweight → Big Agnes. Long-term basecamp → Kodiak. Fastest vehicle setup → Gazelle.
At-a-Glance Buying Checklist for Any Model
Run every tent you’re considering through this list before you buy — it takes five minutes and saves you from surprises later:
- Setup time (minutes): __________
- Packed weight (lb/oz): __________
- Hydrostatic head (mm) — fly and floor: __________
- Seam treatment: taped, welded, or none
- Pole material: aluminum, DAC, fiberglass, or steel
- Season rating: 3-season or 4-season
- Footprint included: yes or no
- Repair parts available: yes or no
- Practical interior dimensions (headroom/length): __________
How to Set Up Your Emergency Tent Like a Pro
The first time I tried to pitch a new tent design in the field without practicing at home first, it took me almost 25 minutes in light rain — embarrassing for someone with my training, but it taught me the lesson permanently. Practice isn’t optional. Here’s the sequence I teach:
- Choose flat, elevated ground away from drainage paths and dead overhead limbs
- Clear sharp debris and lay a footprint slightly smaller than the tent floor
- Spread the tent, assemble poles, and raise the structure
- Stake corners loosely first, then attach the rainfly before tightening everything down
- Guy out the rainfly, then place gear inside and confirm water will run away from the tent, not toward it
Pack a dedicated setup kit — stakes, a small mallet, extra guylines, a headlamp, a repair kit, and spare cordage — and keep it attached to the tent bag so you’re never hunting for pieces in the dark.
Maintenance and Storage
Dry your tent completely before long-term storage — every single time, no exceptions. Mildew sets in fast on packed-away nylon, and once it’s in the fabric, you’re not getting it back out. Clean with mild soap and water only; skip the harsh detergents and never run a tent through a washing machine, which breaks down waterproof coatings.
Inspect seams, poles, zippers, and coatings every 6 to 12 months, or after any heavy use. Store loosely in a cool, dry, dark place — not compressed into its stuff sack for years at a time, which stresses the coatings and creases the fabric permanently.
Keep a small repair kit on hand: seam sealer, fabric patches, spare stakes, a pole splint sleeve, and zipper lubricant. All told this costs maybe $20-30 and fits in a sandwich bag.
Rotate your emergency tent into actual use once or twice a year. A tent that only comes out of the bag during a real disaster is a tent you’ve never tested — and that’s exactly when you’ll discover the zipper’s stuck or a pole’s bent.
FAQ
What features should I prioritize? Waterproofing comes first — a full rainfly, taped seams, and a bathtub floor. After that, fast setup, durable poles and fabric, realistic sizing for your group, and ventilation that keeps condensation under control.
How do I choose the right size? Size up one rating category from what you think you need. Two adults with packs generally need a 3- or 4-person tent, not a 2-person, because the label assumes no gear and minimal movement.
What waterproof rating should I look for? 1,500 to 3,000 mm hydrostatic head covers most situations. Go 3,000+ mm if you’re expecting sustained heavy rain. Either way, confirm taped seams and a bathtub floor — the HH number alone won’t save you from a bad seam.
Are cheap tents okay for emergencies? For short-term, fair-weather backup, sure — a budget tent beats no tent. For repeated use or genuinely severe weather, spend more on proven construction. This is one category where the price difference usually reflects real durability, not just brand markup.
Tent or tarp shelter — which is better? Tents are easier to use correctly under stress and give you privacy plus insect protection, which matters more than people expect during multi-day scenarios. Tarps are lighter and more versatile, but they demand real rigging skill — not something you want to be learning for the first time during an actual emergency.
Verify Details Before You Buy
Tent models and specs change often, sometimes year to year on the same product line. Check current reviews and manufacturer spec sheets before purchasing, not just this article or any single source. For official shelter and safety guidance, FEMA and the American Red Cross both maintain current preparedness resources, and the National Weather Service is your best source for local hazard forecasting that should shape what kind of shelter you prioritize.
Final Steps: Pick and Practice
Review your evacuation or bug-out plan and think honestly about the conditions you’re likely to face — rain, wind, cold, or all three. Choose a tent that matches that scenario, not the one with the flashiest marketing copy. Then do a full practice setup this week, every component included, ideally somewhere with imperfect lighting.
Assemble your shelter accessories and repair kit at the same time. A great tent with no stakes or a stuck zipper you never noticed is still a failure waiting to happen. The gear only works if you’ve actually put your hands on it before you need it.
The Complete
Prepper's Reference.
149 articles synthesized into one comprehensive PDF — twelve chapters covering water, food, shelter, first aid, comms, and scenario-specific preparedness. Free with your email.
Unsubscribe anytime · We never share your email
You're in. Check your inbox.
Keep Reading
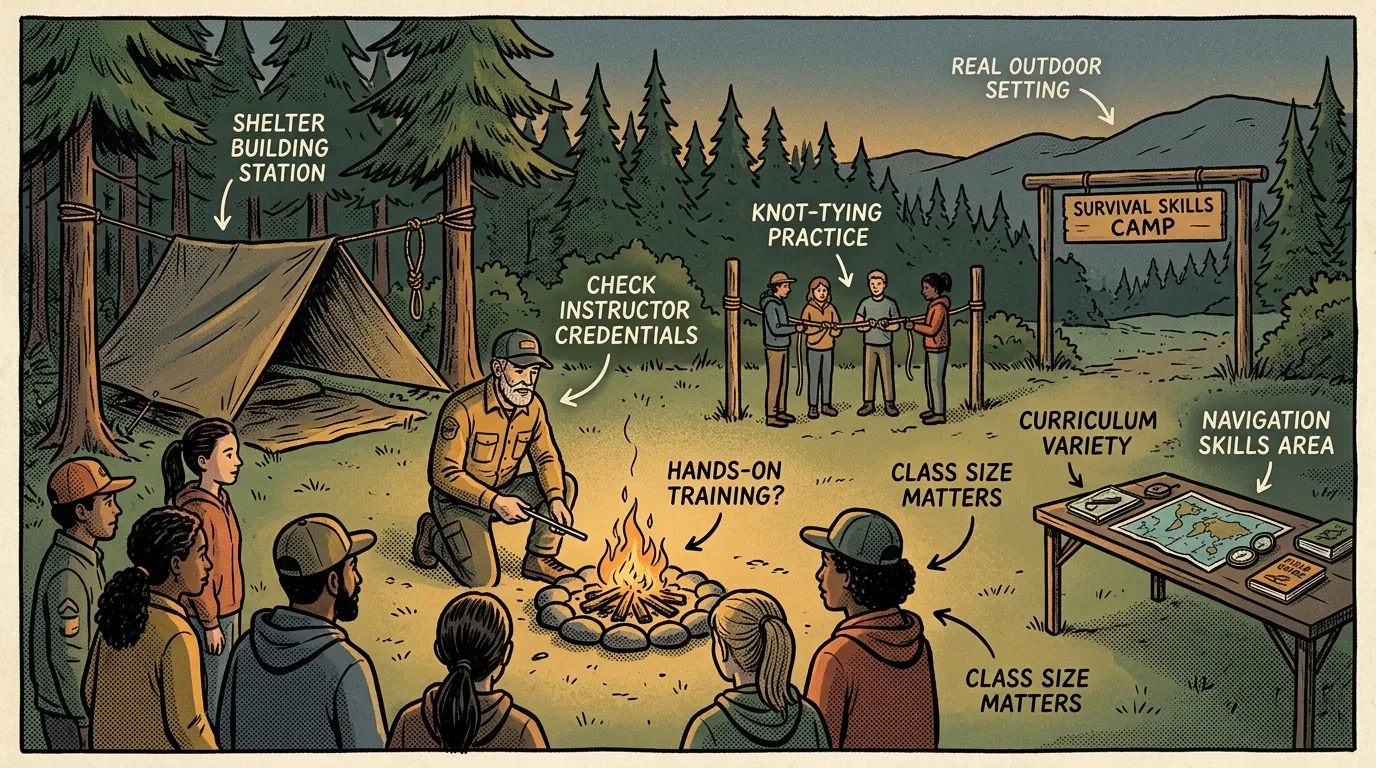
Survival Skills Camp: How to Choose the Right One
Choosing a survival skills camp? A Wilderness First Responder breaks down what to look for, red flags to avoid, and what real training teaches you.
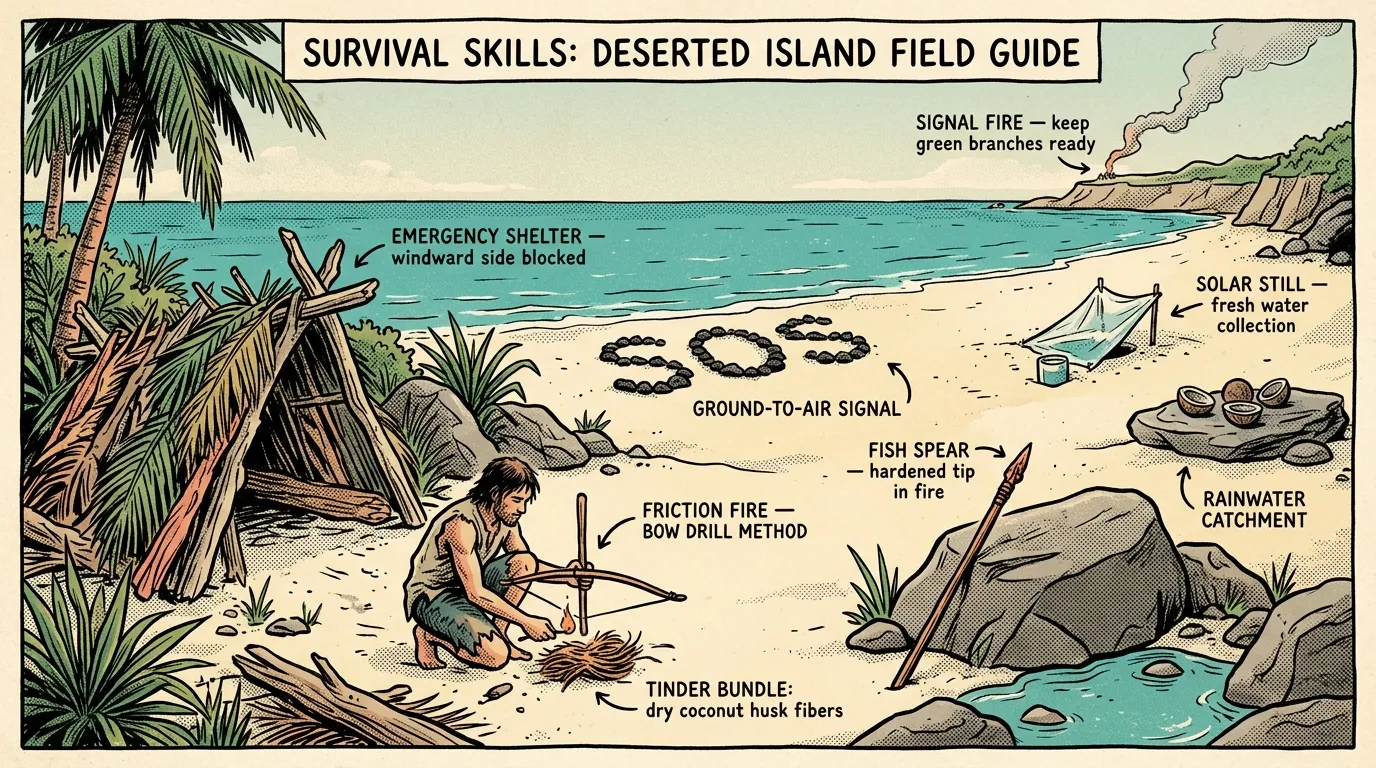
Survival Skills on a Deserted Island: Field Guide
Master survival skills on a deserted island — water, shelter, fire, food, and rescue signaling from a WFR with 12+ years of field experience. Start learning now.
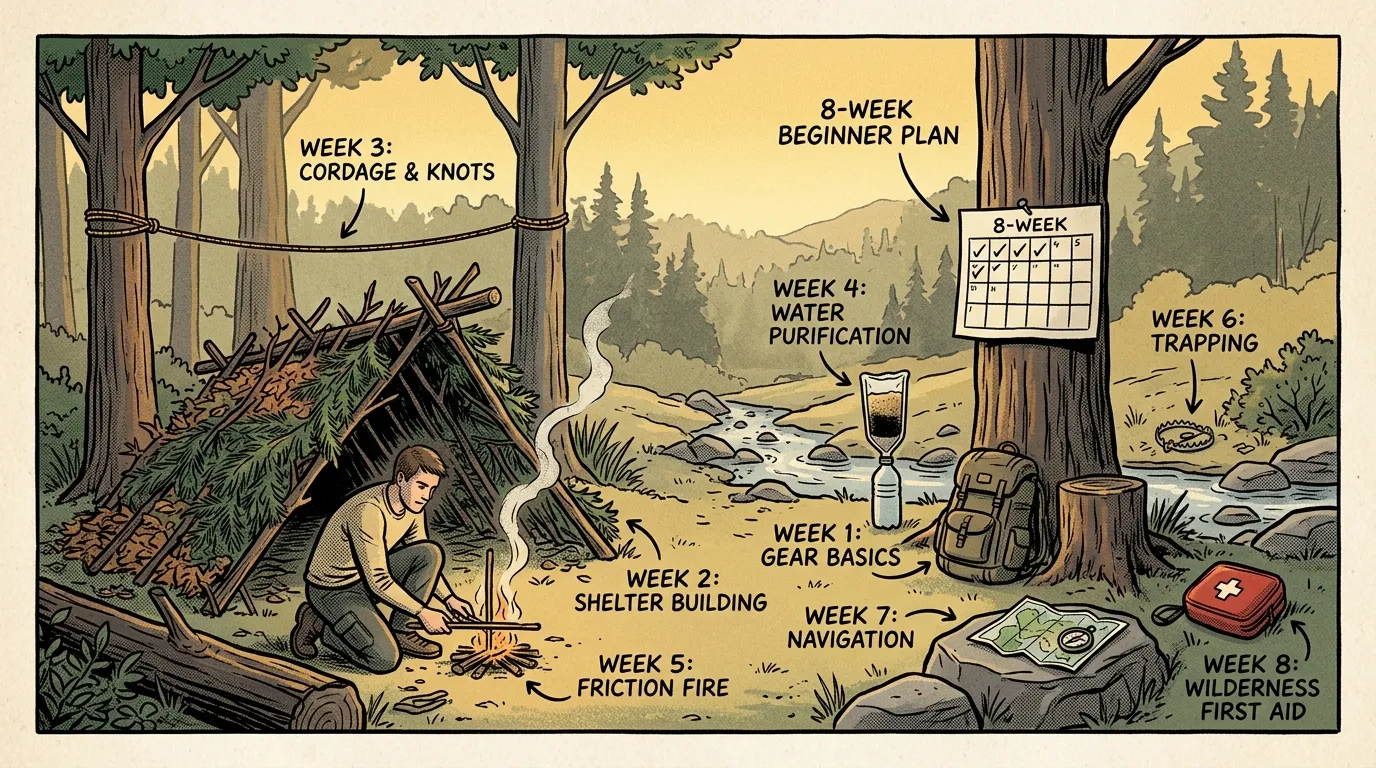
Survival Skills Training: 8-Week Plan for Beginners
Follow this 8-week survival skills training plan to master shelter, fire, water, navigation & first aid. Built by a FEMA-trained WFR. Start this weekend.