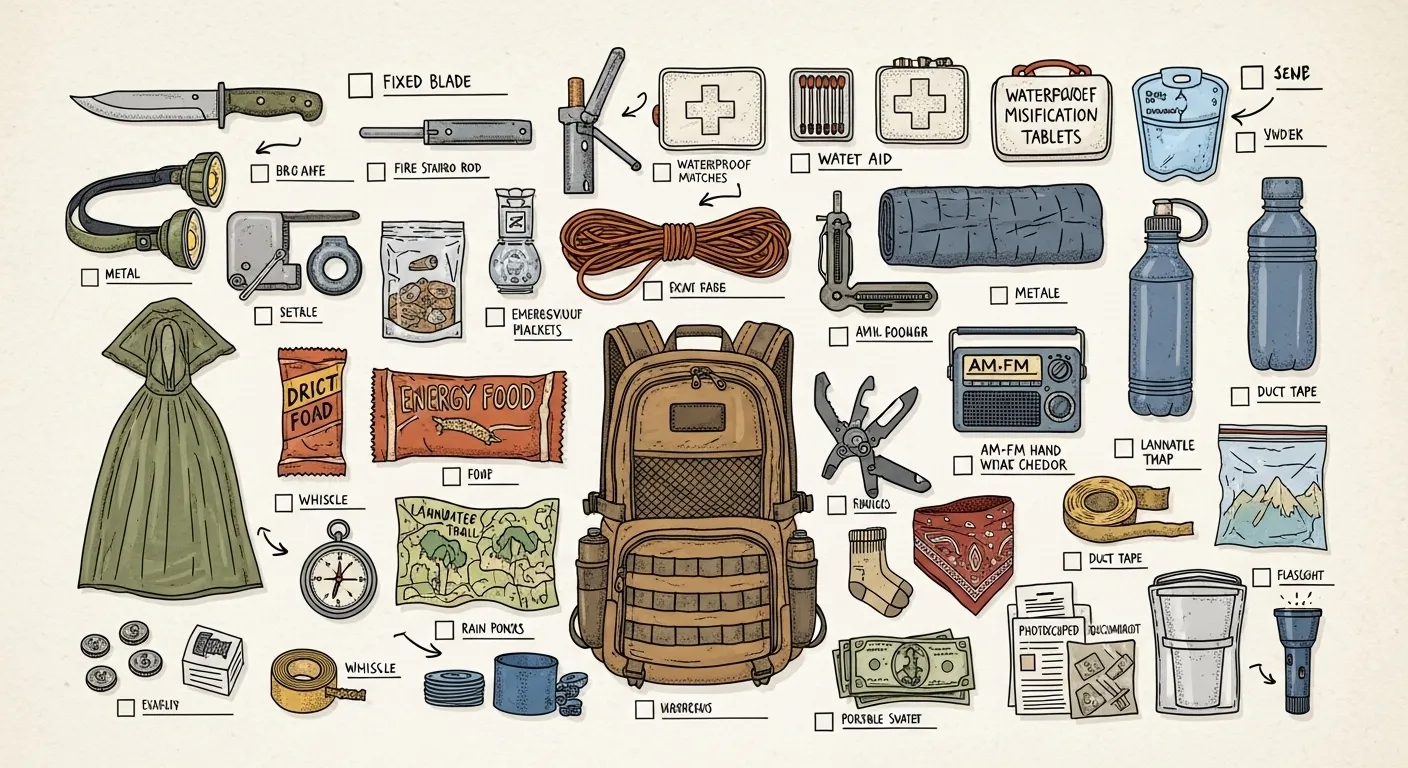
A bug-out bag is a grab-and-go emergency backpack with about 72 hours of essential supplies for evacuation or disaster scenarios. Beginners should pack water, food, first aid, shelter, clothing, lighting, hygiene items, documents, and simple reliable gear while keeping total weight manageable.
Key Takeaways
- Carry 1–3 liters of water per person plus a real purification method — bottled water alone runs out fast.
- Pack three days of calorie-dense, ready-to-eat food: energy bars, jerky, trail mix, no cooking required.
- Target a total pack weight of 25–50 pounds, then test-walk it and cut anything you didn't reach for.
- Inspect your bag every 3–6 months — rotate food, swap batteries, replace expired meds without fail.
- Buy once, buy right on the gear that fails you in a crisis: water filter, headlamp, and footwear.
Bug-Out Bag for Beginners: Build a Practical 72-Hour Emergency Kit
Beginners building a bug-out bag tend to make one of two mistakes: they either overpack out of anxiety or underpack out of guesswork. Neither works when you’re actually walking out the door with thirty seconds to grab it.
A bug-out bag for beginners is a grab-and-go pack built to get you through roughly 72 hours away from home. That’s water and purification, calorie-dense food, shelter and warmth, basic first aid, light and fire, a way to communicate and navigate, hygiene basics, and copies of your important documents. Keep the total weight something you can actually carry, and test it before you need it.
Quick Summary
- Cover water, food, shelter, first aid, light/fire, communication, hygiene, and documents — in that priority order
- Keep total pack weight between 25–50 pounds; lighter is almost always better than “just in case”
- Buy reliable gear for the items that fail catastrophically — water filters, lights, footwear
- Personalize for your household: prescriptions, baby supplies, pet needs, mobility aids
- Check and rotate contents every 3–6 months, not “whenever I remember”
- Test-carry the packed bag on a real walk before you ever trust it in an emergency
What a Bug-Out Bag Actually Is
Think of it as a compact, pre-packed kit for fast evacuation — not a mini pantry, not a camping trip in a backpack. It holds food, water, basic medical supplies, tools, and copies of the documents you’d hate to lose. The whole point is simplicity, mobility, and reliability. Nothing fancy. Nothing fragile. Nothing you have to think twice about grabbing.
A useful lesson in building these kits is blunt: a bag full of “cool gear” that’s never been used under stress is dead weight. The bag that works is the boring one that’s actually been tested.
Why You Need One
Wildfire, flood, hurricane, civil unrest — sometimes you don’t get hours to decide, you get minutes. A ready bag cuts your decision time down to almost nothing. You grab it, you go, you’re not standing in your bedroom trying to remember where the flashlight is while smoke’s coming under the door.
A sheriff’s deputy is going door to door telling your neighborhood to evacuate now — a wildfire jumped the ridge faster than forecast. You’ve got maybe ten minutes before the road out fills up with everyone else’s headlights. This is exactly the scenario your bug-out bag is built for — no time to think, just grab and move.
Check FEMA, the American Red Cross, and NOAA for evacuation procedures and alert systems specific to where you live. What matters in coastal Florida during hurricane season is different from what matters in the Pacific Northwest during wildfire season — I’ll get into some of those regional differences below.
The 72-Hour Bug-Out Bag Checklist
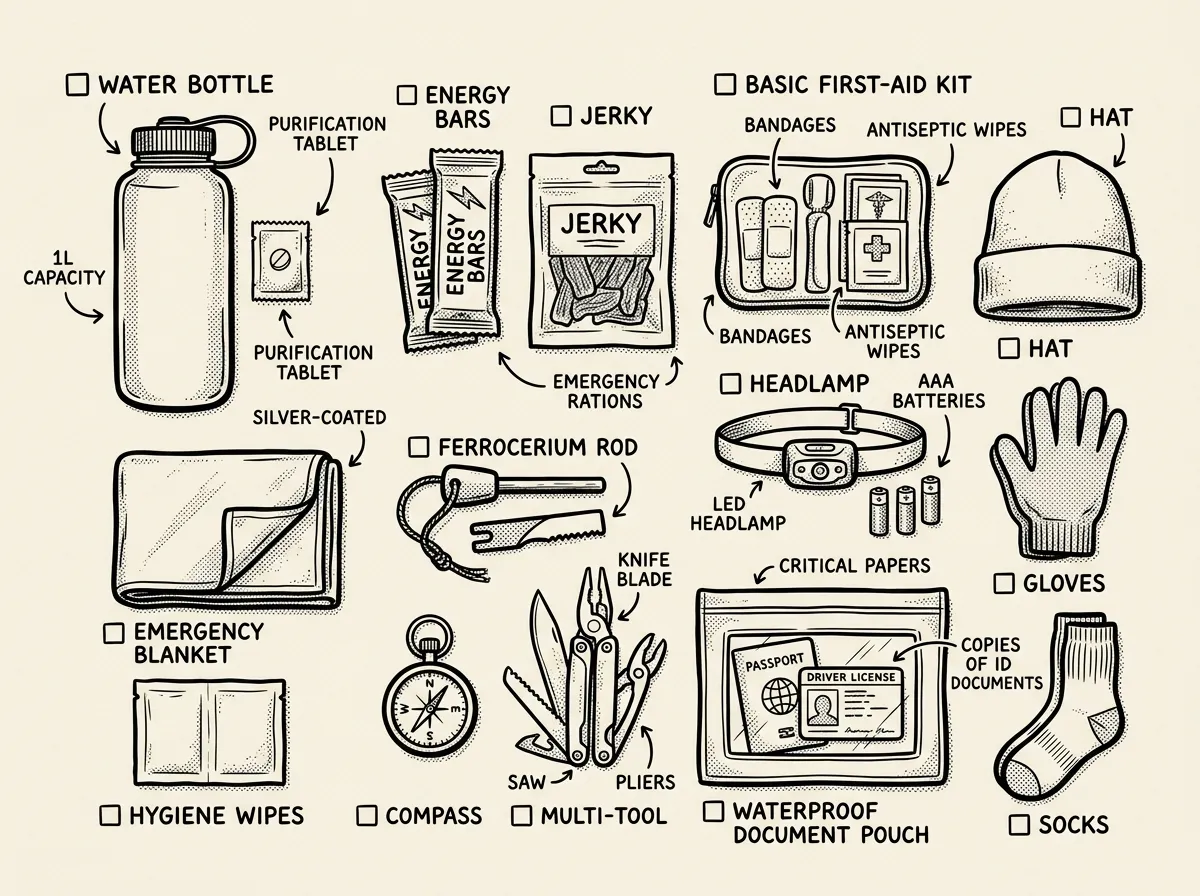 Essential items for a 72-hour bug-out bag, laid out and labeled
Here’s a full checklist broken down by category. Copy it, print it, whatever works for you.
- 1–3 liters immediate drinking water per person (more in hot conditions or heavy activity)
- Purification: chlorine dioxide tablets or a compact filter like the Sawyer Mini
- Collapsible bottle or lightweight reservoir
Food Three days of calorie-dense, ready-to-eat items — energy bars, meal pouches, trail mix, jerky. No cooking required, no water needed to prepare. Add electrolyte packets if you’re in a hot climate or expect to be moving on foot for hours.
First aid Adhesive bandages, sterile gauze, medical tape, antiseptic wipes. Tweezers, small scissors, nitrile gloves. Over-the-counter pain reliever, antihistamine, anti-diarrheal. Your personal prescriptions in their original containers if you can manage it — pharmacies aren’t always open during a regional emergency. If you’ve got trauma training, add compact trauma supplies; don’t carry gear you don’t know how to use.
Shelter and clothing Emergency blanket or SOL bivvy. Lightweight tarp or poncho plus paracord. Extra socks — seriously, extra socks — moisture-wicking base layer, insulating mid-layer. Season-appropriate hat, gloves, sun protection.
Fire and light Headlamp for hands-free work, plus a compact backup flashlight in case the first one dies or gets lost. Spare batteries or a small rechargeable power source. Lighter, waterproof matches, or a ferrocerium rod as backup.
Tools, communication, and navigation Sturdy knife or multi-tool. Duct tape, 550 paracord, zip ties. Whistle, small sewing kit, work gloves. Power bank and charging cable. A NOAA weather radio or your phone with a spare battery and printed local maps — cell towers go down, paper doesn’t. Compass, notepad, permanent marker.
Hygiene and sanitation Wet wipes, travel toilet paper, hand sanitizer, small trash bags. Toothbrush and paste. Menstrual supplies if needed.
Documents and money Waterproof pouch with ID copies, insurance cards, a medication list, and emergency contacts. Some cash in small bills — card readers don’t work without power.
Optional additions Baby supplies, child comfort items, pet food and supplies, extra prescription meds, spare glasses, mobility aids. Build these in based on who’s actually in your household, not a generic template.
Put a laminated card in the front pocket listing what’s inside and the expiration dates on food and meds. It saves you from unpacking the whole bag every time you want to check something.
Packing It So It Actually Works
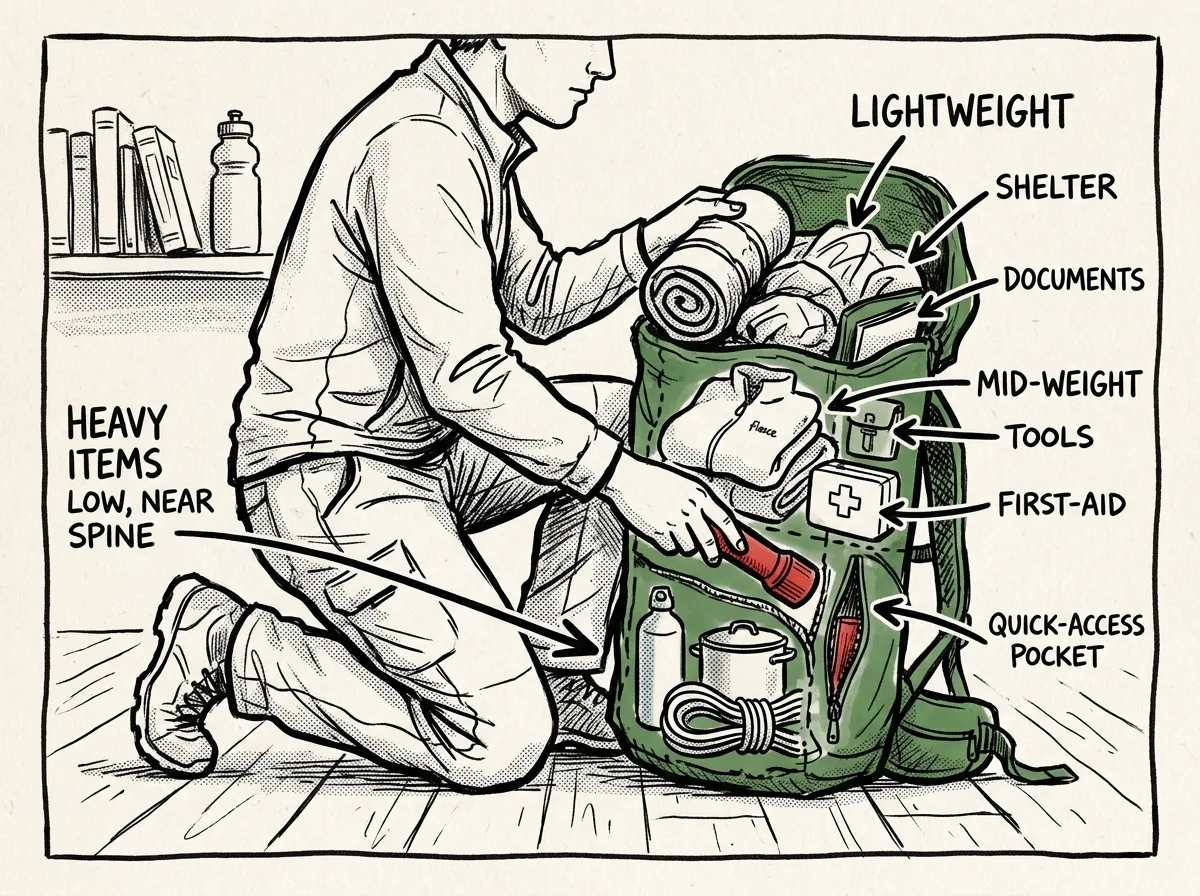 Strategically organizing gear inside a backpack for fast access
A checklist doesn’t matter if the bag is packed wrong. Heavy items — water, food, tools — go close to your spine and low in the pack, not swinging around near the top. Things you’ll reach for constantly, like a headlamp or a multi-tool, belong in external pockets where you don’t have to dig.
- Load heavy, dense items (water, food) low and centered against the frame
- Put mid-weight gear (first aid, clothing) in the main compartment around the heavy stuff
- Keep frequently used items — headlamp, knife, gloves — in external or top pockets
- Store documents and cash in a waterproof pouch in an interior zip pocket
- Do a full test walk with the packed bag before calling it done
That last step isn’t optional. Beginners often build a beautiful bag on paper, then discover on the first real walk that a strap digs into their shoulder or a water bottle rattles against their back the whole time. You find that stuff by walking, not by looking at a spreadsheet.
How Heavy Should It Be?
Beginner packs commonly land between 25 and 50 pounds, depending on your fitness, how far you might have to travel, and the terrain. Aim for the lightest load that still covers your essentials — not the heaviest bag you can physically zip shut.
Weigh the packed bag on a bathroom scale. Then put it on and walk around the block, or better, a mile if you can manage it. Anything you didn’t reach for, didn’t think about, or that made your shoulders scream — that’s a candidate for the cut list. Shorter evacuation distances and urban routes can support a lighter kit. If you’re carrying for kids or an elderly family member, your load goes up — plan for that honestly instead of hoping it works out.
A 55-pound “ultimate” bug-out bag loaded with a full trauma kit, extra fuel, and a second set of tools can be brutal to carry even a couple of miles in hot weather. Trimming redundant tools and excess “just in case” items can cut that same bag down to around 34 pounds without sacrificing core coverage. Heavier isn’t more prepared. It’s just heavier.
Common Mistakes Beginners Make
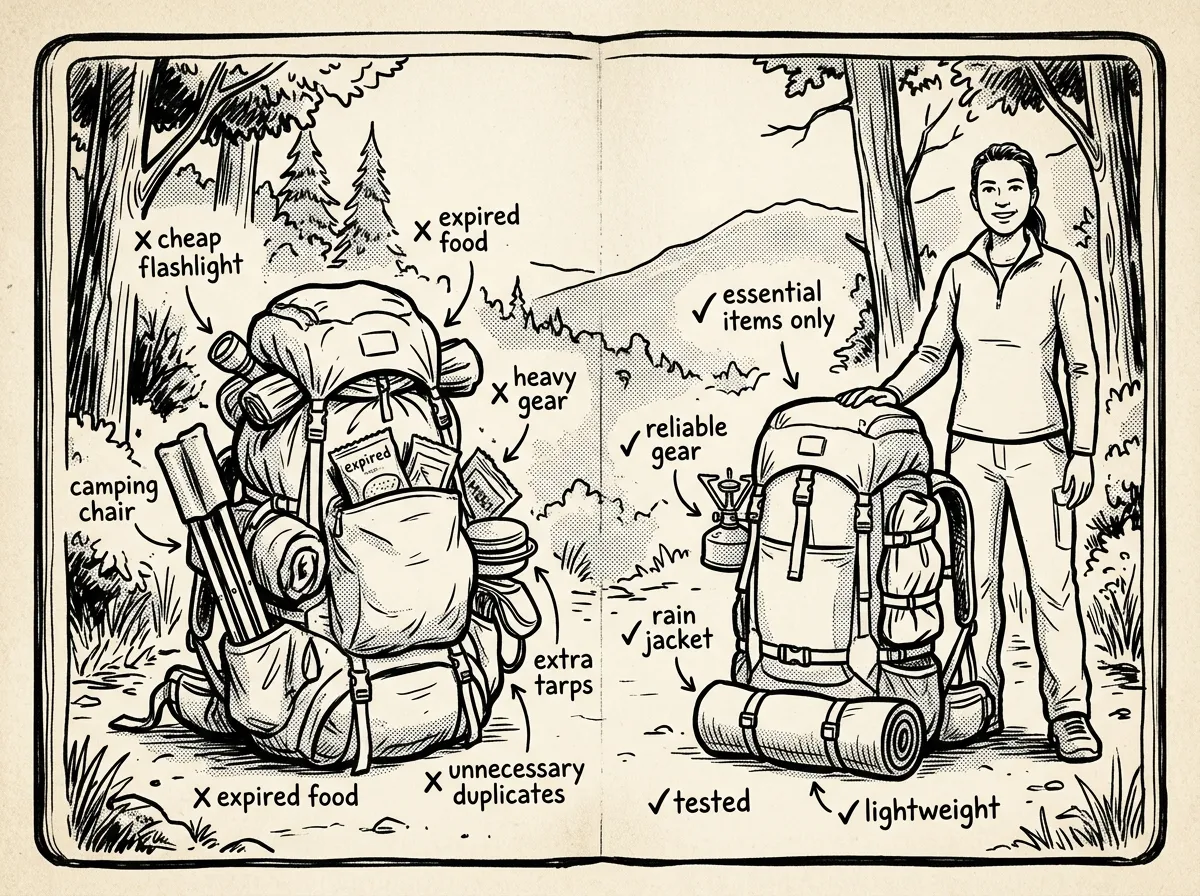 Overpacked bug-out bag versus lean, practical kit side by side
Overpacking. This is a common mistake — people treat the bug-out bag like a household supply stash instead of a 72-hour grab bag. Every extra pound is a pound you’re carrying on foot, possibly for miles, possibly in bad weather. Trim ruthlessly.
Ignoring water treatment. Bottled water runs out. You need a way to purify whatever water source you find next — a stream, a tap that might not be safe, rainwater. The Sawyer Mini runs around $25 and packs down to nothing; it’s a reasonable budget option, though according to manufacturer specs and user reviews it clogs faster than the full-size Sawyer Squeeze and the flow rate drops off after heavy use. If your budget allows the Squeeze instead — usually $35-40 — you’ll filter more volume with less frustration.
Buying cheap on critical gear. A $5 flashlight that dies after twenty minutes, a $10 filter that fails after one use, boots that blister you two miles in — these are the failures that turn a manageable situation into a dangerous one. Spend where it counts.
Not customizing. Generic checklists don’t know you have a toddler, a dog, a heart condition, or that you wear glasses. Build the bag for your actual household, not an imaginary one.
Not testing gear. Cheap ferro rods from discount racks can fail to produce a spark after multiple attempts, especially in damp conditions. Test your filter, your radio, your fire starter, and yes, your shoes, before you ever need them for real.
What I’d Actually Buy
Brand loyalty aside, here’s the gear that matters most for a beginner bag:
Backpacks — A budget option like Teton (usually $40-60) will get a beginner through their first year of practice and adjustments. If you’re going to rely on this bag for real, an Osprey or 5.11 Rush (typically $120-180) holds up to repeated use and rough handling far better.
Water filters — Sawyer Mini for weight and cost, Katadyn or LifeStraw if you want something with a bit more flow and durability.
Lighting — Energizer or Black Diamond headlamps are solid budget performers in the $15-25 range. If you want something built to take a beating, Petzl’s mid-range options (around $40-60) are worth the upgrade.
Power banks — Anker power banks are commonly recommended for reliable capacity at a fair price. If you’re in a climate with real temperature swings — high desert, alpine, deep winter — look for a rugged-rated unit; cheap ones lose capacity fast in the cold.
Shelter — An SOL Mylar bivvy (around $15-20) covers the basics for cheap. If you expect to actually spend a night in the field rather than just surviving to shelter, a lightweight tarp setup is worth the extra weight and cost.
Whether pricier gear is worth it depends on the category. A $200 backpack versus a $50 one makes little practical difference for a bag that mostly sits in a closet. A $30 water filter versus a $10 one, however, can be the difference between clean water and a case of giardia in the field. Spend money where failure actually causes harm.
These brand examples are starting points, not gospel — specs and availability change, so check current reviews before you buy.
Storing and Maintaining Your Bag
Keep the bag near a main exit, in a hall closet, or in your vehicle — somewhere dry and somewhere you can grab it without thinking. A bag buried in the garage under Christmas decorations doesn’t help you at 2 AM.
Check it every 3 to 6 months. Rotate food before it expires. Replace batteries and any medications that have hit their expiration date. Try the clothes on — kids grow, and adults’ needs change too. Update the pack whenever your household changes, your health needs shift, or the season turns. A summer bag in the Gulf Coast heat needs different clothing and more water capacity than a winter bag in the Rockies needs insulation and hand warmers.
Practical Tips for Getting Started
Start simple. Don’t try to build the perfect bag on day one — you’ll overspend and overthink it. Focus on the essentials first: water, food, shelter, first aid. Add refinements as you learn what actually matters for your situation.
Wear the bag. Walk with it. Use the gear inside it on a normal weekend so you’re not learning how your water filter works during an actual crisis. Preparedness isn’t a checklist you complete once — it’s a habit you keep up, three or four times a year, for as long as you’re doing this.
The Complete
Prepper's Reference.
149 articles synthesized into one comprehensive PDF — twelve chapters covering water, food, shelter, first aid, comms, and scenario-specific preparedness. Free with your email.
Unsubscribe anytime · We never share your email
You're in. Check your inbox.
Keep Reading
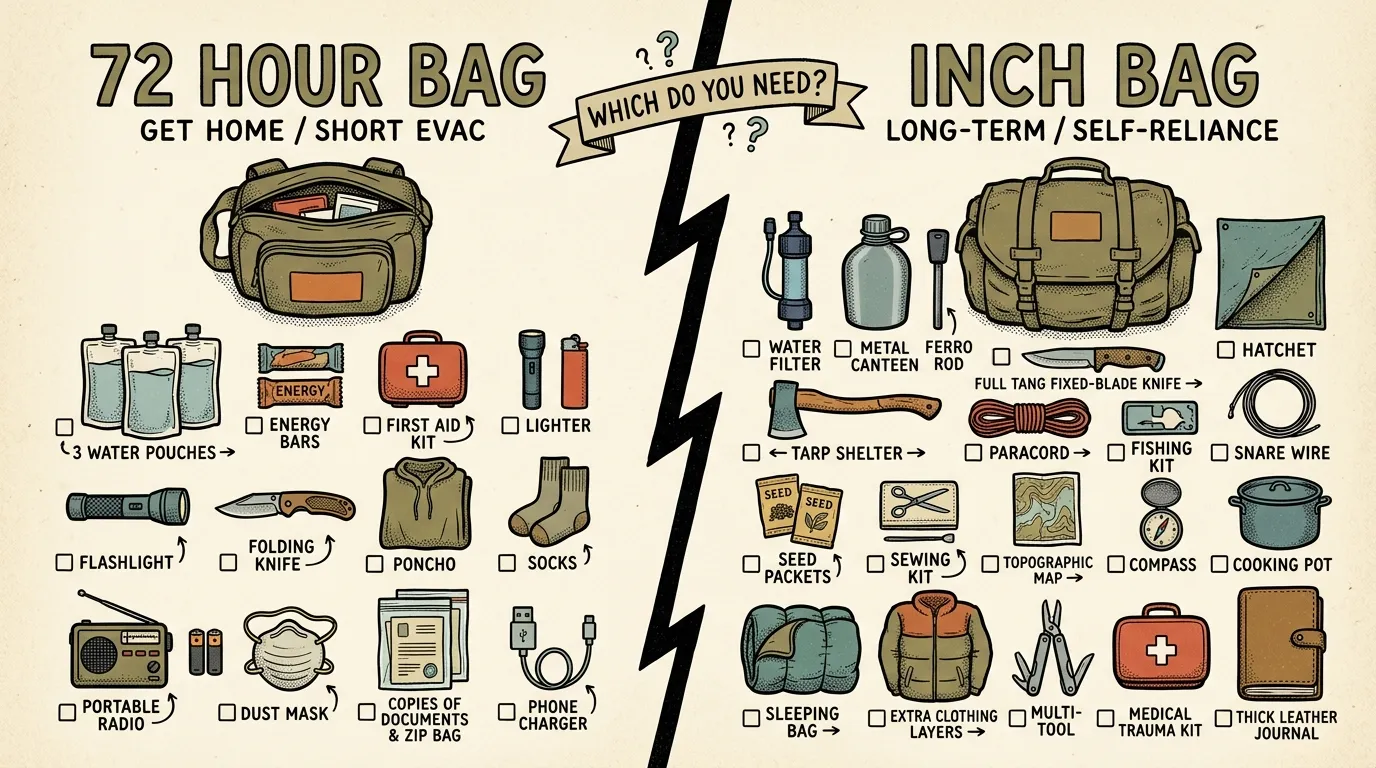
72 Hour Bag vs INCH Bag: Which Do You Need?
72 hour bag vs INCH bag — practical breakdown of temporary evacuation kits vs permanent bug-out setups. Find which matches your real threat profile.
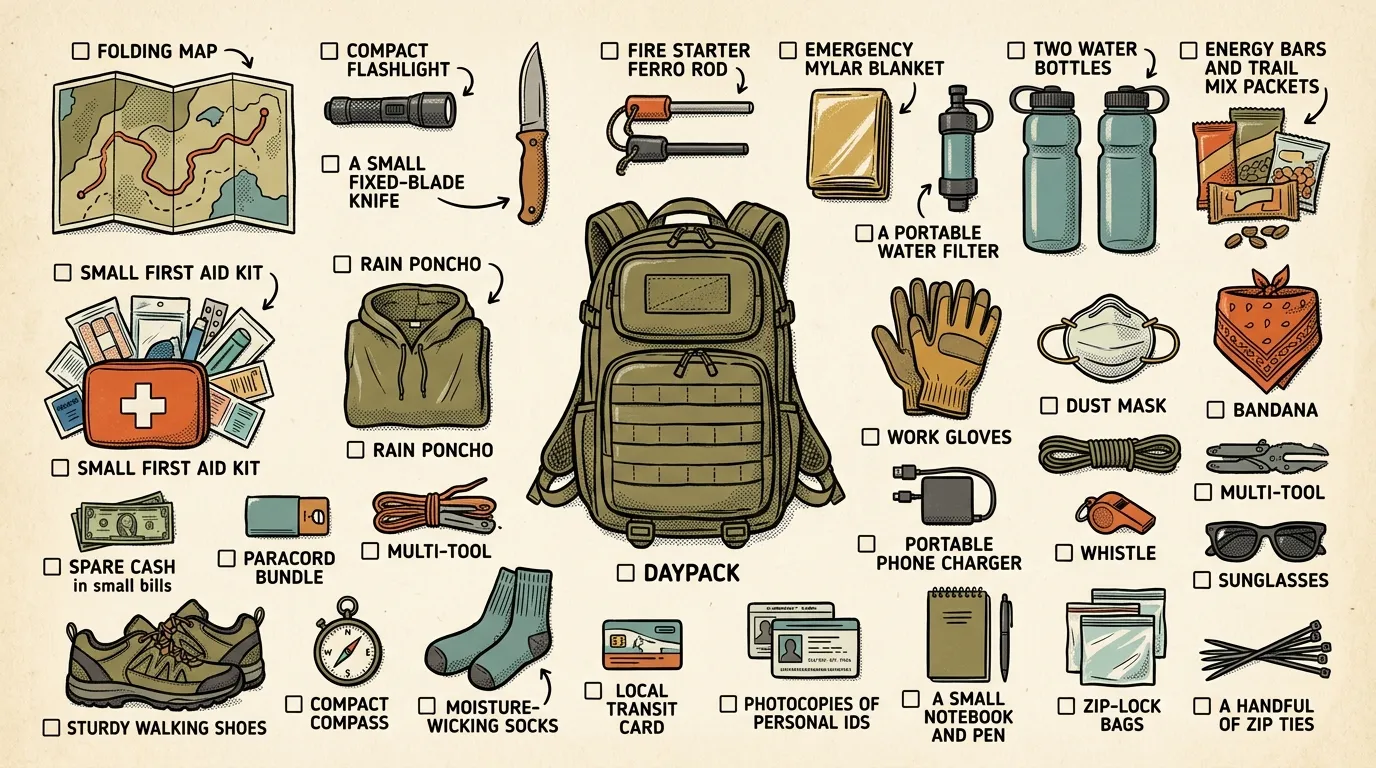
Get Home Bag Essentials: The Complete Checklist
Build your get home bag essentials list with this practical checklist. Gear that gets you from work to home in any emergency.
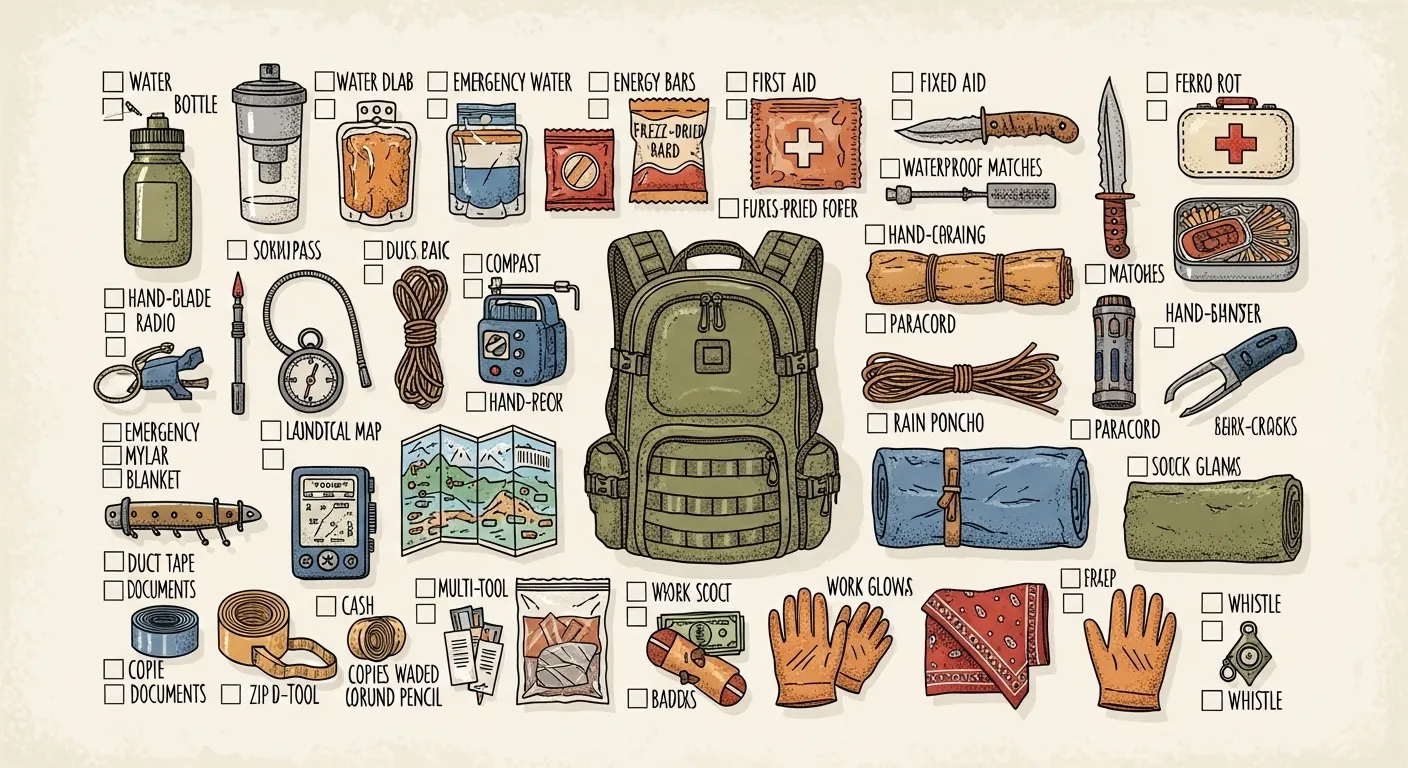
Get Out Fast: Bug-Out Bag Essentials
Learn the must-have bug-out bag essentials for new preppers, how to pack smart, avoid rookie mistakes, and stay prepared without overpacking.