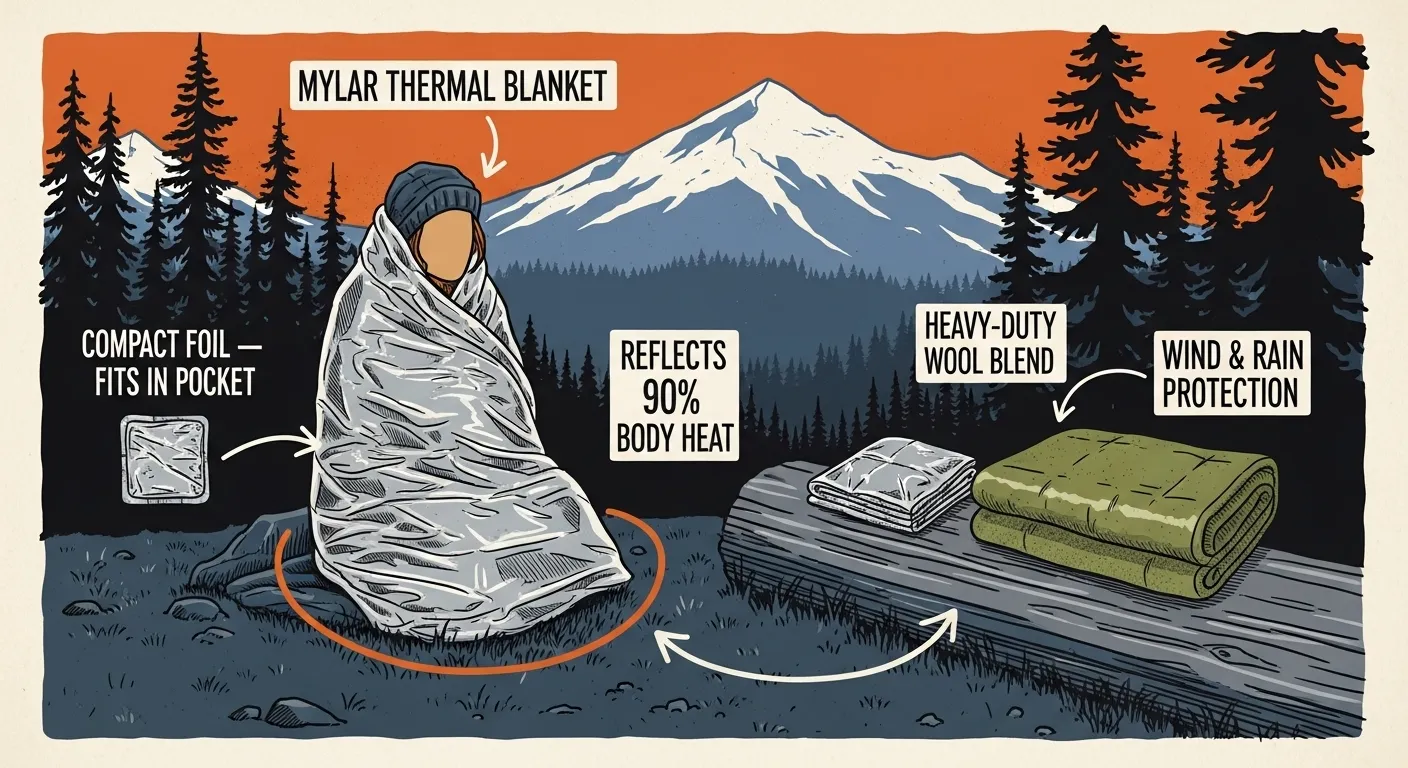
The best emergency blankets for beginners are lightweight, reflective, and large enough to wrap an adult, with reinforced blankets and emergency bivvies offering better durability and warmth than basic mylar. Emergency blankets are essential because they can help retain up to 90% of body heat, block wind and moisture, and serve multiple survival uses from shelter to signaling.
Key Takeaways
- Keep one reinforced blanket or bivvy in your primary kit — thin mylar alone isn't enough for repeated or overnight use.
- Size matters more than most people think — look for roughly 50x80 to 60x90 inches so it fully wraps an adult with overlap.
- Always layer dry clothing underneath before wrapping; a blanket over wet skin traps moisture, not warmth.
- Stock at least one blanket per household member, with cheap mylar multipacks as redundant backups in cars and go-bags.
- For shelter-building or repeated field use, spend the extra few dollars on a grommeted heavy-duty blanket like the Arcturus over basic mylar.
Emergency blankets get handed out everywhere — on search and rescue calls, at shelter intake during winter storms, and in the bug-out bag of anyone who’s thought through emergency preparedness. The thing most people get wrong before they even open the package: they think any shiny foil sheet will do the job. It won’t, not in every situation. Some are built for a single use in a glove box. Others are built to get rigged as a lean-to in sideways rain. Knowing the difference is what separates gear that works from gear that just takes up space.
Quick Summary
- A good emergency blanket combines reflective aluminized film (BoPET/Mylar) with reinforced hems, grommets, or a bivvy shape — the material alone doesn’t tell you much.
- The SOL Emergency Blanket is a solid choice for most people’s main kit; it’s durable enough to reuse and small enough that you’ll actually carry it.
- Basic mylar multipacks (like Swiss Safe) are cheap enough to stash in every vehicle, coat pocket, and junk drawer as redundant backups.
- For shelter-building or repeated field use, spend a little more on a heavy-duty, grommeted option like the Arcturus — thin mylar tears the first time you try to stake it down.
- Emergency blankets reflect heat, block wind, and shed light rain — they are not a heat source, and they work best layered with dry clothing and real shelter.
What Actually Makes an Emergency Blanket Worth Carrying
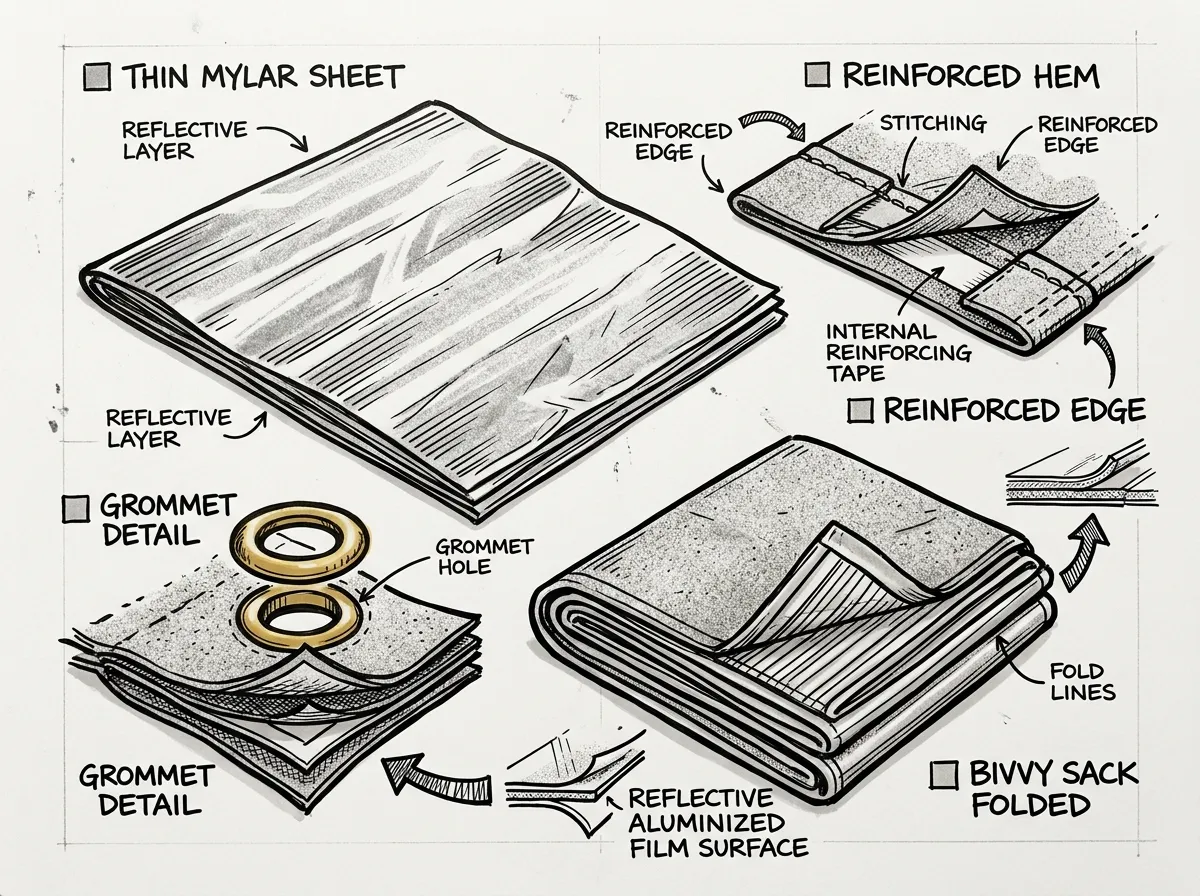 Emergency blanket construction details
An emergency blanket is a lightweight outer layer made from reflective film — usually aluminized PET, which most people just call Mylar — or a heavier laminated fabric. The reflective coating bounces your own radiant body heat back toward you instead of letting it radiate off into the air. That’s the whole trick. It’s not magic, and it’s not warming you from an outside source. It’s just stopping heat you’ve already generated from disappearing.
On top of the heat-reflection piece, a decent blanket blocks wind and sheds light rain. That combination — wind cut plus heat reflected — is why these things show up in every FEMA go-bag checklist and in standard first-aid kits. In hypothermia management protocols, a reflective blanket is typically step two, right after getting a patient out of wet clothes.
A $1 mylar blanket pulled from a first-aid kit during an actual cold-weather emergency can shred in the wind before it’s even wrapped around someone. That single-use dollar-store stuff has a place — as a backup, not a primary — but a real kit benefits from spending the extra few dollars on something reinforced. The difference shows up exactly when it needs to not fail.
Key Benefits Worth Knowing
- Reflects radiant body heat back toward the wearer
- Blocks wind and sheds light precipitation
- Packs down to almost nothing — most fit in a pocket
- Doubles as a signaling panel, ground barrier, or improvised shelter
The Three Types You’ll Actually Run Into
 Three emergency blanket types side by side
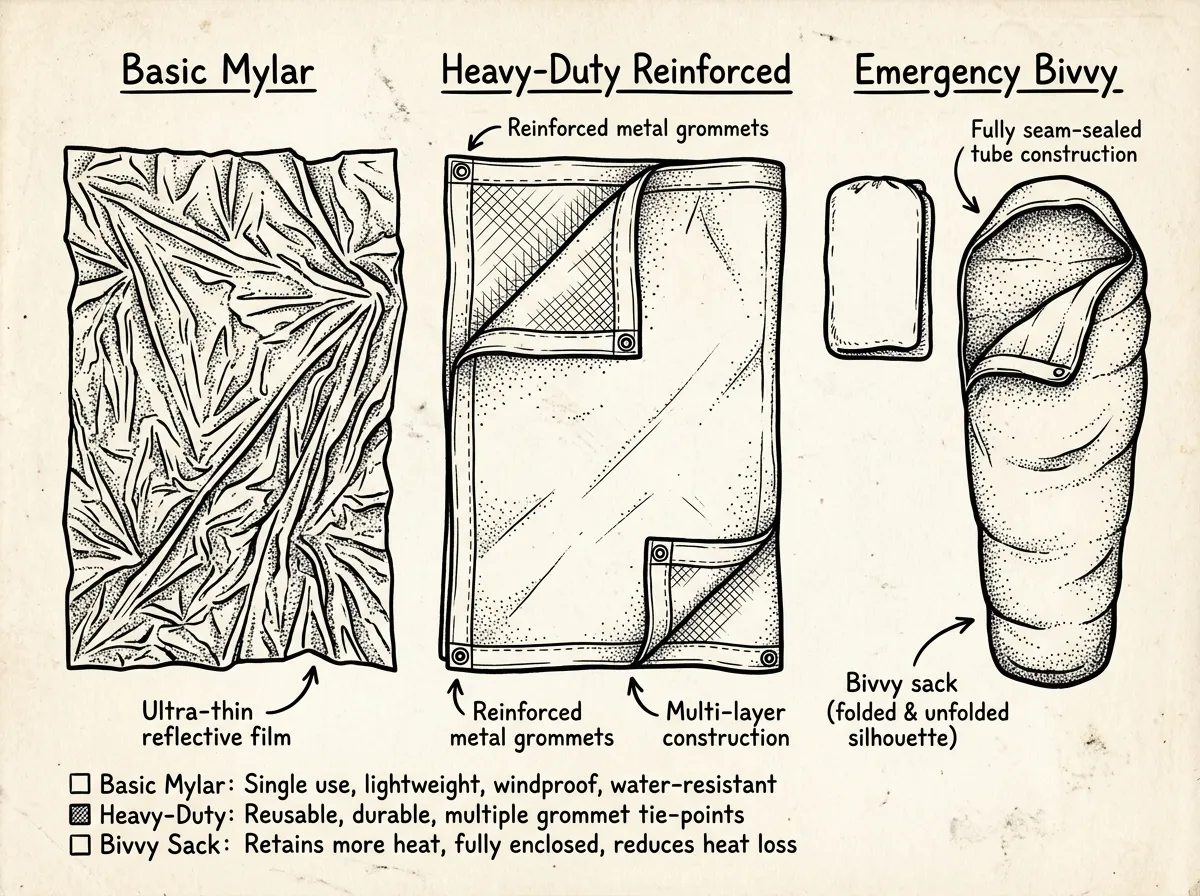
Not every “emergency blanket” is the same product wearing a different label. There are really three categories, and picking the wrong one for your use case is the most common mistake people make.
Basic mylar blankets are the thin, crinkly sheets most people picture. They’re extremely light and cheap — often sold in multipacks for under $10 — but they’re generally good for one real deployment before a seam tears or a gust rips a corner. Fine as backups. Not what you want as your only option.
Reinforced survival blankets use a thicker laminated film with sewn or taped hems, sometimes grommets at the corners. They cost more — think $15 to $25 depending on brand — but they hold up to being folded, unfolded, rigged, and reused multiple times without falling apart.
Emergency bivvies are wearable, sealed sacks rather than flat sheets. You climb inside, and because there’s no open edge for warm air to escape, they retain heat noticeably better for overnight situations. For an actual overnight cold-weather emergency, the bivvy is generally the strongest single option.
| Type | Material | Packability | Durability | Best Use |
|---|---|---|---|---|
| Basic mylar | Aluminized PET (BoPET) | Excellent | Low | Backup kits, bulk storage |
| Reinforced survival | Laminated, hemmed film | Very good | Medium-high | Primary kit, shelter use |
| Emergency bivvy | Sealed reflective sack | Very good | Medium | Personal warmth, overnight |
| Heavy-duty (grommeted) | Thick fabric, reinforced | Moderate | High | Repeated field use, shelter builds |
Top Picks
Here’s how to prioritize spending in this category, based on construction differences and durability across blanket types.
SOL Emergency Blanket (around $15–20) — This is a strong choice for a primary bug-out bag. It’s quieter than basic mylar, which matters more than you’d think when you’re trying to sleep or stay still near wildlife. It holds up to being unpacked and repacked multiple times without disintegrating.
Swiss Safe Emergency Mylar Blankets, multipack (around $10–15 for several) — These work well scattered everywhere: glove box, backpacks, the drawer by the front door. They’re not built for repeated use, but at this price you can afford to have five of them instead of worrying about babying one.
Arcturus Heavy Duty Survival Blanket (around $20–30) — Thicker material with actual grommets, meaning you can rig it as a lean-to or ground tarp without it tearing at the tie-off point. This is the option to reach for when shelter-building is likely, not just wrapping up in place.
Emergency Bivvy, SOL or similar (around $15–20) — Wearable design, best heat retention of anything on this list. If you camp, hunt, or hike in cold conditions where an unplanned night out is a real possibility, this belongs in your pack.
Grabber All-Weather Blanket (around $15–20) — Heavier and more tarp-like than a typical emergency blanket. This one is favored by search and rescue teams because it doubles well as a groundsheet or improvised litter cover, not just a wrap.
If you can only buy one blanket right now, buy a reinforced or bivvy-style option, not basic mylar. You can always add cheap mylar backups later — but a blanket that tears the first time you use it defeats the purpose of having one at all.
How to Actually Use One in the Field
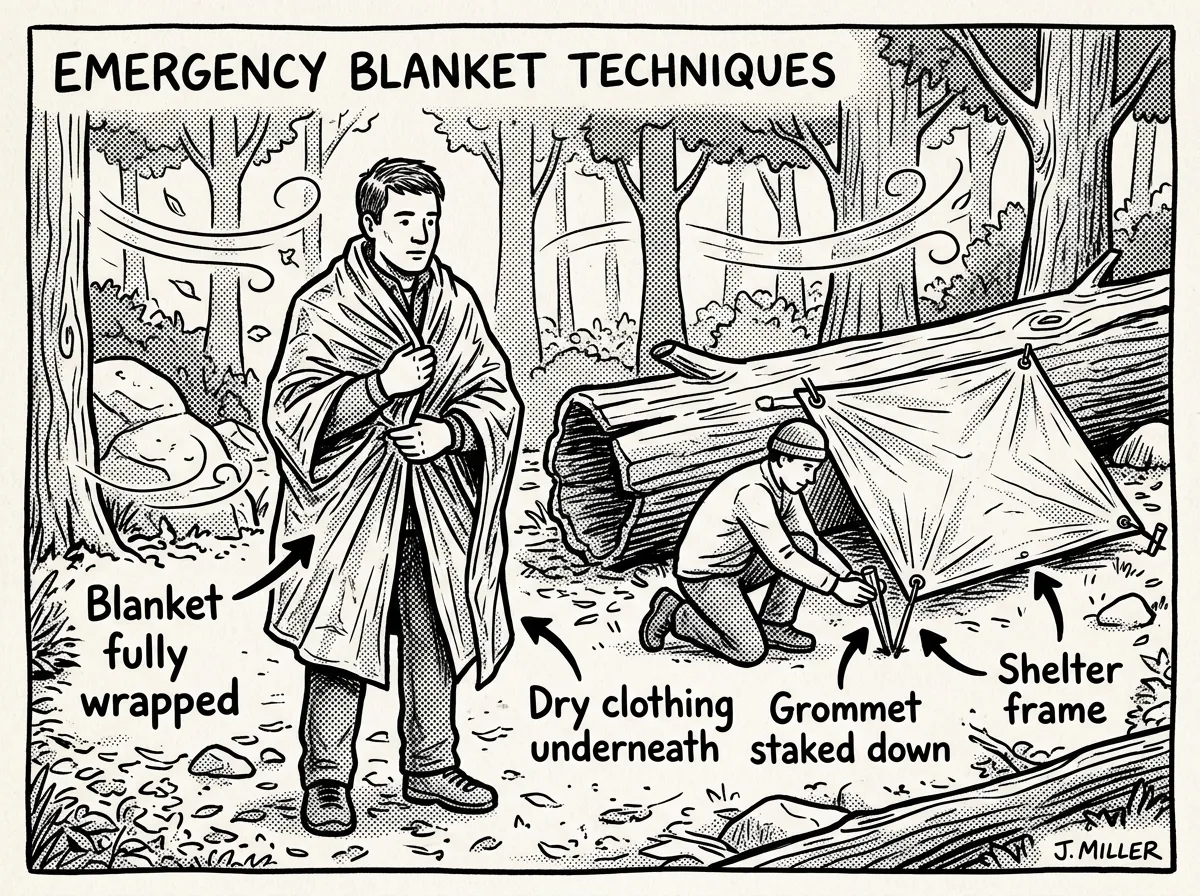 Wrapping and shelter techniques in the field
Having the right blanket doesn’t help you if you don’t know how to deploy it. This is a five-minute skill to practice at home, and it’s worth doing once before you ever need it for real.
- Get out of wet clothing first — a blanket over damp skin traps moisture, not warmth
- Put on dry layers if you have them, even a spare shirt makes a difference
- Wrap the blanket snugly around your torso first, then bring it up over your head and shoulders, leaving your airway clear
- Add insulation underneath you if you’re sitting or lying down — ground contact steals heat fast
- Tuck or tape the edges to reduce flapping and heat loss from gaps
- Stay still and minimize movement, since generating and retaining heat is the whole goal
Beyond wrapping up for warmth, these blankets pull double duty in the field:
- Wind barrier — tension it between trees or trekking poles as a quick wall or lean-to.
- Rain shelter — rig it as an overhead tarp or basic A-frame; grommeted versions hold up far better here.
- Ground insulation — slide it under a sleeping pad or bag to cut conductive heat loss from the ground.
- Signaling — the reflective side catches sunlight from a long way off; wave it or lay it flat in an open area.
- Gear protection — wrap electronics or dry clothing to keep moisture out during a downpour.
A basic mylar blanket rigged as a lean-to in actual wind can shred at the corner within minutes — with no grommet or reinforced hem, it’s just a thin sheet with a hole punched through it. For anything meant for shelter-building, a grommeted, heavy-duty blanket holds up far better.
When Not to Rely on One
An emergency blanket is not a substitute for an active heat source in genuinely severe cold — high desert nights that drop below freezing, or Pacific Northwest winter exposure with wind-driven rain, will overwhelm a blanket alone. It also won’t do much good if your clothing is soaked through or you’re dealing with cold-water immersion. In those situations, you need fire, dry insulation, and shelter working together — the blanket is one piece of that system, not the whole solution.
Where These Belong in Your Kit
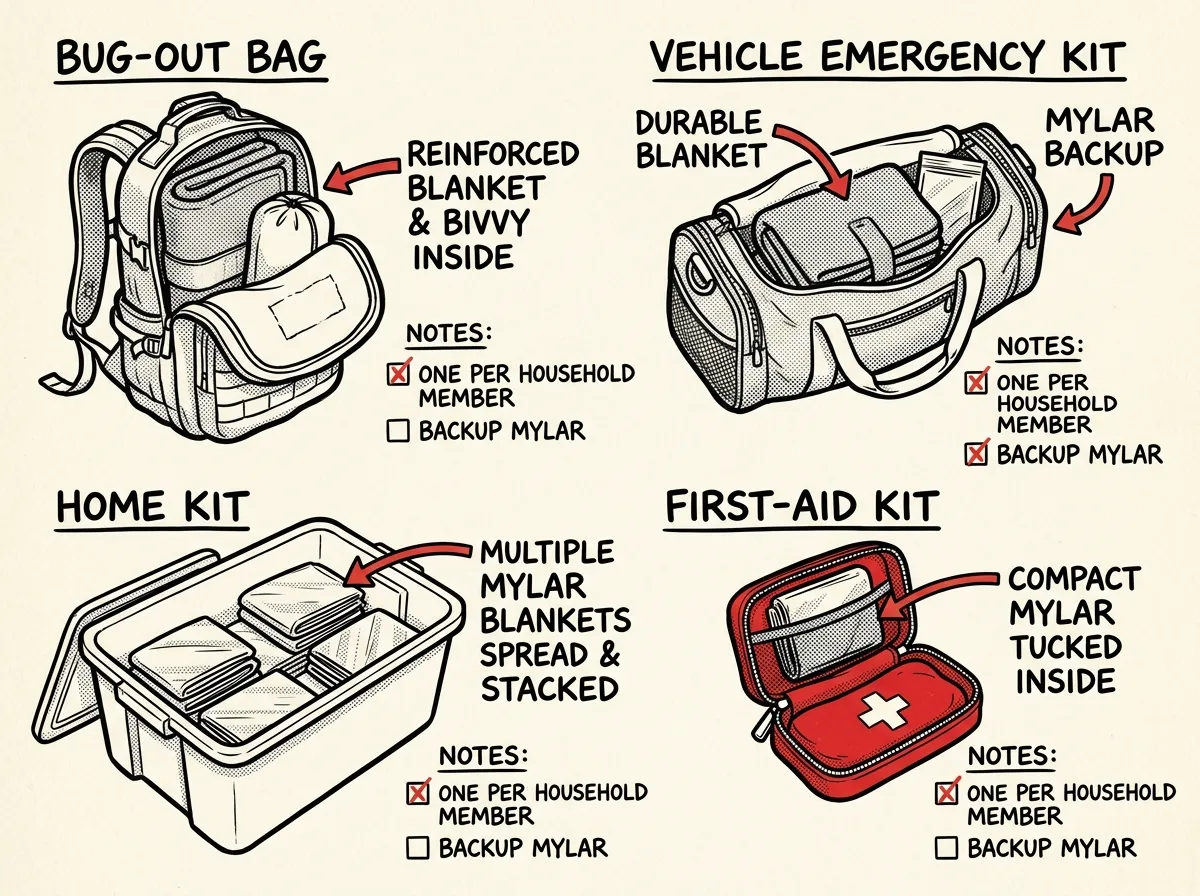 Emergency blankets distributed across survival kits
A common question is how many of these you actually need. The answer: more than you’d guess, because they’re cheap and light enough that there’s no good reason to skimp.
- One reinforced blanket or bivvy in your primary bug-out bag
- One durable blanket plus a mylar backup in every vehicle emergency kit
- Multiple basic mylar blankets in the home kit — one per household member
- One compact blanket in every first-aid or trauma kit for shock and heat loss
- Extra mylar backups stashed in coat pockets, daypacks, or glove boxes
Common Mistakes
One common mistake, even among people who consider themselves prepared: buying one emergency blanket, tossing it in a bag, and never touching it again until an actual emergency. That’s a problem for two reasons. First, you don’t know how the packaging opens or how the blanket unfolds under stress — and mylar sheets can be surprisingly awkward to unfold with cold hands. Second, you don’t know if it’s the right size for you until you’ve actually wrapped it around your body once.
If you’re in a humid Gulf Coast climate, condensation inside a wrapped blanket can be more of an issue than you’d expect — you’ll want to vent slightly rather than sealing completely. High desert is a different problem entirely: wide day-to-night temperature swings mean you might need the blanket for wind and sun protection during the day, then heat retention the moment the sun drops. Know your region’s specific failure mode before you assume one blanket style covers every scenario you’ll face.
An emergency blanket doesn’t create warmth — it stops the warmth you already have from disappearing.
Practical Buying Advice
Keep it simple. A reinforced or bivvy-style blanket goes in the kit you’ll actually use — your bug-out bag, your daypack, your vehicle. Cheap mylar multipacks fill in everywhere else as redundant backups, because at that price point there’s no reason not to have extras scattered around. Prioritize size and durability for the one you’re counting on most, and treat the ultralight mylar sheets as insurance, not your primary plan.
These cost very little relative to the protection they offer, and they take almost no space in a pack. The only real investment is a few minutes practicing how to deploy one — do that once, at home, in good conditions, so you’re not figuring it out for the first time when it actually matters.
The Complete
Prepper's Reference.
149 articles synthesized into one comprehensive PDF — twelve chapters covering water, food, shelter, first aid, comms, and scenario-specific preparedness. Free with your email.
Unsubscribe anytime · We never share your email
You're in. Check your inbox.
Keep Reading
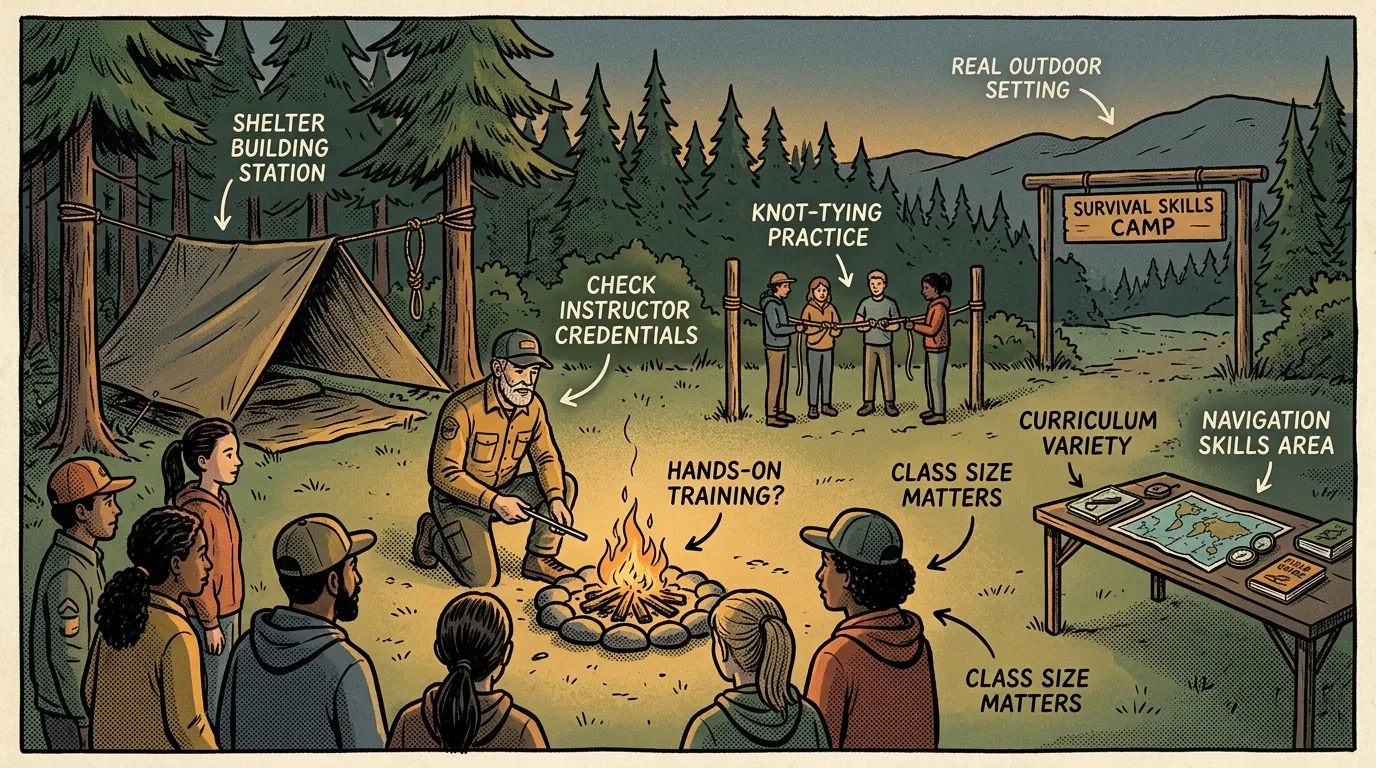
Survival Skills Camp: How to Choose the Right One
Choosing a survival skills camp? Here's what to look for, red flags to avoid, and what real training teaches you.
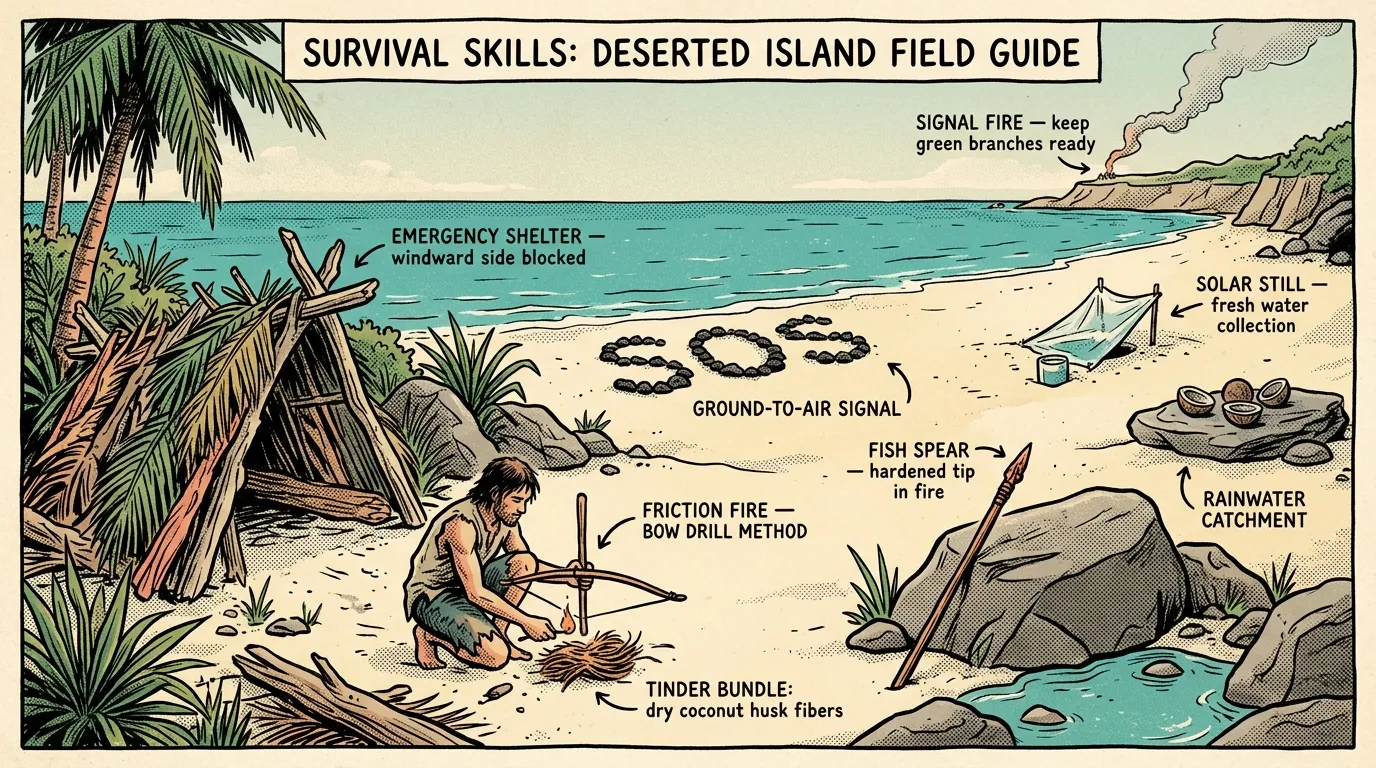
Survival Skills on a Deserted Island: Field Guide
Master survival skills on a deserted island — water, shelter, fire, food, and rescue signaling. Start learning now.
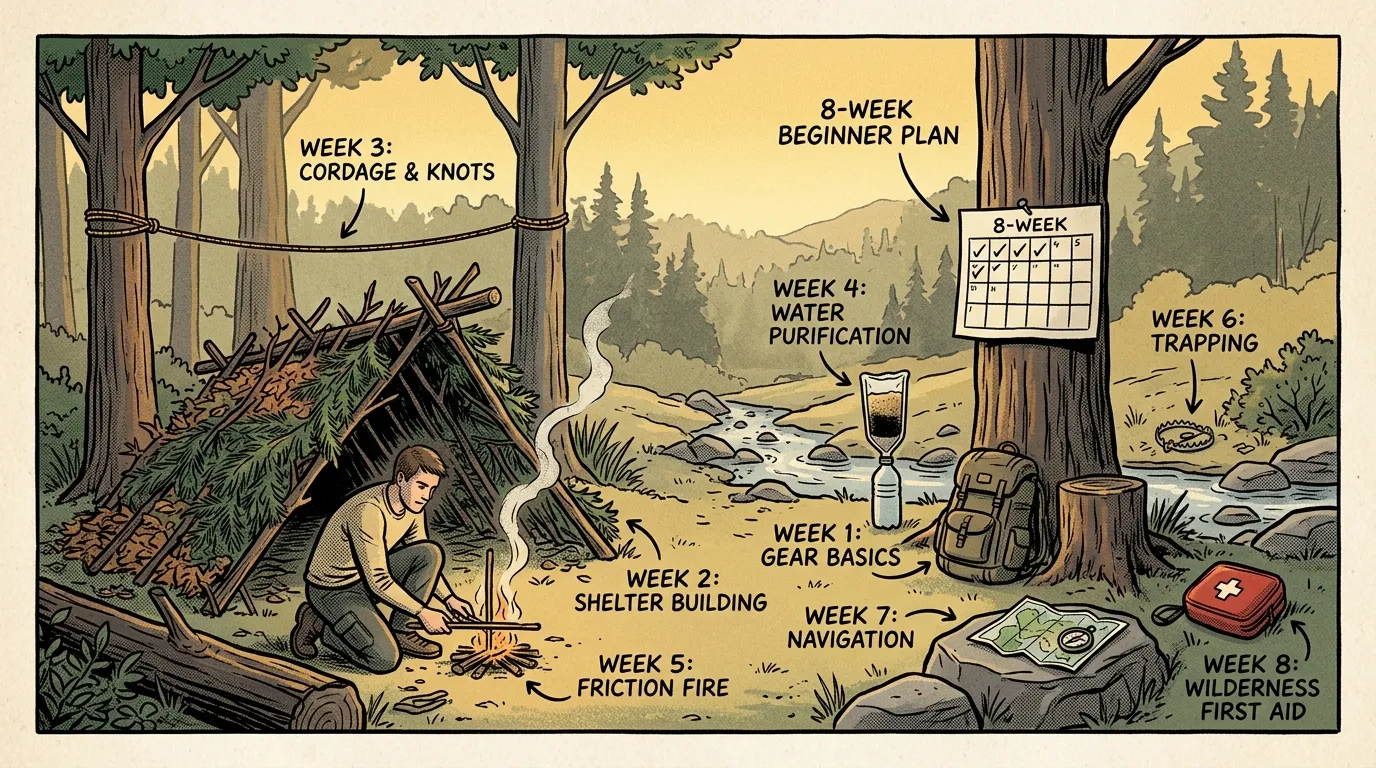
Survival Skills Training: 8-Week Plan for Beginners
Follow this 8-week survival skills training plan to master shelter, fire, water, navigation & first aid. Start this weekend.