
To host a survival skills workshop that beginners will actually attend, focus on practical topics, a welcoming tone, hands-on learning, and simple local promotion. Plan the logistics carefully, teach foundational skills like first aid and water purification, and follow up with resources and feedback to build an ongoing preparedness-minded community.
Key Takeaways
- Set a measurable goal: target 15-20 households assembling a 72-hour kit and scoring 80% on a checklist.
- Limit your intro workshop to 2-3 hours to reduce barriers and improve first-time attendee turnout.
- Appoint a certified instructor for CPR and medical topics before running any first aid station.
- Promote via Nextdoor, neighborhood Facebook groups, Eventbrite, and library posters to maximize local reach.
- Send a follow-up email within one week assigning one concrete action, such as storing three days of water per person.
Survival Skills Workshop: How to Host a Beginner-Friendly Community Course
Quick answer
A survival skills workshop teaches basic preparedness: first aid, safe water, emergency planning, simple shelter, and communication. To host one, set a clear goal and audience. Pick an accessible venue. Plan a hands-on beginner curriculum. Promote locally. Run interactive stations. Follow up. Keep safety and community first.
Summary
You can run a beginner-friendly survival skills workshop that improves neighborhood resilience. Focus on clear outcomes, hands-on lessons, inclusive promotion, and a short follow-up plan. Plan logistics and safety, build a concise curriculum, recruit attendees, run active learning stations, and keep the community engaged.
Definitions (one-line)
- Survival skills workshop: a short community course teaching practical skills for common emergencies.
- Bug-out bag (72-hour kit): a backpack with supplies to sustain one person for about 72 hours.
- Shelter-in-place: staying inside a secure location during a hazard instead of evacuating.
- CERT: Community Emergency Response Team, a FEMA program for basic disaster response.
- NOAA Weather Radio: continuous official weather and hazard broadcasts.
Include these one-line definitions on flyers so newcomers understand terms immediately.
What Makes a Successful Survival Skills Workshop
A successful workshop is beginner-friendly, hands-on, clearly promoted, and safety-focused. It sends people home with one clear action to take.
Important elements:
- A measurable goal and a defined audience. Example: 20 neighbors build a basic 72-hour kit and leave with a checklist.
- A venue people can reach by foot, transit, or short drive. Libraries, community centers, and church halls work well.
- A compact curriculum that emphasizes doing over listening.
- Interactive stations instead of long lectures.
- Local promotion and follow-up materials people can use at home.
Use FEMA, American Red Cross, and CDC resources for content and safety. Check your local emergency management office for region-specific hazards.
Why Host a Workshop
Workshops turn anxiety into concrete skills. People learn immediate steps they can take, like assembling a simple kit or setting a family contact plan. A community class also builds local networks that help during real incidents.
Connect attendees to official guides from FEMA and the American Red Cross for deeper study.
Step 1: Planning Your Survival Skills Workshop
Good planning keeps the event smooth. Break planning into small, clear decisions.
- Define the goal and audience
- Pick specific success metrics: for example, “15 households assemble a basic kit and score 80% on a short checklist.”
- Choose the level: beginners, intermediate, or a mixed audience. Decide whether this is a single session or a series.
- Make outcomes concrete. State what attendees will be able to do when they leave.
- Choose the venue
- Options: community center, library meeting room, church hall, park shelter with permits, school multipurpose room.
- Check for restrooms, parking, wheelchair access, drinking water, and a weather backup plan. Confirm rules about open flames and tools.
- Set date, time, and length
- Intro session: 2 to 3 hours.
- Half-day session: 3 to 4 hours.
- Series: several 1 to 2 hour sessions.
Start short for the first events to reduce barriers.
- Budget and materials
Typical costs: venue fee, printed handouts, demo materials, certified instructors for medical topics, snacks, signage, and liability coverage.
Cost-saving ideas:
- Partner with a local CERT team or outdoor club.
- Borrow equipment from community groups.
- Use digital handouts and seek small sponsors.
Demo materials to gather:
- Basic first aid supplies and training aids.
- Portable water filters, purification tablets, a thermos for boiling demonstrations.
- Fire-starting demo supplies, a fire pan, and fire extinguishing gear for safety.
- Tarps, cordage, flashlights or headlamps, and emergency radios.
- Printed checklists or QR codes linking to downloads.
- Safety and liability
- Appoint a safety lead and keep a first aid kit visible.
- Post written rules for tool and fire demonstrations. Use barriers and personal protective equipment.
- Require certified instructors for CPR and advanced medical topics.
- Use liability waivers if recommended by the venue or insurer, and confirm insurance in writing.
- Do not teach hazardous skills without proper supervision.
Step 2: Crafting the Curriculum
Design a short, repeatable curriculum that leaves people with practical takeaways.
Core beginner modules and one-line objectives:
- Basic first aid: recognize scene hazards, control bleeding, treat sprains, and assemble a simple kit. Use certified instructors for CPR.
- Water purification: boiling water, using portable filters, chemical disinfection, and safe storage methods.
- Fire basics: tinder selection, safe ignition methods, and extinguishing. Always run these demos with strict safety controls.
- Emergency nutrition: shelf-stable meal options and simple meal planning for limited resources.
- Emergency kits: build a 72-hour kit and show lower-cost alternatives using household items.
- Shelter and weather awareness: stay warm and dry, and build temporary tarpaulin shelters.
- Communication and planning: create a family contact plan, sign up for official alerts, and set neighborhood check-in procedures.
Tailor depth for apartment dwellers versus rural residents and for local hazards like floods, wildfires, or winter storms.
Teaching framework for each module:
- Explain the problem and why it matters.
- Demonstrate the skill.
- Supervise participant practice.
- Give one clear next step to complete at home.
Provide downloadable checklists and a one-page recap PDF. Disclose any affiliate links and recommend low-cost options for beginners.
Step 3: Promoting Your Survival Skills Workshop
State the benefits and the registration steps clearly.
Event description examples:
- “Beginner-friendly survival basics for everyday emergencies”
- “Hands-on community workshop: first aid, water, shelter, and family planning”
List concrete outcomes: attendees leave with a checklist, can build a basic kit onsite, and know how to stay safe during a short power outage.
Promotion channels that work:
- Neighborhood Facebook groups and Nextdoor.
- Eventbrite or Meetup, and a simple Google Form for registration.
- Local Reddit threads, the community calendar, and posters at the library and coffee shops.
- School parent groups, church bulletins, and short community radio spots.
- Partnerships with CERT teams, garden clubs, and outdoor groups.
Keep registration minimal: name, email, number attending, access needs, and topic interests.
Step 4: Engaging Participants
Make the workshop active, social, and easygoing.
Hands-on station ideas:
- Assemble a basic first aid kit.
- Practice using a portable water filter and chemical disinfection.
- Watch a controlled fire-starting demo run with full safety measures.
- Pack a 72-hour kit from a selection table that shows budget options.
- Complete a short family emergency plan in small groups.
Communication tips:
- Use plain language and define terms on the spot.
- Keep the tone light and nonjudgmental.
- Encourage questions and demonstrate curiosity.
Follow-up and reinforcement:
- Give a printed checklist or a QR code linking to a recap.
- Send a follow-up email with resources and a one-week action item.
- Offer optional next sessions on focused topics, such as winter shelter or water storage.
Step 5: Follow-up and Community Building
Build momentum after the event.
- Collect quick feedback: three questions, for example, “Was this useful? What should we cover next? Will you act on one item?”
- Offer an opt-in email list or a private social group for practice sessions.
- Schedule seasonal refreshers. Example: water safety in spring, winter warmth in fall.
- Share clear next steps: assemble a home kit, store three days of water per person, and create a laminated family contact card.
Sample 2 to 3 Hour Agenda
- 0:00 to 0:15 — Welcome, goals, safety briefing
- 0:15 to 0:40 — First aid overview and demo (bandaging station)
- 0:40 to 1:05 — Water filtration demo and participant practice
- 1:05 to 1:20 — Break and Q&A
- 1:20 to 1:40 — Kit-building station (72-hour bag exercise)
- 1:40 to 2:00 — Shelter basics and communication planning
- 2:00 to 2:15 — Wrap-up, takeaways, and feedback
FAQ
Q: What are the key components? A: A measurable goal, a beginner-focused curriculum, hands-on practice, accessible promotion, safety planning, and follow-up.
Q: How do I promote locally? A: Use online community groups, flyers, and partnerships with local organizations. Emphasize clear, practical benefits.
Q: What topics should I cover? A: Basic first aid, water purification, safe fire basics, food and storage options, a 72-hour kit, simple shelter, and family communication.
Q: Should the workshop be free or paid? A: Both options work. Free lowers barriers. A small fee covers materials and can increase commitment. Be transparent about fees.
Next Steps
Pick a venue, define one measurable outcome, and draft a short 2 to 3 hour agenda. Recruit one certified instructor for medical topics and one volunteer safety lead. Run a pilot session with a small group, collect feedback, and refine the agenda.
The Complete
Prepper's Reference.
149 articles synthesized into one comprehensive PDF — twelve chapters covering water, food, shelter, first aid, comms, and scenario-specific preparedness. Free with your email.
Unsubscribe anytime · We never share your email
You're in. Check your inbox.
Keep Reading
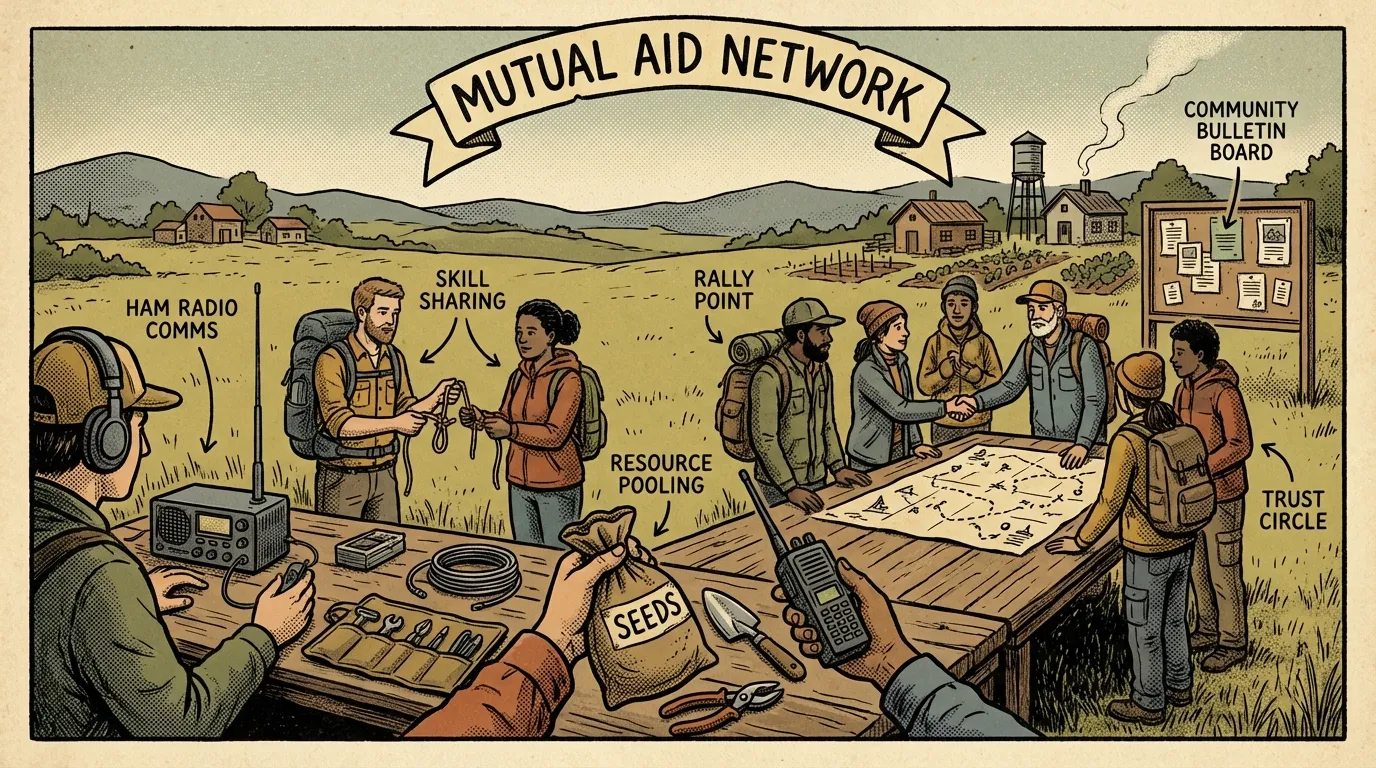
Prepper Networking: Building Your Survival Community
Learn how new preppers can find trusted allies, build a survival community, and use online tools to create resilient local support networks.
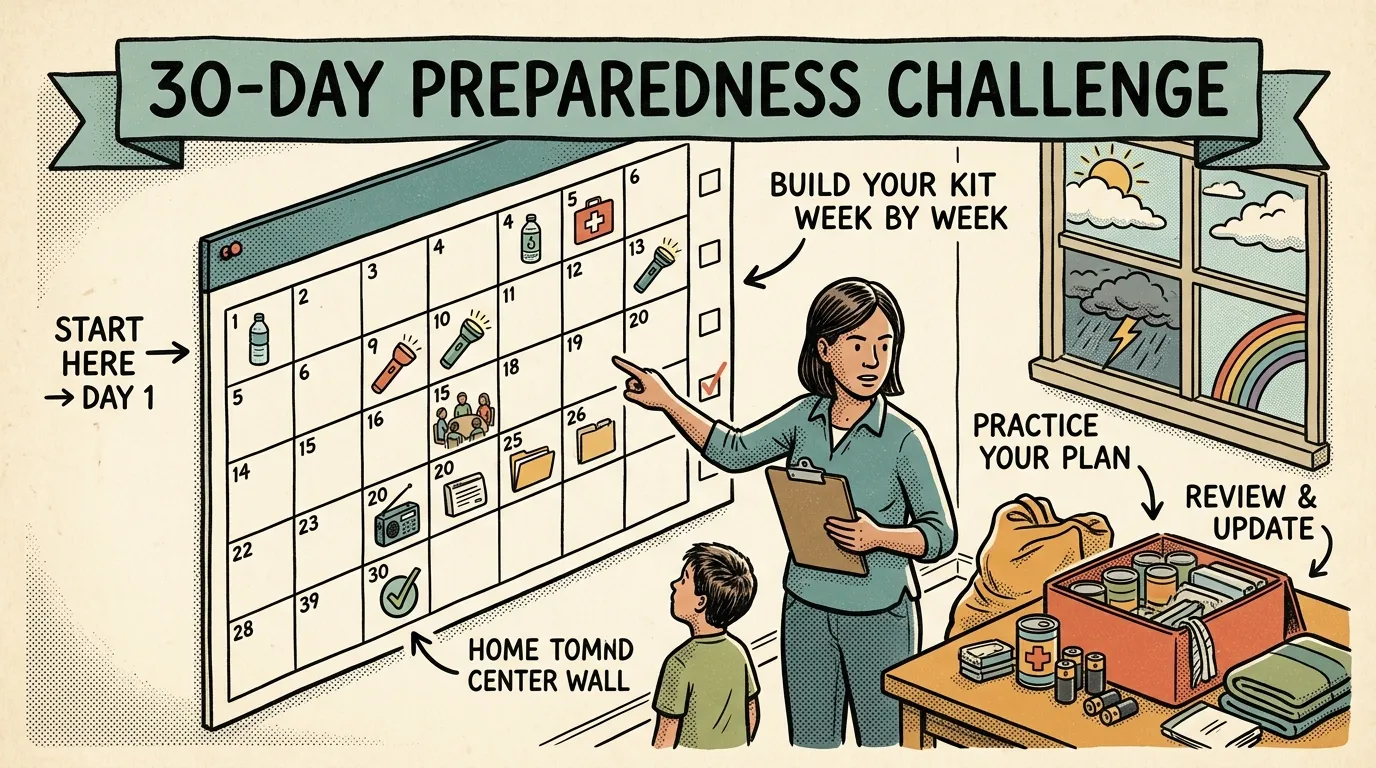
National Emergency Preparedness Month: 30-Day Plan
Use this 30-day National Emergency Preparedness Month challenge to go from unprepared to fully ready. One simple 15-minute task per day. Start now.
Emergency Preparedness Merit Badge: A Parent's Guide
Use the Emergency Preparedness merit badge framework to teach your kids real survival skills at home. Step-by-step activities for each requirement.