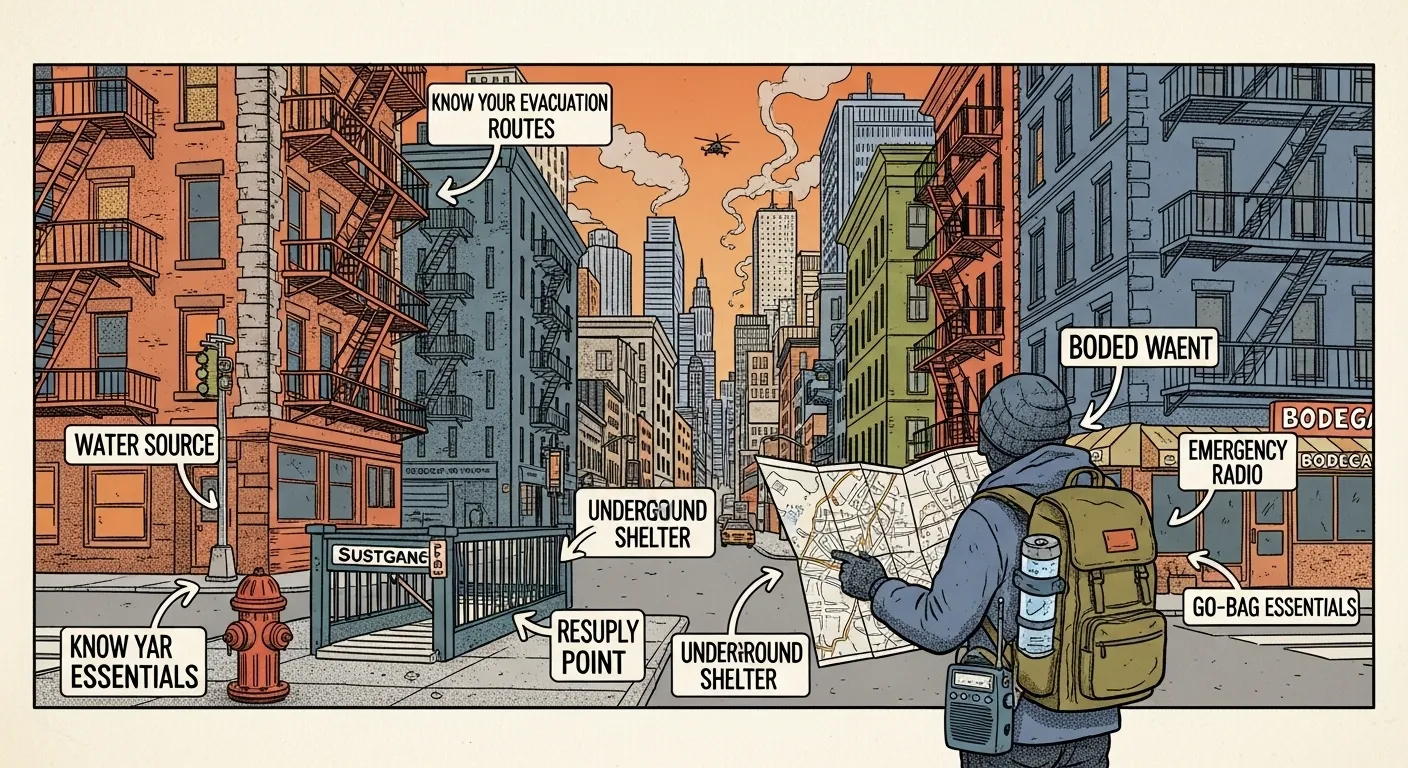
Urban survival means preparing for emergencies in densely populated areas where space, resources, and response times are limited. Beginners should focus on water, shelf-stable food, compact emergency kits, home security, neighborhood awareness, and community connections to handle city-specific disruptions.
Key Takeaways
- Build a 15–20 lb grab-and-go kit in a plain commuter backpack — tactical-looking bags draw unwanted attention in a city crisis.
- Map two walking exit routes from home and work, then physically walk one at night so you know what it actually feels like.
- Keep $100 in fives and ones split between your go-bag and a stash at home — card terminals die the moment power does.
- Meet at least one neighbor on your floor and exchange emergency contact info — community connections outperform gear every time.
- Review your kit and communication plan quarterly, swapping seasonal items like hand warmers or electrolyte packets as conditions change.
Urban Survival Tips: City Emergency Prep Guide
During the 2021 Pacific Northwest ice storm, many Portland neighborhoods lost power for five days straight. Pipes burst. Streets glazed over. For residents in the hardest-hit areas, the nearest open grocery store was a 45-minute walk on treacherous sidewalks. The families who had even basic kits — some water, a flashlight, a bag of granola bars — fared dramatically better than those who didn’t. Urban survival tips aren’t about doomsday fantasies. They’re about practical steps that keep you functional when the city stops working for you.
Quick Summary
- Water first: Store at least 1 gallon per person per day, and keep purification tablets as backup for when stored supplies run out.
- Go-bag under 20 lbs: Build a compact 72-hour kit in a plain commuter backpack — if it’s too heavy, you won’t carry it.
- Two walking routes: Map exit routes from both home and work, and physically walk one so you know the terrain.
- Cash is king in blackouts: Keep $100 in small bills split between your bag and your home.
- Know your neighbors: One floor contact list can turn six isolated households into a functional support network.
- Practice quarterly: A plan you’ve never rehearsed isn’t a plan — it’s a wish.
The 10 Most Useful Urban Survival Tips
- Store at least one gallon of water per person per day.
- Build a compact 72-hour grab-and-go kit under 20 pounds.
- Map two walking exit routes from home and work.
- Create a family communication plan with printed contacts.
- Carry small-denomination cash for blackout scenarios.
- Keep a charged power bank and headlamp always accessible.
- Learn basic first aid, CPR, and bleeding control.
- Meet your neighbors and exchange emergency contact info.
- Sign up for your city’s official emergency alert system.
- Practice your plan quarterly and adjust for seasonal threats.
Why City Preparedness Works Differently
If you’ve ever Googled “urban prepping” and found advice about building bunkers or stockpiling years of food, you’ve run into the wrong content. City emergency preparedness operates under constraints that make it fundamentally different from rural or suburban prepping.
Dense population means instant competition for resources. During the February 2021 Texas freeze, Houston grocery stores emptied in hours — not days. When 2.3 million people in a metro area all need bottled water at the same time, your window to buy supplies closes before most folks even realize there’s a crisis. This same pattern shows up repeatedly during ice storms and other regional emergencies: by the time the power goes out, hardware stores are often already sold out of batteries.
Infrastructure dependency creates cascading failures. A single substation failure can knock out power to an entire urban grid, which kills water pumps, disables electronic payment systems, shuts down traffic signals, and locks you out of buildings with electronic entry. FEMA’s community resilience planning guidance highlights how a single infrastructure failure can cascade into five or six secondary emergencies — and cities amplify that effect because everything’s interconnected.
When the roads are at a standstill, the route you can walk beats the route you can only drive.
Mobility becomes your biggest challenge. During Hurricane Rita in 2005, Houston evacuees sat in gridlock for 24+ hours on highways designed for normal commutes, not mass exodus. Even smaller-scale events can shut down a city’s transit system entirely. When traffic is at a standstill, a route you can walk is worth more than one you can only drive.
Understanding these differences isn’t meant to scare you. It’s meant to focus your preparation on what actually matters in a city: compact supplies, multiple exit options, and strong community ties.
Core Urban Survival Priorities
Water Comes First — Always
Water’s your number-one priority in any urban disaster preparedness plan. FEMA’s guideline (referenced in FEMA P-2194 on community resilience planning) is at least 1 gallon per person per day. For a two-person household, that’s a minimum of 6 gallons for a 72-hour emergency.
In a small apartment, space matters. Stackable 1-gallon jugs stored under the bed and sealed emergency water pouches tucked into closet corners work well for limited storage. Keep purification tablets or a compact filter as backup — if your stored supply runs out, you may need to treat tap water that’s been sitting in your building’s pipes. For a deeper dive on methods that work in tight spaces, check out our emergency water storage guide.
Build a Compact Food Buffer
Choose shelf-stable items you already eat: energy bars, canned goods with pull-tabs, nut butters, dried fruit, and ready-to-eat meals. Rotate these into your regular grocery cycle so nothing expires forgotten in the back of a cabinet. A plastic bin holding about 72 hours of food for two people takes up roughly as much space as a shoebox on its side.
Know Two Ways Out of Everywhere
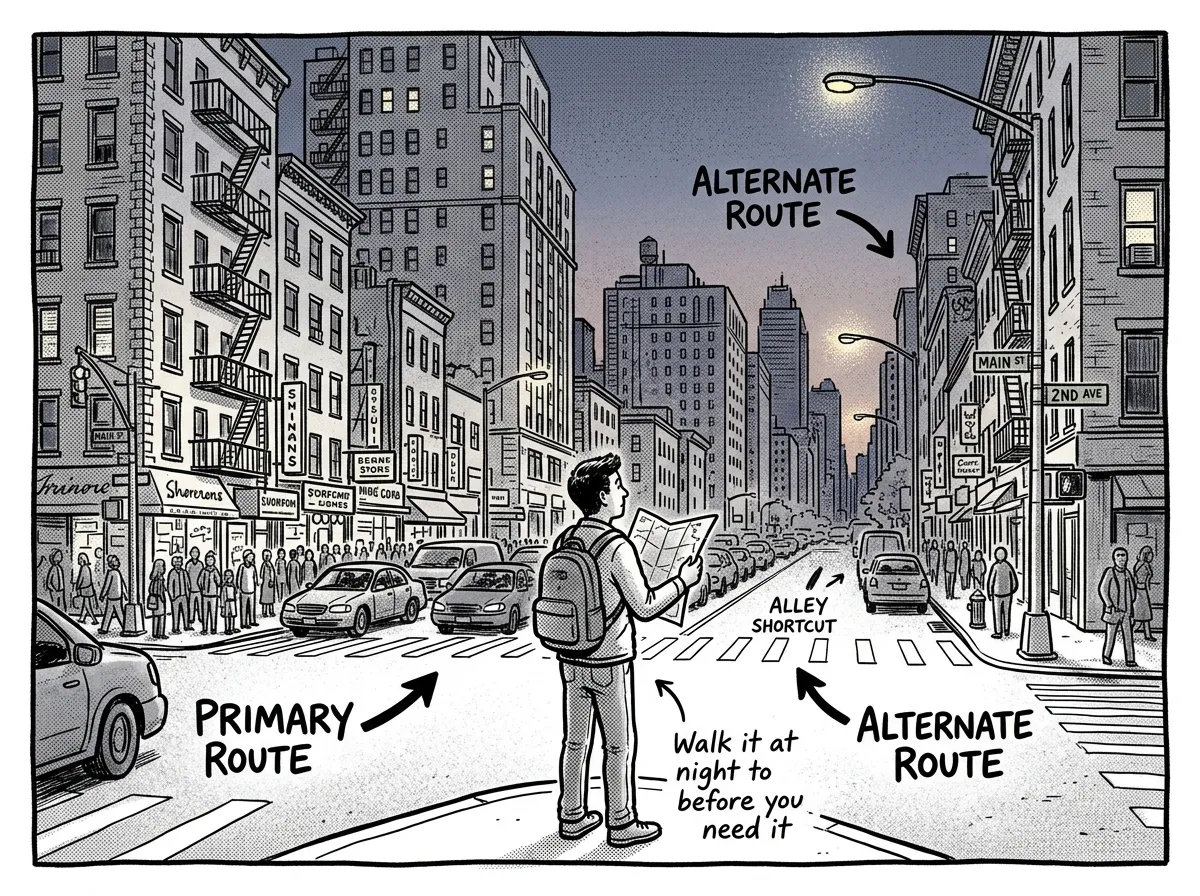 Mapping alternative walking exit routes through city streets
Mapping walking routes, stairwells, and transit alternatives from both home and work is one of the most valuable urban survival habits you can build. Then actually walk one of those routes. You’d be surprised how different a path feels at night, in rain, or when major intersections are blacked out. Practice until it feels automatic.
A common mistake is mapping a route on a phone, feeling confident, and never testing it. A route that looks fine on a screen can turn out to cut through an unlit park or include a steep grade that’s easy to miss until you walk it. That’s the kind of thing worth discovering now, not during a crisis.
Create a Simple Communication Plan
Pick an out-of-area contact everyone in your family can reach, designate physical meeting points near home and work, and keep printed phone numbers in your wallet. Cell towers get overloaded in emergencies — texts usually get through when calls don’t. For a complete walkthrough, see our guide on building a family communication plan for emergencies.
Keep Small Bills of Cash
When the power goes out, so does every card terminal and ATM in the area. Keeping $100 in fives and ones split between a go-bag and a stash at home is a common recommendation. It sounds old-fashioned until you’re the only person at the bodega who can actually pay for bottled water.
Maintain Power and Light Options
A dead phone in a city emergency is a serious liability. Keep power banks charged — a pair of 10,000mAh banks is a reasonable baseline — and store a headlamp or flashlight by your bed. Own a hand-crank or battery-powered NOAA radio. That radio may be your only source of verified information when cell service is down.
The Anker PowerCore 10000 (around $20–$25) is a commonly recommended pocket-sized power bank, rated to charge a phone roughly twice per full charge according to its manufacturer specs. Some people opt for larger 26,800mAh power banks, but they’re heavier and bulkier. In an urban kit where every ounce matters, the smaller bank is often the better trade-off. Carry two if you’re worried about capacity.
Learn Basic First Aid and Fire Safety
Take a local CERT course (typically a free 20-hour program) or Red Cross class. At minimum, learn bleeding control, basic CPR, and how to use a fire extinguisher. According to Red Cross and CERT training materials, basics like stopping bleeding, clearing airways, and treating shock save far more lives than any advanced technique.
Building a Compact Urban Survival Kit
So what actually goes in the bag? The core rule is simple: if it weighs more than 15–20 pounds, you won’t carry it when it counts. Your city kit needs to be light enough to move quickly through crowded streets, up stairwells, and across distances that might normally be a short drive.
Choosing the Right Container
Skip the tactical-looking MOLLE pack. In a city emergency, you don’t want to advertise that you’re carrying supplies. A plain, dark-colored commuter backpack blends in and draws zero attention.
Packing order matters. Place heaviest items (water, canned food) close to your back for balance. Put frequently accessed items — flashlight, radio, phone charger — in top or external pockets. Keep documents and cash in an internal zippered pocket.
Kit Essentials
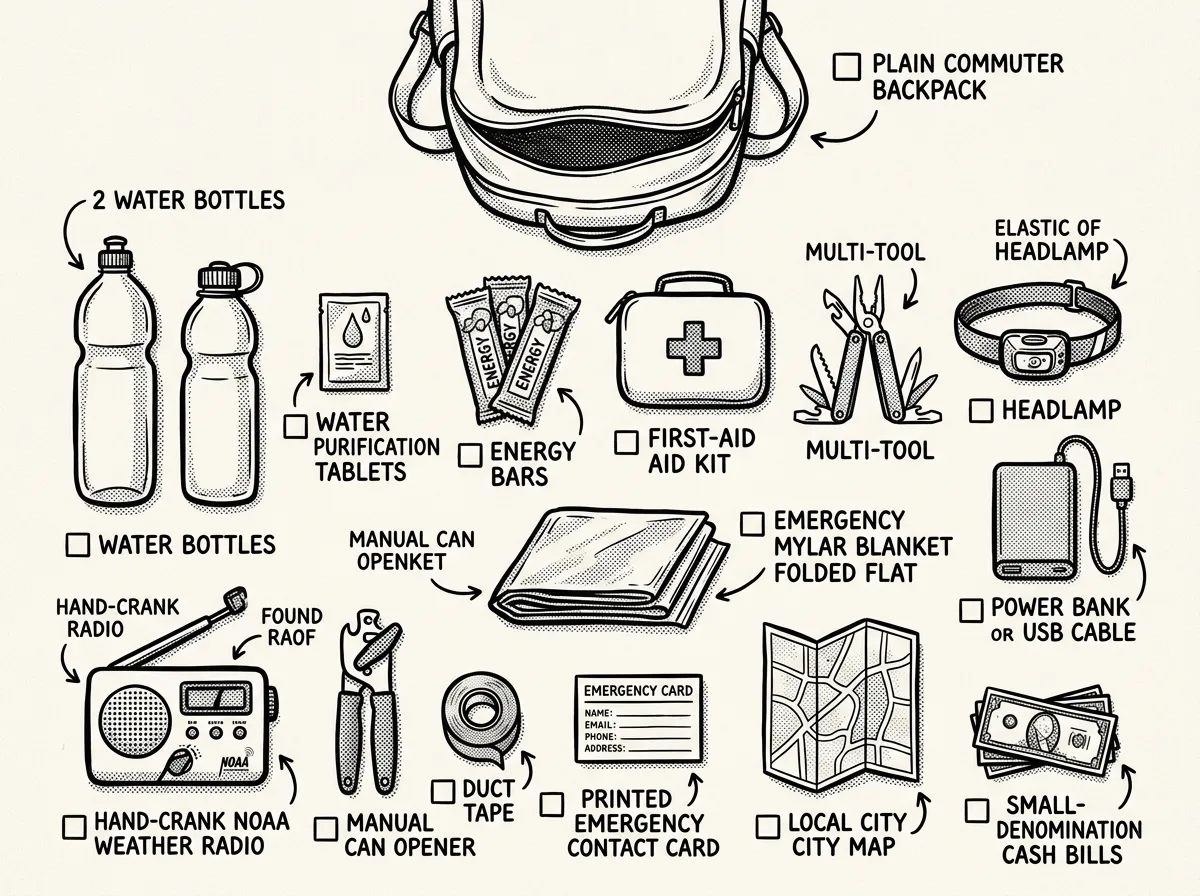 Core items for a compact 72-hour urban survival kit
- Water (at least 1 liter) plus purification tablets or compact filter
- High-calorie bars, pouched tuna or chicken, nut butter packets, manual can opener
- Headlamp plus power bank (10,000mAh minimum) and charging cables
- Battery or hand-crank NOAA radio, printed contacts, local map with marked routes
- Compact first-aid kit, 3-day prescription meds, N95 masks, hand sanitizer
- Multi-tool, duct tape wrapped around a pencil, whistle, lighter
- Sturdy shoes, emergency mylar blanket, rain poncho, warm layer
- Copies of ID and insurance, emergency contacts card, $50–100 in small bills
City-Specific Additions
Don’t overlook these: a transit fare card or reloadable pass, earplugs and spare N95 masks, a compact door alarm or portable door lock, offline maps downloaded to your phone, and a USB drive with backups of critical documents. None of these weigh much. All of them can matter enormously.
Keep a Mini Kit at Work
Keeping a smaller version at the office — a power bank, water bottle, granola bars, a flashlight, comfortable walking shoes, and printed directions home — is worth the small investment. If something happens during work hours, you need supplies where you actually are — not across town in your apartment closet.
Seasonal rotation: Swap in warm layers and hand warmers before winter. Add electrolyte packets and extra water before summer. Review and rotate food every six months. For a complete packing guide, see our article on building your first bug out bag.
Apartment-Specific Strategies
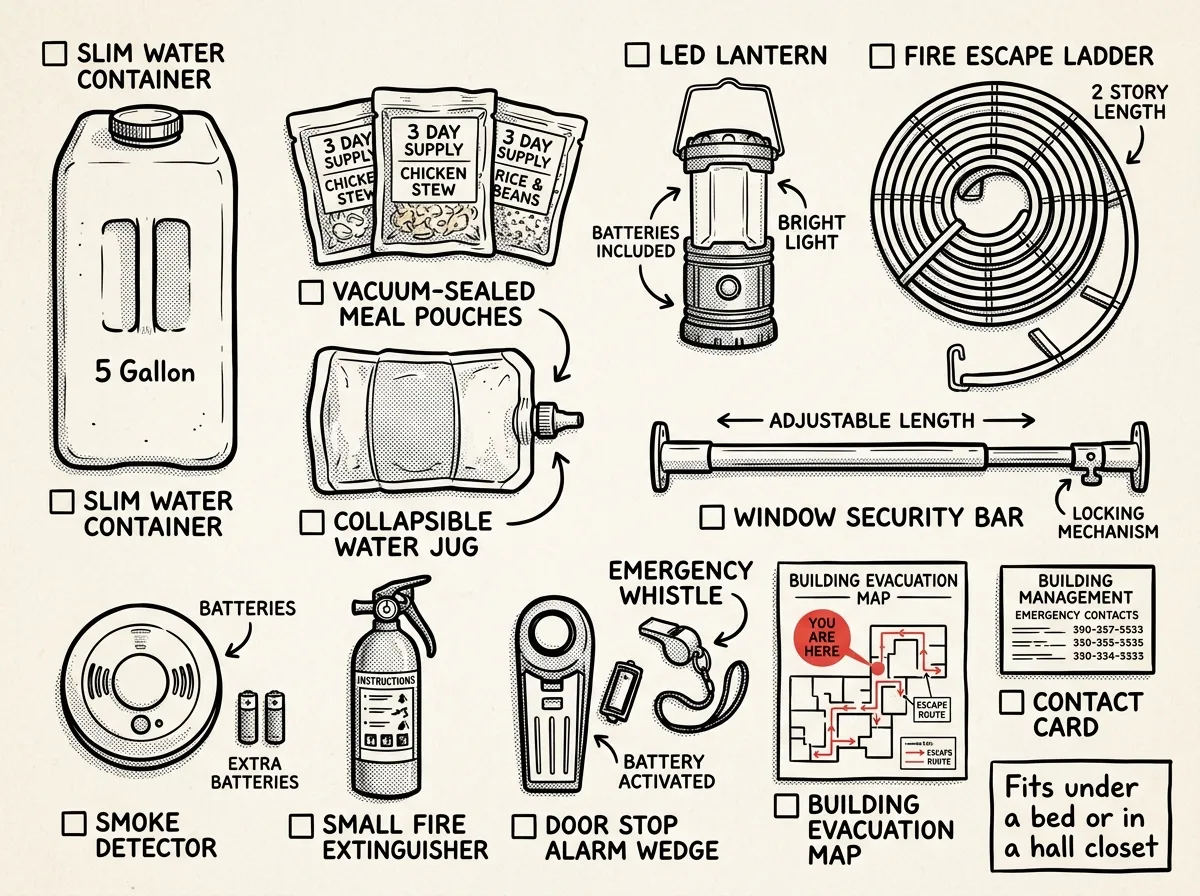 Small-space emergency supplies organized for apartment living
Most city residents live in apartments, and that creates unique challenges — limited storage, shared entry points, building rules, and reliance on elevators and building management. Here’s how to work within those constraints.
Maximize Small-Space Storage
You don’t need a garage full of supplies. Water jugs can be stored under the bed in flat-profile containers. Emergency food can go in a labeled bin on the top closet shelf, with a go-bag in the coat closet by the front door. Use vertical space: over-door organizers, stacking bins, and the dead space behind furniture all work.
Work Within Lease Restrictions
Most leases won’t let you change locks or install permanent fixtures. That’s fine. Portable door reinforcement bars, travel door locks, and battery-powered door alarms all work without modifications and cost under $30. Window security film — a clear adhesive sheet that holds glass together on impact — applies like a screen protector and peels off when you move. Landlords generally won’t even notice it.
Know Your Building Inside Out
Find out where your building’s water shutoff valve, gas shutoff, and electrical panel are located. Know every stairwell exit — not just the one you normally use. If you’re above the 6th floor, understand that fire department ladders typically only reach that high. Your evacuation plan above that line is the stairwell. Period.
Coordinate With Building Management
Ask your building manager if there’s an emergency plan. If there isn’t one (and there often isn’t), volunteer to help create a simple floor-by-floor contact list. This single step can dramatically improve response time when something goes wrong.
Take dated photos of your apartment and belongings for insurance purposes, and store them in the cloud — not just on your phone. If a fire, flood, or structural failure damages your unit, having documentation speeds up insurance claims enormously.
How to Survive a Power Outage in the City
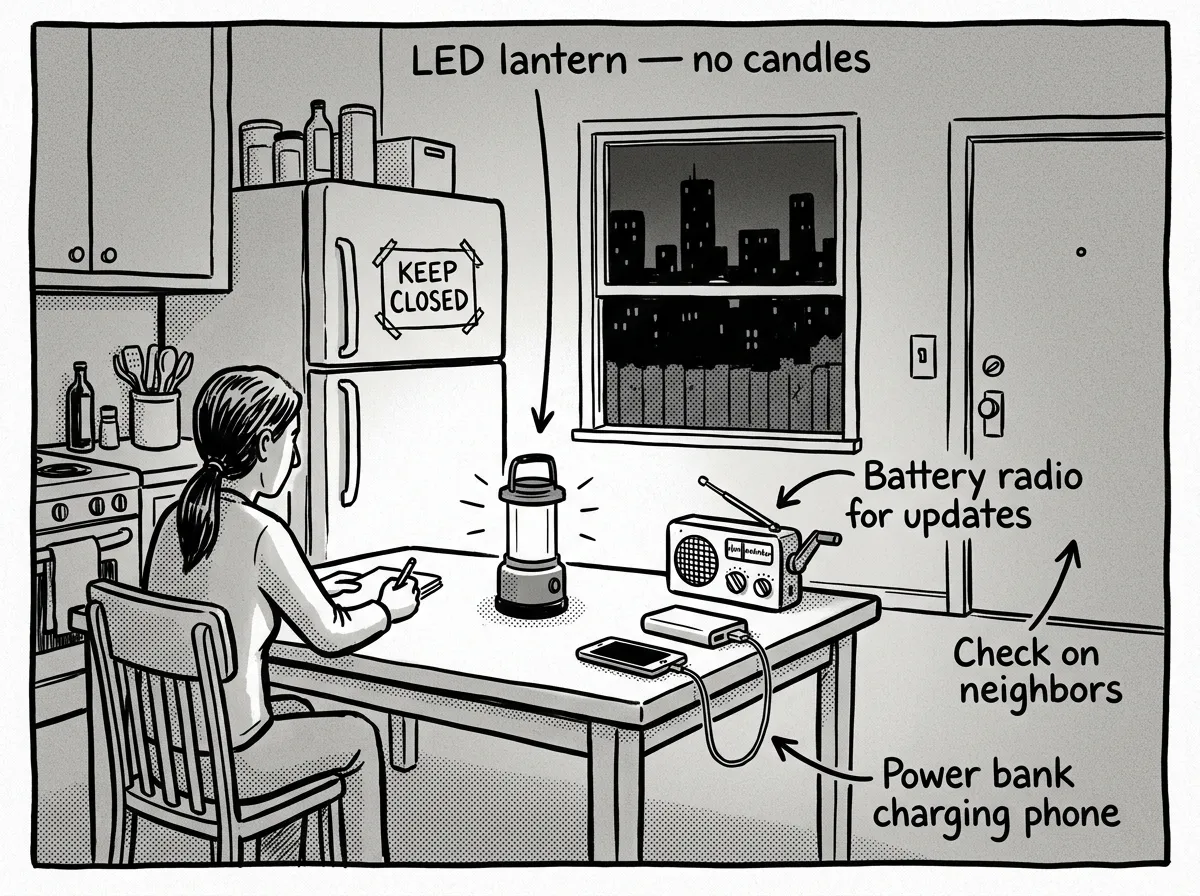 Managing an extended apartment power outage with basic preparedness
Power outages are the single most common urban emergency, and they cascade fast. Here’s a basic action plan for the first 30 minutes:
- Switch your phone to low-power mode, reduce brightness, and close unnecessary apps — your phone is your communication lifeline
- Leave the refrigerator and freezer doors closed (a closed fridge keeps food safe for about 4 hours; a full freezer holds temperature for 48)
- Turn on your battery or hand-crank radio and tune to your local NOAA weather station for official updates
- Use LED flashlights and headlamps, not candles — apartment fires during blackouts are disturbingly common
- Check on elderly or vulnerable neighbors with a quick door knock
Know When to Leave
If temperatures inside become dangerous — below 50°F or above 95°F — and there’s no timeline for power restoration, it’s time to relocate. Know your nearest designated cooling center or warming shelter before you need one. Your city’s emergency management website lists these locations, and the FEMA app provides real-time shelter information.
Electronic Lock Failures
Here’s one most people don’t think about. Many modern apartment buildings use electronic entry systems. During extended outages, these may fail, potentially locking you in or out. Know if your building has a manual override and carry a physical key for your unit door.
Common Urban Emergencies and Specific Responses
One mistake in generic preparedness content is treating “emergencies” as one monolithic category. These are among the specific urban threats residents are most likely to face — and each demands a different immediate response.
Building Fires
Get out immediately — don’t gather belongings. Feel doors for heat before opening. Use stairwells, never elevators. Close doors behind you to slow fire spread. Meet at your designated assembly point and call 911 from outside.
Severe Weather: Flooding and Extreme Heat
For flooding: move to higher floors, avoid walking through even shallow floodwater (it may be electrically charged from downed lines or contaminated), and never drive into flooded streets. For extreme heat: hydrate aggressively, close blinds, use wet towels on pulse points, and get to a cooling center if your home becomes dangerously hot. If you’re in a humid Gulf Coast climate, extreme heat is an annual near-certainty — don’t treat it as an edge case.
Infrastructure Failures
If you smell gas, leave immediately — don’t flip light switches or use your phone until you’re outside. For water main breaks, your tap may run brown or stop entirely. This is where your stored water supply proves its worth.
Civil Unrest
Stay indoors and away from windows. Lock and reinforce doors. Monitor official channels — not just social media — for verified updates. Have your go-bag ready in case you need to evacuate. Review your shelter in place plans so you can make a calm, informed decision about whether to stay or go.
Active Threat Situations
Run if you can, hide if you can’t, fight only as a last resort. That’s the standard protocol taught by DHS and local law enforcement. Know your building’s exits. Silence your phone. Once you’re safe, call 911.
Urban Evacuation Planning
Evacuation in a city is exponentially harder than in rural areas. More people, fewer routes, and faster gridlock mean you need to decide early and move quickly.
When Should You Actually Leave?
Not every emergency requires evacuation. Generally, you should go when authorities issue an official evacuation order, your building becomes structurally unsafe, sustained loss of power or water makes your home uninhabitable, or conditions in your immediate area are deteriorating — rising floodwater, approaching wildfire smoke, escalating unrest. If none of these apply, sheltering in place is often safer than joining a chaotic evacuation. Review our guide on shelter in place plans for a full decision framework.
Pre-Plan Your Routes
Map at least two routes out of the city — one driving, one walking. Assume major highways will be gridlocked. Secondary roads and pedestrian routes may be your best options. Download offline maps to your phone (Google Maps and Apple Maps both support this). A printed map kept in a go-bag serves as a useful final backup.
Fuel Management
If you own a vehicle, keep your tank at least half full at all times. During an evacuation, gas stations run dry within hours — stations closest to major highways are often the first to empty.
If Public Transit Shuts Down
Know your walking distance to the city boundary or to your designated meetup point. For most urban areas, that’s 5–15 miles. At a brisk walking pace with a loaded pack, expect about 3 miles per hour. Plan your route along well-lit main roads with access to water and rest stops.
Coordinate With Family
If family members are at different locations — home, work, school — everyone needs to know the plan in advance. Designate primary and secondary meeting points. Use your out-of-area contact as a message relay. Practice this at least once so it’s not theoretical when it matters.
Home Security and Habitability
Urban disaster preparedness includes making sure your home stays safe and livable during disruptions. Here’s what matters most, especially for renters.
Reinforce your entry points. A portable door security bar — around $25 — installs in seconds and doesn’t require any modification to the door frame. Travel door alarms (small wedge-shaped devices) alert you if someone opens your door. Neither leaves a mark.
Apply window security film. This clear adhesive holds glass together when it breaks, buying you time against break-ins or flying debris. Apply it like a screen protector: clean the glass, spray with soapy water, squeegee out bubbles, and let it cure for 30 days.
Keep a fire extinguisher rated for kitchen and electrical fires (look for a 2A:10B:C rating). Mount it near your kitchen but not directly next to the stove — you need to be able to reach it without leaning over flames.
Test smoke and CO alarms monthly and replace batteries annually. If your building doesn’t provide them, buy your own — they’re inexpensive and they’re non-negotiable.
Keep flashlights by beds and shoes near the door. Broken glass and debris on the floor after an earthquake or break-in can turn a simple evacuation into a medical emergency. Give a spare key to a trusted neighbor rather than using a lockbox. Lockboxes can be defeated; a good neighbor is a better security system.
Community Connections and Urban Skills
The best urban survival gear in the world won’t help you as much as knowing your neighbors. That’s not just a nice sentiment — community networks consistently prove critical during real emergencies.
Start With a Simple Ask
Knock on a neighbor’s door and say: “Hi, I’m putting together an emergency contact list for our floor in case something happens — a fire, a power outage, anything. Can I add your name and number?” Most people say yes. You’ve just built the beginning of a mutual aid network.
During one Portland ice storm, neighbors in an apartment building used a floor group chat to coordinate sharing a generator for phone charging. That one connection kept six families informed and functional.
Many people spend hundreds of dollars on gear and zero minutes talking to their neighbors. Yet across documented urban emergencies, one of the biggest factors separating people who handled a crisis well from those who didn’t wasn’t equipment — it was whether they had someone on their floor they could call. Building a kit matters, but introducing yourself to two people in your building this week may be one of the highest-value prep moves available.
Get Free Training
Your city almost certainly offers free courses that’ll make you genuinely useful in an emergency:
- CERT (Community Emergency Response Team): Free 20-hour course covering fire safety, light search and rescue, disaster medical operations, and team organization. Find your local program at ready.gov/cert.
- Red Cross: Free online first aid and CPR certification at redcross.org.
- Stop the Bleed: A free 2-hour class teaching tourniquet use and wound packing at stopthebleed.org.
These aren’t resume builders — they’re skills that make you useful when professional responders are overwhelmed.
Digital Preparedness
This is a gap I see in most urban prepping advice. Back up critical documents (ID, insurance, medical records) to a secure cloud service. Download the FEMA app for real-time shelter and disaster information. Save offline maps of your city and surrounding area. Keep a USB drive with digital copies of everything in your go-bag.
Managing Stress and Panic
Crowded emergency situations amplify anxiety. Practice box breathing — inhale 4 seconds, hold 4, exhale 4, hold 4. It’s a simple technique widely used to reduce acute stress. Having a plan you’ve practiced reduces panic more than anything else. The people who freeze in emergencies are almost always the people who never thought about what they’d do.
Seasonal Urban Preparedness
Your city emergency plan should shift with the seasons. This is where a lot of otherwise solid plans fall apart.
Summer: Add electrolyte packets to your kit. Know your nearest cooling center. Store extra water. Watch for air quality alerts from wildfire smoke — a growing concern across the Pacific Northwest and increasingly nationwide. If you’re in a high desert climate like Boise or Reno, the heat-plus-smoke combination can make outdoor movement genuinely dangerous. Keep N95 masks accessible.
Winter: Add warm layers, hand warmers, and an extra blanket to your kit. Know your nearest warming shelter. Keep your vehicle’s gas tank above half. Watch for ice storm warnings that can take down power lines for days.
Review quarterly. Check expiration dates on food and water. Swap seasonal gear. Test your flashlight batteries and power bank charge levels. Run through your communication plan with your family. This takes 20 minutes and it’s the single most impactful thing you can do for your urban emergency preparedness.
Start With One Step This Week
The people who fare best in urban emergencies aren’t the ones with the most gear. They’re the ones who took simple, consistent steps ahead of time — stored some water, packed a basic kit, learned their exits, and knew their neighbors.
Pick one thing from this guide and do it today. Buy a case of water. Print your emergency contacts. Knock on a neighbor’s door. Download offline maps. These urban survival tips work because they’re small enough to start right now and powerful enough to make a real difference when the city stops working the way you expect it to.
Build the habit. Add one item or one skill per week. Rehearse your plan quarterly. And when the next ice storm, blackout, or emergency hits your city, you’ll be the calm, prepared person your block needs.
Sources and Further Reading
- FEMA Ready.gov — Comprehensive federal preparedness guidance: ready.gov
- FEMA P-2194 — Community Resilience Planning Guide for Buildings and Infrastructure Systems
- American Red Cross Preparedness — Free training and shelter information: redcross.org/get-help/how-to-prepare-for-emergencies
- CERT Program — Free community emergency response training: ready.gov/cert
- Stop the Bleed — Free bleeding control training: stopthebleed.org
- FEMA App — Real-time alerts, shelter locations, and preparedness checklists (iOS and Android)
Frequently Asked Questions
What should be in an urban survival kit?
A compact city kit should include water and purification tablets, high-calorie shelf-stable food, a headlamp, a power bank with cables, a battery or hand-crank NOAA radio, a first-aid kit, a multi-tool, an emergency blanket, printed emergency contacts, a local map with exit routes marked, and $50–100 in small bills. Keep the total weight under 20 pounds in a low-profile backpack. If it’s too heavy or too flashy, you won’t carry it — and a kit that stays in the closet isn’t a kit.
How do you prepare for emergencies in a city?
Start with the basics: store water (1 gallon per person per day), build a 72-hour kit, map two walking exit routes from home and work, create a family communication plan for emergencies, carry small cash, and meet at least one neighbor on your floor. Sign up for your city’s official emergency alerts and practice your plan once per quarter. That quarterly review is what separates having a plan from having a stale document you forgot about.
What is the difference between urban and rural survival?
Urban survival focuses on compact gear, infrastructure dependency (power, water systems, transit), mobility through dense populations, building security, and community coordination. Rural survival emphasizes self-sufficiency, land-based resources, and long-term off-grid living. City dwellers face faster resource depletion, more competition for supplies, and greater reliance on interconnected systems that can fail simultaneously — which means your prep strategy needs to be leaner, faster, and more people-oriented.
How do you survive a power outage in an apartment?
Immediately switch your phone to low-power mode. Keep your refrigerator and freezer doors closed — a full freezer can hold temperature for up to 48 hours if you don’t open it. Use LED flashlights instead of candles. Turn on a battery or hand-crank radio for official updates. Check on elderly or vulnerable neighbors. If temperatures become dangerous and there’s no restoration timeline, relocate to a designated shelter or a friend’s home with power.
What are the most common urban emergencies?
Extended power outages, building fires, severe weather (flooding, extreme heat, ice storms), infrastructure failures (water main breaks, gas leaks), civil unrest, and active threat situations. Each demands specific immediate actions, but every one of them is more manageable when you’ve got a basic emergency kit, practiced evacuation routes, and a communication plan that everyone in your household actually knows.
The Complete
Prepper's Reference.
149 articles synthesized into one comprehensive PDF — twelve chapters covering water, food, shelter, first aid, comms, and scenario-specific preparedness. Free with your email.
Unsubscribe anytime · We never share your email
You're in. Check your inbox.
Keep Reading
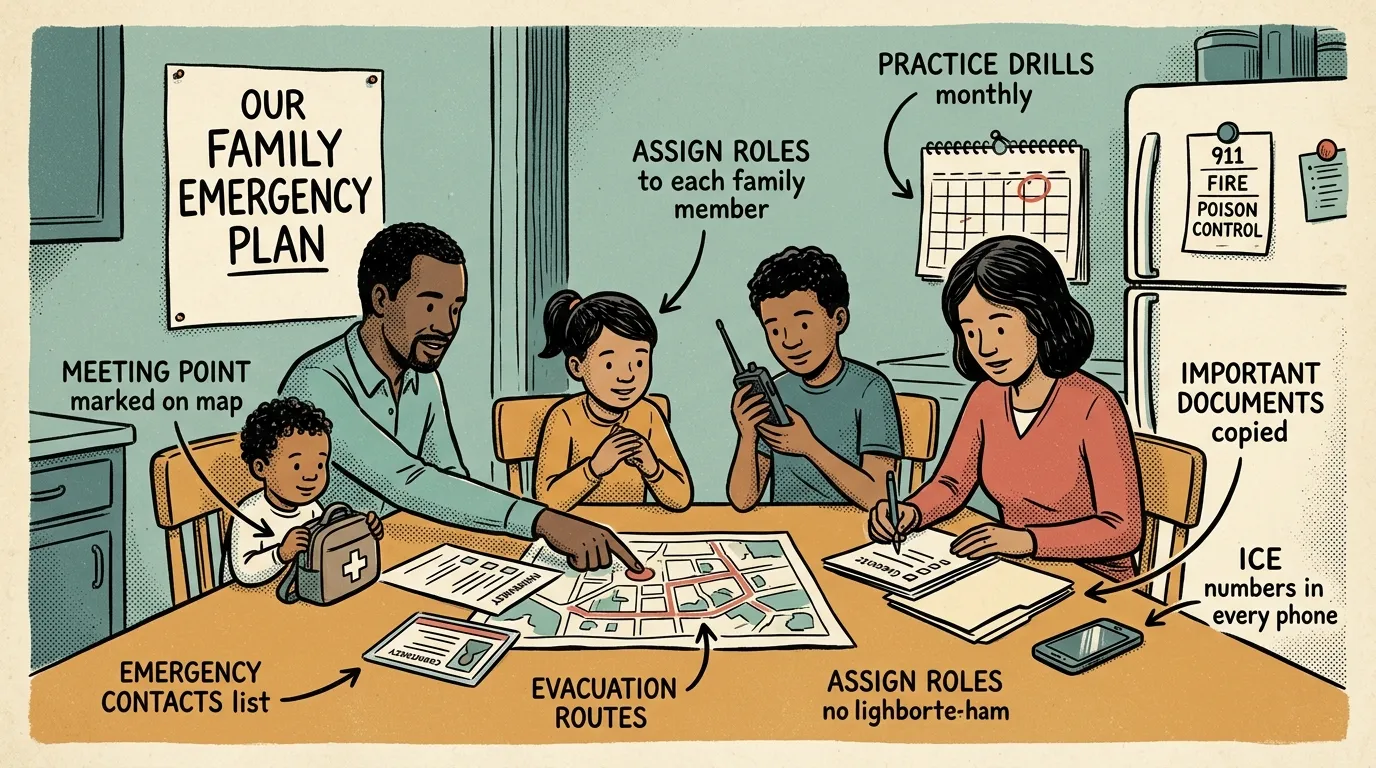
Family Emergency Plan: A Practical Step-by-Step Guide
Build a practical family emergency plan with step-by-step communication, supply kit, and drill guidance. Start today.
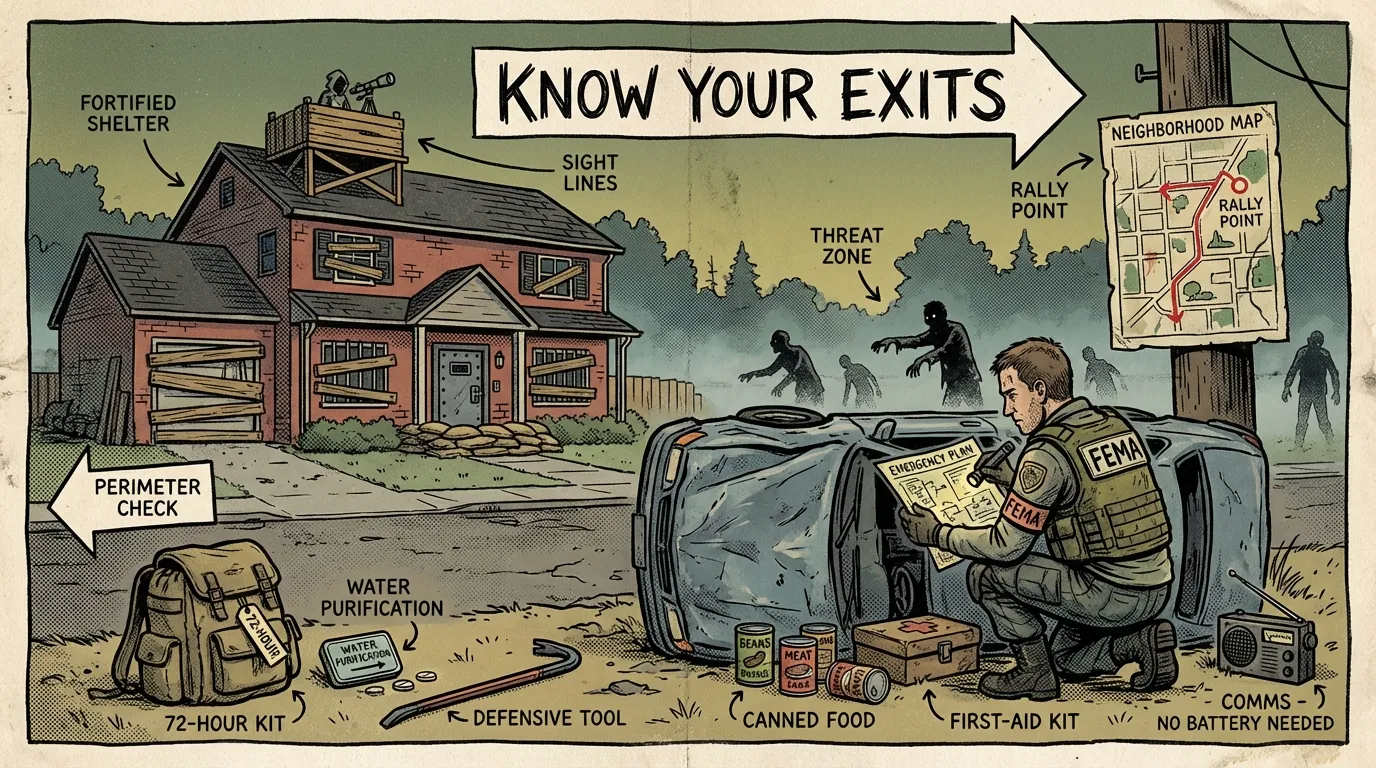
Zombie Apocalypse Survival Preparedness: FEMA Pro's Guide
Zombie apocalypse survival preparedness teaches real disaster skills. Here's a breakdown of the exact steps. Start today.
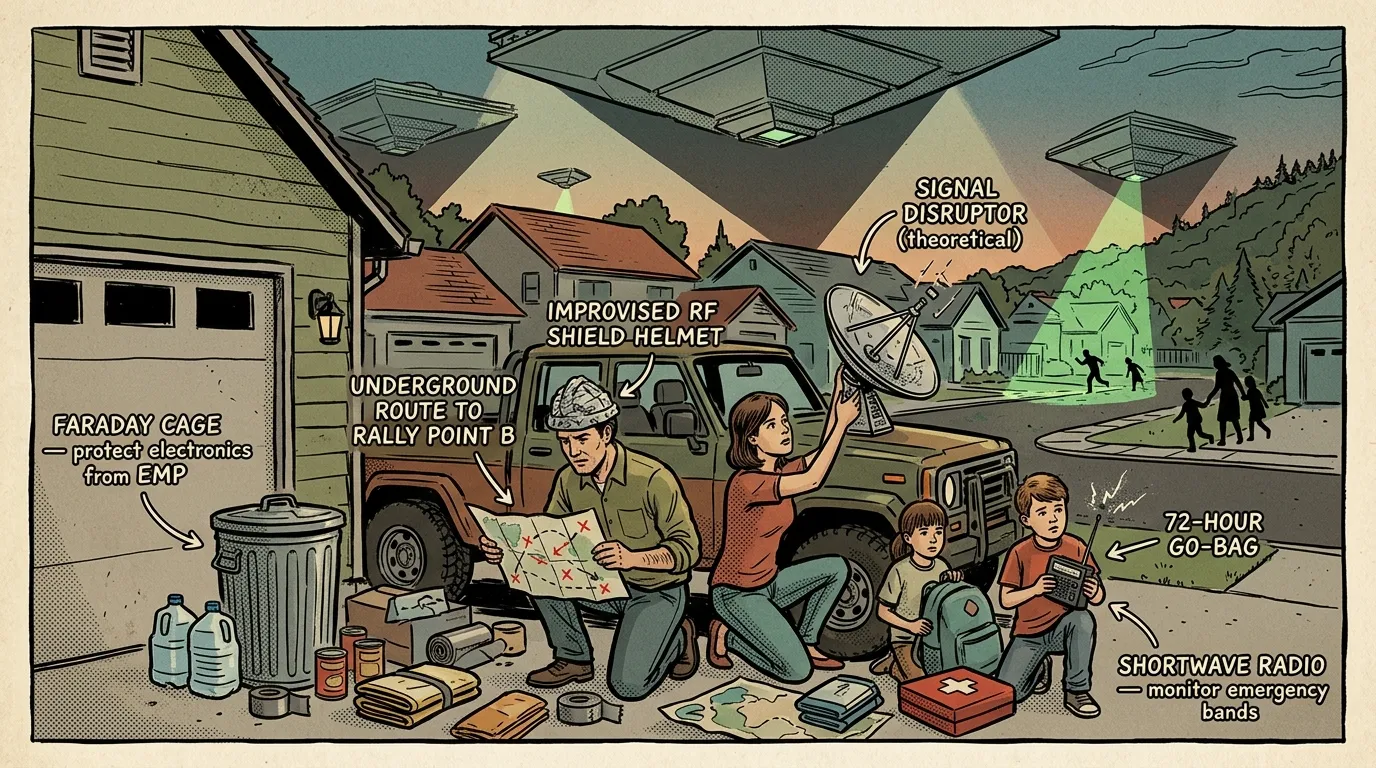
Alien Invasion Preparedness: A Practical Survival Guide
Alien invasion preparedness uses proven survival skills that work for any disaster. Build your kit, plan your routes, and get ready for anything.