
Prepping is the practice of preparing for emergencies by building supplies, plans, skills, and the mindset to handle disruptions. Beginners should start with likely risks, a 72-hour emergency kit, water and food storage, first aid, basic tools, and practical training in core survival skills.
Key Takeaways
- Write a risk assessment and household emergency plan before spending a dollar on gear — your plan reveals exactly what to buy and in what order.
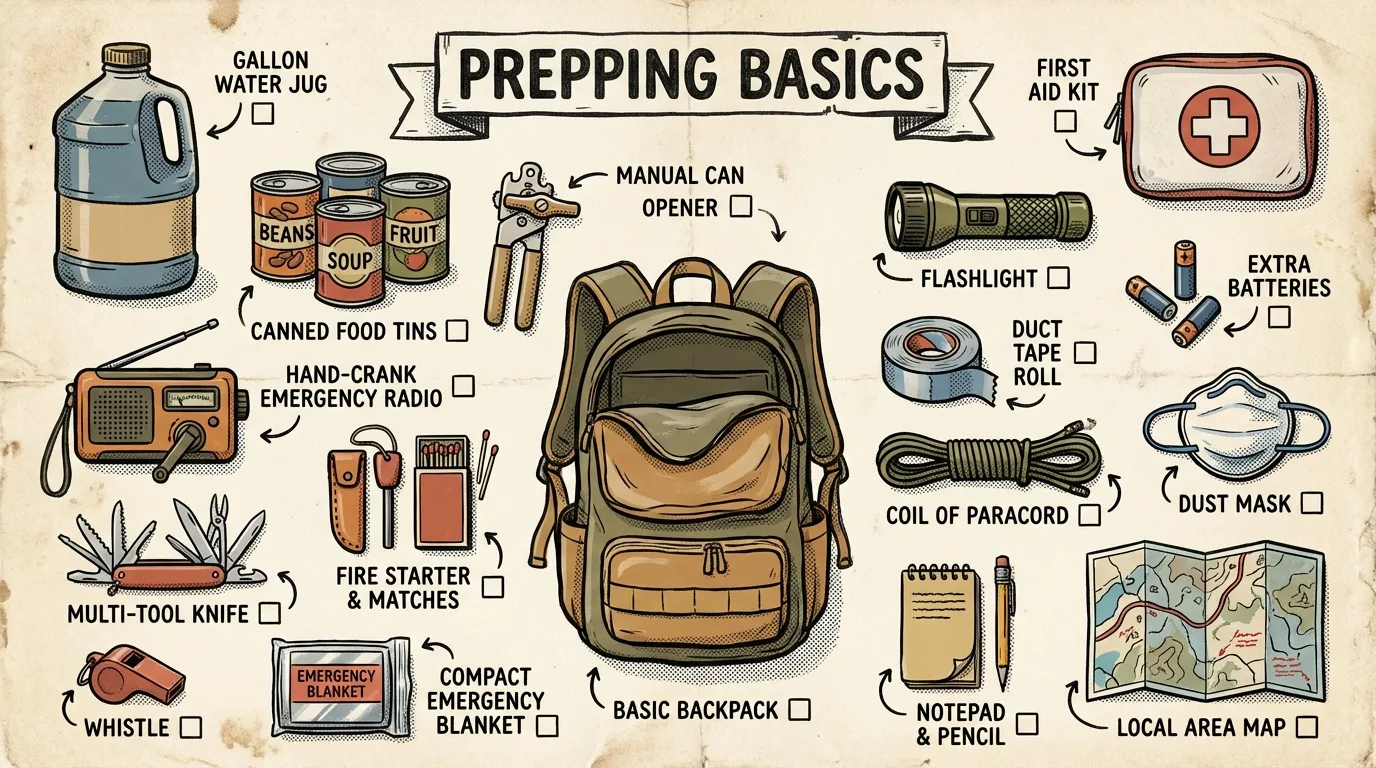
- Build a 72-hour kit covering water, food, first aid, light, and communication for each person in your household, then expand to one and two weeks over time.
- Set aside around $50/month and follow a tiered priority: water and a plan first, then food, medical supplies, lighting, and communication tools.
- Skills beat gear every time — get first aid/CPR certified, practice water purification hands-on, and run a family emergency drill at least once a year.
- Tailor everything to where you live: urban preppers optimize for portability and evacuation speed, rural preppers optimize for supply depth and self-sufficiency.
Beginner Prepper Guide: Practical Steps to Build Emergency Readiness
If you’ve landed on this beginner prepper guide, you’re already ahead of most people. Not because you’ve got gear or a bunker — but because you’re asking the right questions. In my 12+ years of emergency work in the Pacific Northwest, I’ve learned something that surprises a lot of folks: the people who fare best during disruptions aren’t the ones with the most stuff. They’re the ones who started with a plan, built skills, and added supplies methodically.
That’s exactly what we’re doing here. No fear-mongering. No doomsday fantasies. Just practical steps toward genuine readiness.
TL;DR
- Assess local risks. Build a 72-hour kit with water, food, first aid, light, and reliable communication. Learn core skills and practice them.
- Start small: secure water, medications, and a phone charger. Add items and skills over time.
Key Definitions You’ll See Throughout This Guide
- Prepping — planning, storing, and learning to meet basic needs during short- to medium-term disruptions.
- 72-hour kit — a portable set of supplies to support one person for roughly 72 hours.
- Bug-out bag / go-bag — a lighter, grab-and-go evacuation kit.
- Potable water — water that’s safe to drink; treat or purify when safety is uncertain.
- Redundancy — two or more ways to meet a need, e.g., flashlight plus headlamp.
Authoritative Resources
- Ready.gov: https://www.ready.gov/
- FEMA: https://www.fema.gov/
- American Red Cross: https://www.redcross.org/
Local emergency management and public health departments publish region-specific guidance worth checking.
Quick Start: What to Do First
The first thing a beginner prepper should do is assess their most likely local hazards and create a written household emergency plan.
[STEPS]Your First Five Moves|Assess risk: list your most likely local hazards — storms, blackouts, floods, earthquakes, or wildfires|Write a household plan: include emergency contacts, meeting points, pet arrangements, and utility shutoff locations|Build a 72-hour kit for each person with water, food, first aid, light, and communication supplies|Secure critical items: prescriptions, document copies, small cash, chargers, and power banks|Practice two to three skills: basic first aid/CPR, water treatment, and off-grid cooking or warmth[/STEPS]
That’s it. Don’t overthink this part. You can refine everything later — what matters is getting the foundation down.
What Is the Preparedness Mindset?
The preparedness mindset is a calm, proactive approach to identifying risks and building layered plans to handle them — before they happen. It’s not paranoia. It’s not hoarding. It’s the same mental framework that professionals in emergency management, medicine, and the military use every day: assess, plan, act, adjust.
[PULLQUOTE]The preparedness mindset isn’t about expecting the worst — it’s about being genuinely ready when normal breaks down.[/PULLQUOTE]
Here’s what this looks like in practice. During a 2019 ice storm response near the Oregon Cascades, I watched two families handle the same five-day power outage in completely different ways. The family with a written plan and practiced skills stayed calm — they rotated through their food stores, kept their pipes from freezing, and checked on elderly neighbors. The family next door had a garage full of untested gear, no household plan, and no clue how to operate their own camp stove. By day two, they were in full panic mode.
The preparedness mindset rests on three core pillars:
1. Situational Awareness
This means monitoring your environment and local hazards as a daily habit. Check weather forecasts. Know what season brings what risks. Pay attention to community alerts. This isn’t hypervigilance — it’s the same awareness you use when checking mirrors while driving.
2. Adaptability
No plan survives first contact unchanged. If your primary evacuation route floods, do you know two alternatives? If the power’s out and your electric stove is useless, can you heat water another way? The prepper mindset requires backup plans and the willingness to improvise on the fly.
3. Incremental Action
Preparedness isn’t built in a weekend shopping spree. Fill a few water containers this week. Take a first aid class next month. Run a family drill next quarter. Small actions compound into serious resilience over time.
Here’s what most people miss: the preparedness mindset applies to everyday life before it ever applies to disasters. Keeping your gas tank above half, maintaining a charged phone, knowing alternate routes to work, keeping a basic first aid kit in your car — these are all expressions of the same proactive thinking. When you start seeing emergency preparedness as a natural extension of responsible daily living rather than a reaction to fear, you’re operating with the right mindset.
What Is the First Rule of Prepping?
The first rule of prepping is to plan before you purchase.
Full stop. I’ve seen students arrive at my field courses with $2,000 in gear but no household plan, no water storage, and no idea how to shut off their gas line. Their gear was expensive shelf decoration.
Here’s the three-step framework I teach in every beginner course:
- Assess your most likely local hazards. Not zombie apocalypses — real, statistically probable events for your area. For me in the Pacific Northwest, that’s earthquakes, ice storms, wildfire smoke events, and extended power outages. Your list will look different.
- Write a one-page household emergency plan. Include emergency contacts, a meeting location if you can’t get home, who grabs what during an evacuation, how to shut off your water and gas, and where your critical documents are stored. This takes 30 minutes and costs nothing.
- Buy supplies to fill the specific gaps your plan reveals. If your plan shows you’ve got no water storage, that’s your first purchase. If you realize you can’t cook without electricity, a camp stove goes on the list. The plan dictates the spending — not the other way around.
This sequence protects you from the single biggest beginner mistake: buying random gear that doesn’t fit any coherent strategy. Your plan is the blueprint. Your supplies are the materials. Without the blueprint, you’re just collecting expensive clutter.
Essential Supplies: Quick Reference by Category
Water (Top Priority)
[STATS]1|gallon/person/day|Minimum storage target||72|hours|Starting baseline for every household[/STATS]
Keep a minimum 72-hour supply per person. Add more for pets, infants, or hot climates. For detailed storage methods, see our guide on how to store water for emergencies.
- Use food-safe containers and rotate them per manufacturer guidance. Keep at least one treatment method: tablets, a trusted filter, or boiling.
- For disinfection, use unscented household bleach at CDC-recommended ratios.
Food and Cooking
Stock familiar, long-shelf-life foods: canned goods, rice, pasta, oats, nut butters, and ready-to-eat meals. Don’t overthink this — just buy more of what you already eat.
- Keep a manual can opener. Seriously. Without one, canned food is an expensive paperweight.
- Have a backup cooking method: camp stove or grill, plus safe fuel storage.
- Use FIFO (first in, first out) and label expiration dates with a marker.
First Aid and Medical Needs
- Basic kit: assorted bandages, sterile gauze, antiseptic, pain relief, tweezers, gloves, burn care items, and instructions.
- Keep extra prescription meds when possible. Store copies of prescriptions and a written list of allergies and chronic conditions.
- Take a formal first aid/CPR class when you can — it changes everything about how confident you feel in an emergency.
Lighting, Power, and Charging
- Flashlights and headlamps with spare batteries.
- Power banks and a small solar charger for phones and essential devices.
- Rechargeable batteries plus a plan to recharge them off-grid.
Communication and Information
- Battery-powered or hand-crank NOAA radio. Use app-based backups when power and data are available.
- Printed emergency contacts and local paper maps. Your phone might be dead when you need directions most.
- A family communication plan and at least one backup method: SMS, voice, or local radio nets.
Shelter, Warmth, and Clothing
- Blankets or sleeping bags, layered clothing, rain gear, and sturdy footwear.
- Tarps, cordage, and mylar blankets for temporary shelter.
- Match items to climate: safe backup heat for cold regions; shade, electrolyte tablets, and plenty of water for heat. If you’re in the humid Gulf Coast, heat management is a bigger concern than most guides acknowledge.
Sanitation and Hygiene
- Toilet paper, wet wipes, trash bags, soap, hand sanitizer, feminine supplies, and diapers as needed.
- Plan for sanitation: bucket toilet with a sealed liner, and follow local public-health guidance.
Basic Tools and Repairs
- Multi-tool, duct tape, pliers, adjustable wrench (for utility shutoffs), knife, lighter or waterproof matches, paracord.
- Zip ties, work gloves, tarp, and basic fasteners for quick repairs.
Beginner Prepper Checklist: Practical Milestones
[CHECKLIST]72-Hour Baseline Checklist|Water: minimum 3 days per person (bottled or treated)|Food: minimum 3 days of shelf-stable food per person|First aid kit and extra prescription medications|Light/power: flashlight or headlamp, extra batteries, NOAA radio|Hygiene and sanitation supplies plus a sanitation plan|Basic tools and a multi-tool|Go-bag or bug-out bag for each household member|Copies of important documents and small cash[/CHECKLIST]
Use this as your baseline. Tailor it to local risks and household needs — a family with a toddler has different priorities than a solo apartment dweller.
Building Skills That Actually Matter
So you’ve got the supplies. Now what?
Skills outperform gear in every scenario I’ve encountered. A $200 first aid kit is useless if you don’t know how to apply a pressure bandage. Here’s the learning sequence I recommend, based on what I’ve seen matter most in real emergencies:
- First aid and CPR certification first. This applies to daily life — car accidents, kitchen injuries, a coworker choking — not just disasters. Take a Red Cross or American Heart Association course. For deeper knowledge, see our emergency first aid basics guide.
- Water purification with hands-on practice. Don’t just buy a filter — run water through it in your backyard. Practice boiling and treating water with bleach using proper CDC ratios. Know what your filter removes and what it doesn’t.
- Off-grid cooking on a camp stove. Set up your camp stove outside and cook an actual meal. Learn how much fuel one meal uses so you can calculate your real supply needs. You’ll be surprised how fast fuel disappears.
- Navigation with a paper map and compass. GPS dies when phones die. Print paper maps of your immediate area and your evacuation routes. Basic compass orientation takes about an hour to learn and a lifetime to forget.
- Fire starting in wet conditions. This is where most people discover their “survival lighter” doesn’t work. Practice in your yard on a rainy day with real tinder. It’s humbling and instructive.
[JOSHTAKE]The first time I tried starting a fire with a ferro rod in the rain during a WFR training exercise, it took me 22 minutes. Twenty-two minutes of scraping, swearing, and realizing my tinder bundle was soaked. Now I keep a small ziplock of dryer lint and petroleum jelly cotton balls in every kit I own. That lesson cost me nothing but pride, and it’s saved me in the field more times than I can count.[/JOSHTAKE]
Free and low-cost training resources:
- FEMA’s IS-317 (Introduction to CERT) — free online course at training.fema.gov
- Red Cross First Aid app — free download with step-by-step emergency instructions
- Local CERT programs — find yours at ready.gov/cert
I recommend quarterly skill refreshers on at least one technique and an annual full-scenario family drill.
How to Involve Your Family in Prepping
This is where a lot of beginners stall. You’re motivated, but your partner thinks you’re overreacting and your kids couldn’t care less. I’ve been there. Here’s what I’ve found actually works.
Start with familiar activities, not emergency scenarios. A camping trip is a prepping drill in disguise. You’re practicing off-grid cooking, sleeping without climate control, managing water, and navigating without GPS. A “no-electricity dinner night” where you cook on a camp stove and eat by lantern light is fun for kids and teaches practical skills without a single mention of disaster.
Frame it as empowerment, not fear. When I talk to families in my community preparedness workshops, I never lead with worst-case scenarios. I lead with confidence: “Wouldn’t it feel good to know that if the power went out for three days, you’d be totally fine?” That framing changes the entire conversation from anxiety to capability.
Assign roles to build ownership. Give each family member a specific responsibility in your household plan:
- Navigator: knows the evacuation routes and can read the paper maps
- First aid lead: knows where the kit is and has taken a basic course
- Communication officer: responsible for the emergency contact list and radio
- Pet handler: has the pet go-bag ready and manages animal needs during an event
For younger kids (ages 4–8), turn drills into games. A “pack your backpack in five minutes” challenge with a timer is exciting, not scary. Older kids can learn to operate a hand-crank radio or help inventory food supplies. Teenagers can take on real responsibility like a CPR course or learning to shut off the water main.
The key to building a family communication plan for emergencies is making sure everyone has practiced it. A plan that lives on paper but never gets rehearsed is just wishful thinking. Run through your communication chain at least twice a year — once announced, once as a surprise.
Common Beginner Mistakes and How to Fix Them
One thing I see constantly: someone buys a $300 bug-out bag before they’ve stored a single gallon of water. It’s the most common mistake in prepping, and it’s completely avoidable.
- Don’t buy gear before planning. Make a plan, then fill the gaps. This is the first rule for a reason.
- Don’t prepare for extremely unlikely scenarios first. Prioritize probable local events over Hollywood-style catastrophes.
- Don’t ignore water. If the budget’s tight, secure water before anything else. Start with one gallon per person per day for three days minimum, then expand.
- Rotate supplies. Set calendar reminders for checks and medication renewals. I use a simple quarterly phone reminder.
- Train with your gear. A headlamp you’ve never worn is a headlamp you’ll fumble with in the dark.
- Keep systems simple. Maintain what you have before adding complexity.
- Account for household diversity: pets, infants, older adults, and special medical needs all change what you need.
- Don’t trust unverified gear claims. I’ve field-tested over a dozen portable water filters during backcountry courses and CERT exercises. The Sawyer Squeeze — around $30 — is what I reach for every time. It filters up to 100,000 gallons, it’s backflushable, and it’s got published EPA-standard test data. The LifeStraw is fine for personal use, but the Squeeze filters more volume and works inline with a hydration bladder. The $6 marketplace knockoff with no test data? I’ve seen students get sick trusting those on training trips. Stick with published filtration specs and be skeptical of common survival myths that could get you hurt.
Urban vs. Rural Prepping: Same Goal, Different Playbooks
Where you live fundamentally changes what you store, how you store it, and what skills matter most. One of the most common mistakes in any beginner prepper guide is assuming a one-size-fits-all approach.
Urban Prepper Challenges
- Space constraints. A studio apartment doesn’t have room for 50-gallon water barrels. You’re working with under-bed bins, closet shelves, and vertical storage. Stackable water bricks (3.5 gallons each) beat round barrels every time in a small footprint.
- Evacuation complexity. Getting out of a dense metro area during a regional emergency means gridlock. Have at least two vehicle routes and one walkable route mapped. Know your public transit options and when to abandon them.
- Higher dependency on infrastructure. Elevators, municipal water pressure, electric door locks — when the grid goes down, high-rise living gets hostile fast. Prioritize a gravity-fed water filter, battery-powered lighting, and a plan for climbing stairs with gear.
- Neighbor density as both asset and risk. Community relationships matter more here than almost anywhere. Know your neighbors before you need them.
Rural Prepper Challenges
- Longer response times. EMS and utility crews may be hours away, not minutes. A more robust first aid kit and deeper medical training aren’t optional — they’re baseline.
- Greater self-reliance for water and heat. Well pumps fail without electricity. A hand pump, stored water, or nearby surface water source with proper filtration is essential. If you’re in the high desert Southwest, water scarcity makes this doubly critical.
- Storage advantage. Use it. A basement or outbuilding gives you the square footage to store weeks of supplies. There’s no excuse for a rural prepper not to have a two-week food and water buffer.
- Isolation risks. Roads wash out. Snow drifts block driveways for days. Stock deeper on fuel, animal feed if applicable, and vehicle repair basics.
[TIP]Urban preppers should optimize for portability, redundancy, and evacuation speed. Rural preppers should optimize for depth of supply, self-sufficiency skills, and medical readiness. Both need a communication plan that doesn’t rely on cell towers.[/TIP]
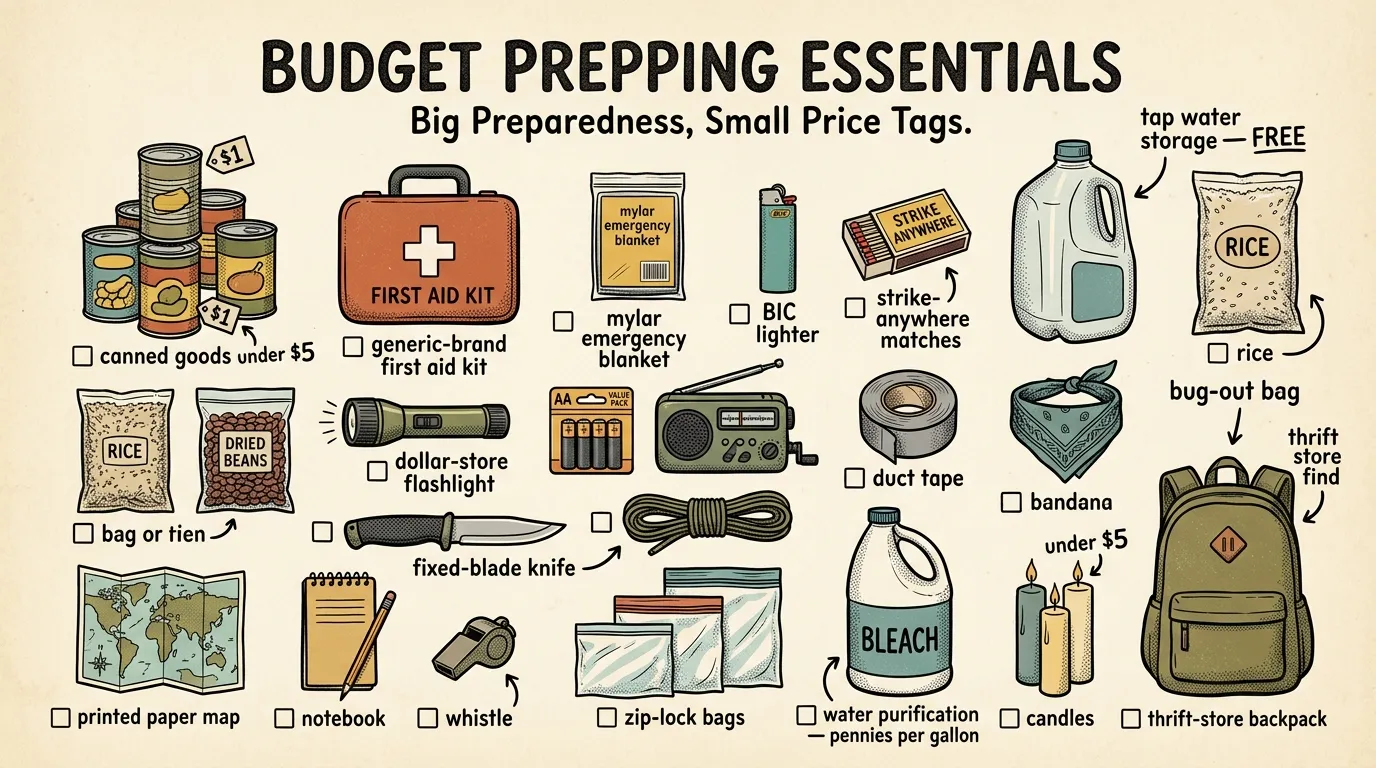
Budget Breakdown: Priority Order When Money Is Tight
Prepping can turn into an expensive hobby fast if you let social media dictate your shopping list. But starting on a budget is simpler than most people think. Here’s a realistic priority order with actual cost ranges. For a deeper dive, check out budget-friendly prepping tips for beginners.
Tier 1: The Non-Negotiables ($0–$50)
- Written emergency plan — Free. Thirty minutes, a pen, and paper.
- Water storage — $0–$15. Clean 2-liter soda bottles filled with tap water. One gallon per person per day, three days minimum.
- Basic first aid supplies — $10–$20. A no-frills kit from any pharmacy.
- Flashlight and batteries — $5–$15. Skip the tactical marketing. A reliable LED flashlight works fine.
- Manual can opener — $3–$8.
Tier 2: Solid Foundation ($50–$150)
- Three-day food supply — $30–$60. Canned beans, rice, pasta, peanut butter, oats.
- Portable water filter or purification tablets — $15–$30. Sawyer Squeeze or Katadyn Micropur tablets.
- NOAA weather radio (hand-crank) — $20–$35. Your information lifeline when the power’s out.
- Power bank (10,000–20,000 mAh) — $15–$30.
Tier 3: Extended Capability ($150–$400)
- Expanded food storage to one week — $60–$100 additional.
- Camp stove with fuel — $25–$50.
- Better lighting: headlamp plus lantern — $20–$40.
- Small solar charger panel (10W–21W) — $25–$50.
- Upgraded first aid kit plus OTC medications — $30–$60.
[PULLQUOTE]Set aside roughly $50 a month and you’ll have a genuinely solid preparedness setup within six months. That’s less than most people spend on streaming subscriptions.[/PULLQUOTE]
What to Avoid Buying: Gear That Sounds Good but Underperforms
After years of field-testing gear and watching students show up with closets full of regrettable purchases, here’s my short list of things to skip.
“Survival in a tin” kits and cheap all-in-one survival kits. Those $15–$30 tin kits with a tiny compass and three matches? Almost every component is too small or flimsy to be useful. Assemble your own kit with full-size items you’ve actually tested.
Off-brand water filters without published test data. The real LifeStraw and Sawyer Squeeze have third-party-tested filtration data. The $6 knockoff? Probably not. Water filtration is not the place to gamble.
Massive fixed-blade knives marketed as “survival” knives. A 12-inch bowie knife is heavy and awkward for 90% of actual tasks. A quality 4–5 inch fixed blade like the Morakniv Companion — around $15 — handles real work far better and weighs a fraction of those mall ninja specials.
Cheap solar panels with inflated wattage claims. A panel claiming 100W output for $30 is lying. For phone charging, a 10W–21W panel from a reputable brand in the $25–$50 range is honest and effective.
Bulk freeze-dried food buckets as a first purchase. If you haven’t secured water, lighting, medical supplies, and a communication plan, you’ve put dessert before dinner.
[JOSHTAKE]My rule of thumb after testing more gear than I’d care to admit: if a product’s marketing relies more on fear than on specifications, walk away. I’ve watched too many students show up to my courses with “tactical” gadgets that broke on day one. Good gear sells on performance data, not doomsday imagery. Every dollar you spend should trace back to a specific gap in your plan.[/JOSHTAKE]
Planning Beyond 72 Hours: Extending to Two Weeks
The standard beginner prepper guide focuses on 72 hours because that window covers most common emergencies. But disruptions regularly stretch longer. During the February 2021 Pacific Northwest ice storms, I supported neighbors who lost power for nine days. The families who’d extended beyond 72-hour kits managed well. The ones who hadn’t were in serious trouble by day four.
Days 4–7: The Comfort Cliff
This is where most people hit a wall — not physically, but psychologically.
- Water demand scales fast. A family of four needs roughly 28 gallons for a full week. Add a rain catchment plan and increase stored water to at least 14 gallons per person.
- Food variety matters now. By day five, morale drops hard on plain rice. Add spices, coffee, tea, hot sauce, and comfort snacks — small items that make a measurable difference.
- Sanitation becomes critical. A five-gallon bucket toilet with heavy-duty trash bags, kitty litter, and a snap-on seat ($10–$15) is no longer optional.
- Battery and fuel inventory. At the 72-hour mark, audit what you’ve used and calculate whether your remaining supply gets you to day seven.
[SCENARIO]Day Five Without Power|It’s Wednesday evening, day five of a regional ice storm. The roads are still impassable. You’ve eaten through most of your canned meals and the kids are tired of cold food. Your phone’s at 12% because you forgot to ration power bank charges. This is the moment that separates planned readiness from wishful thinking — and it’s exactly why extending past 72 hours matters.[/SCENARIO]
Days 8–14: Systems Thinking
At this stage, you’re not surviving an event — you’re living through one. The shift moves from emergency supplies to sustainable routines.
- Water resupply becomes mandatory. Unless you’ve stored 28+ gallons per person, you need an active water source and reliable filtration. Know your nearest creek, lake, or rainwater options. Practice the full collection-to-filtration process before you need it.
- Food planning needs a calorie audit. Target a minimum of 1,800–2,000 calories per adult per day. Map out your stored food by actual calorie count — you may find your “two-week supply” is really eight days.
- Medical resupply and chronic condition management. Two weeks without blood pressure medication, insulin, or psychiatric meds is dangerous territory. Talk to your doctor now about a 30-day emergency supply.
- Mental health and structure. Boredom, anxiety, and family tension spike dramatically after a week. Maintain a daily routine with set wake times, meal times, and activity periods. Keep children occupied with books, card games, and simple projects. Limit news checks to twice a day — enough to stay informed without spiraling. Physical movement matters even in a shelter-in-place scenario: stretching, bodyweight exercises, or simply walking around your property keeps energy and morale from cratering.
The progression from 72-hour readiness to two-week capability isn’t a leap — it’s a natural evolution. Once your three-day foundation is solid, extending to a week requires modest additional supplies and one or two new skills. Getting from one week to two is mostly about deeper water and food stores, better fuel management, and the mental resilience to sustain routines when normalcy feels far away.
Notes and Cautions
- Bleach dilution varies by concentration. Use CDC or local public-health instructions for exact dosages.
- Rotation periods depend on container and product. Follow manufacturer recommendations.
- Use checklists as a practical baseline and adapt them to your situation.
- Supply recommendations and pricing verified against current availability as of early 2026.
Further Reading
- How to Store Water for Emergencies
- Building Your First Bug-Out Bag
- Emergency First Aid Basics
- Family Communication Plan for Emergencies
- Budget-Friendly Prepping Tips
For official methods, check Ready.gov, FEMA, and the American Red Cross. Local emergency management offices provide area-specific advice.
One Step Today Beats a Perfect Plan Tomorrow
Everything in this beginner prepper guide comes back to something I’ve seen confirmed across hundreds of emergencies, field courses, and community workshops: the people who do well aren’t the ones with the most gear. They’re the ones who made a plan, practiced a few key skills, and built their readiness one small step at a time.
You don’t need to do everything this week. Write that household emergency plan. Fill a few bottles with water. Download the Red Cross First Aid app. Schedule a CPR class. Any single action from this guide puts you meaningfully ahead of where you were yesterday.
Preparedness is a habit, not a purchase. Start where you are, use what you have, and build from there. That’s not just the philosophy behind this guide — it’s how I’ve approached every ice storm, wildfire season, and earthquake drill across 12 years of doing this work in the Pacific Northwest. It’s how you build genuine readiness, and it’s how you’ll be ready when it counts.
The Complete
Prepper's Reference.
149 articles synthesized into one comprehensive PDF — twelve chapters covering water, food, shelter, first aid, comms, and scenario-specific preparedness. Free with your email.
Unsubscribe anytime · We never share your email
You're in. Check your inbox.
Keep Reading
Prepping on a Budget: Affordable Gear & Strategies
Start prepping on a budget with a $75-$150 starter kit. Get affordable gear picks, DIY hacks, and a layered buying plan from a FEMA-trained responder.
Beginner Prepping Basics: Start Survivalism the Right Way
Learn beginner prepping basics from a FEMA-trained responder. Practical steps, budget-friendly gear, and common mistakes to avoid. Start prepping today.
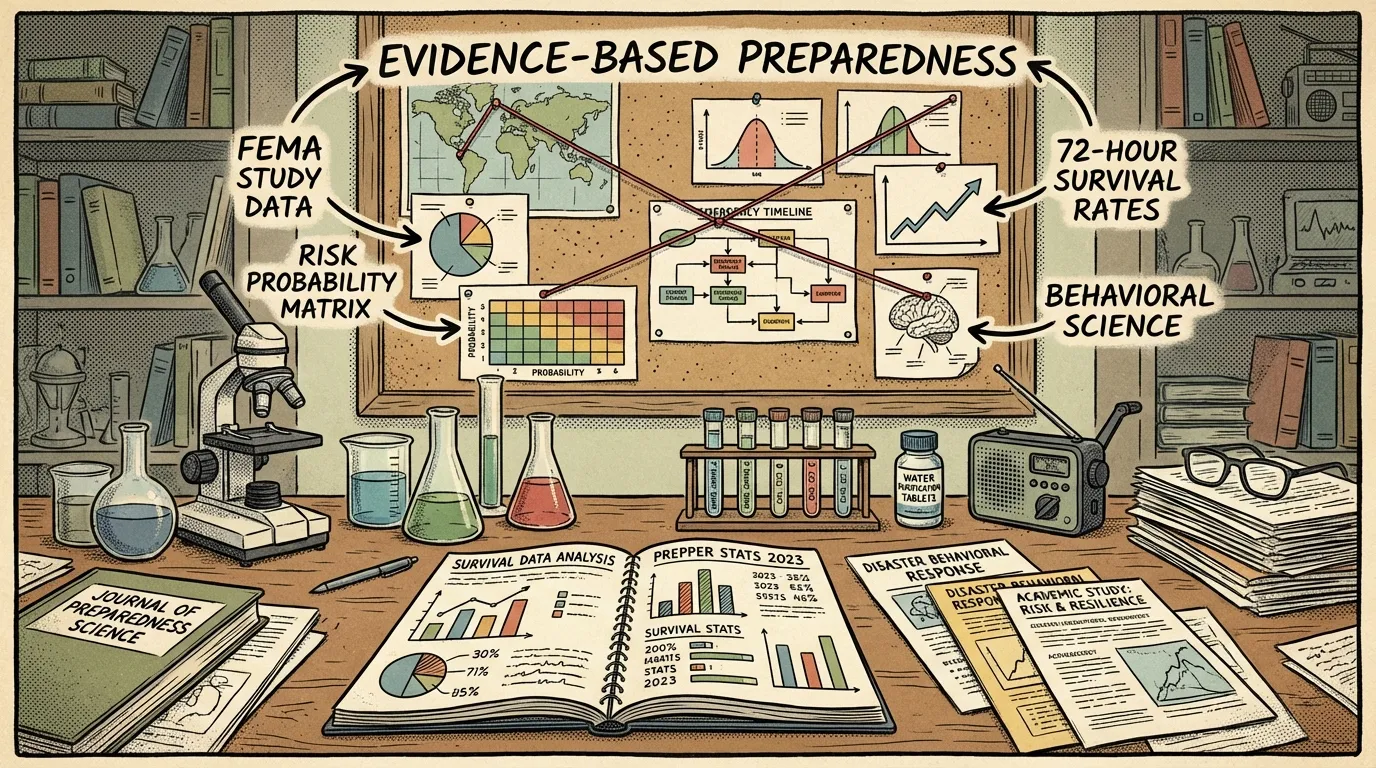
The Science of Prepping: What Studies Say About Preparedness
Scientific research shows prepping works: plans, kits, and mental resilience improve disaster response. Here’s how beginners can prep smarter.