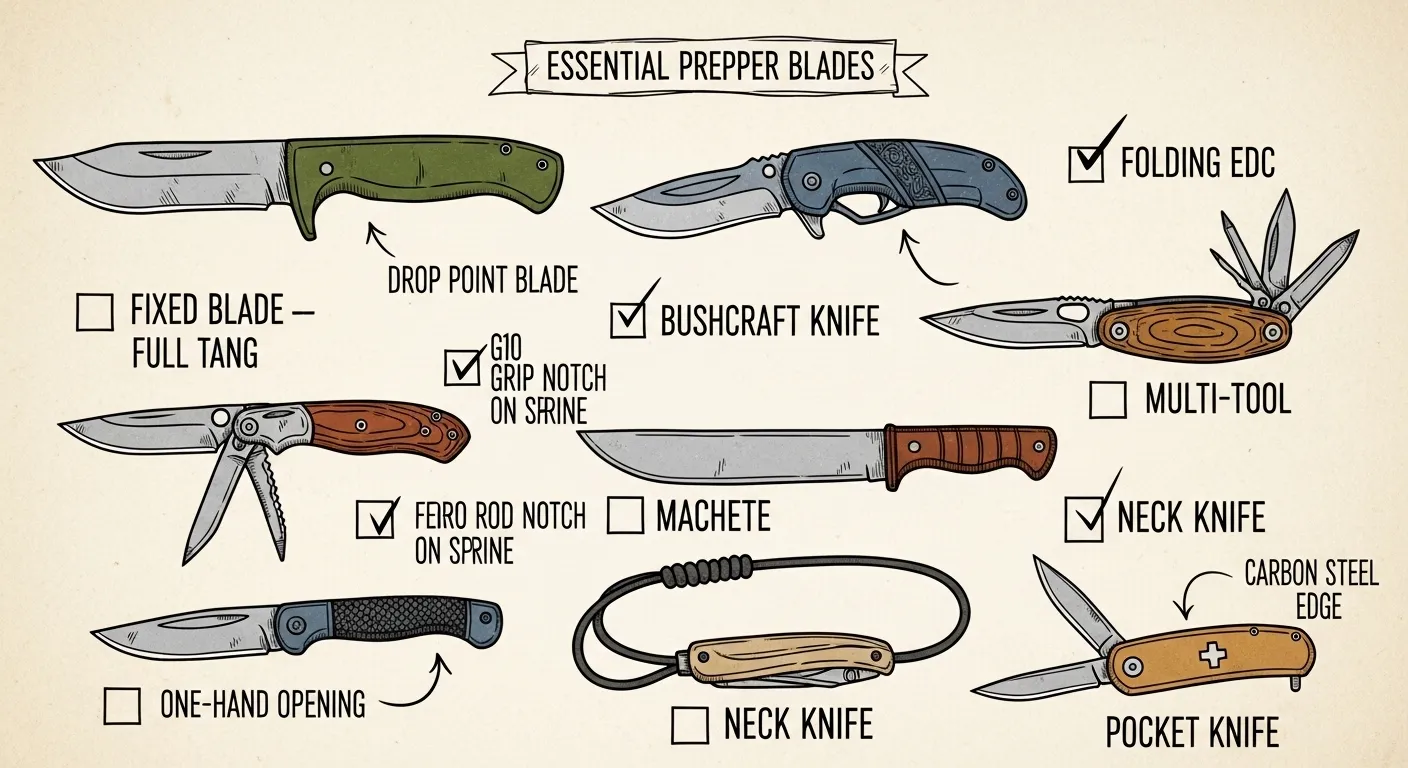
The best knife for most beginner preppers is a fixed-blade knife with a 4 to 7 inch blade, full tang construction, a secure grip, and easy-to-maintain steel. Popular beginner-friendly options include models from Morakniv, KA-BAR, ESEE, Gerber, and Leatherman, with fixed blades best for survival and multi-tools best for repairs and everyday versatility.
Key Takeaways
- Build a two-knife system: a full-tang fixed blade (4-7 inches) as your primary tool, plus a folder or multi-tool for daily tasks and repairs.
- Match your steel to your climate — stainless for coastal or humid regions, carbon steel only if you'll actually oil it after every use.
- Budget $50-150 for a dependable starter setup; you don't need a $300 blade to survive.
- Full tang construction isn't optional for a primary survival knife — it's the single biggest factor in whether the knife survives hard use.
- Practice sharpening at a consistent 20-25 degree angle per side before you need to do it in the field, not during an emergency.
The Best Knives for Preppers: Cutting Through the Options
The knife question isn’t about finding “the best knife.” It’s about building the right two-knife system for how you actually live and where you actually live.
Let’s cut through the marketing and get you to a setup that works.
Quick Summary
- Your primary survival knife should be a fixed blade, 4-7 inches, full tang if you can manage it — that’s the tool that survives batoning firewood and heavy cutting.
- Pair it with a compact folding knife or multi-tool for everyday carry, fine work, and repairs. You need both, not one or the other.
- Match your steel to your climate. Carbon steel (1095, 5160) is tough and easy to sharpen but needs oil. Stainless (154CM, CPM-S30V, 440C) resists rust with less upkeep.
- Plan on $50-150 for a reliable starter knife. You don’t need premium steel to start — you need something you’ll actually maintain and carry.
- Check your local laws on blade length and fixed-blade carry before you build a kit around a knife you can’t legally carry.
Fixed Blade vs. Folding Knife vs. Multi-Tool
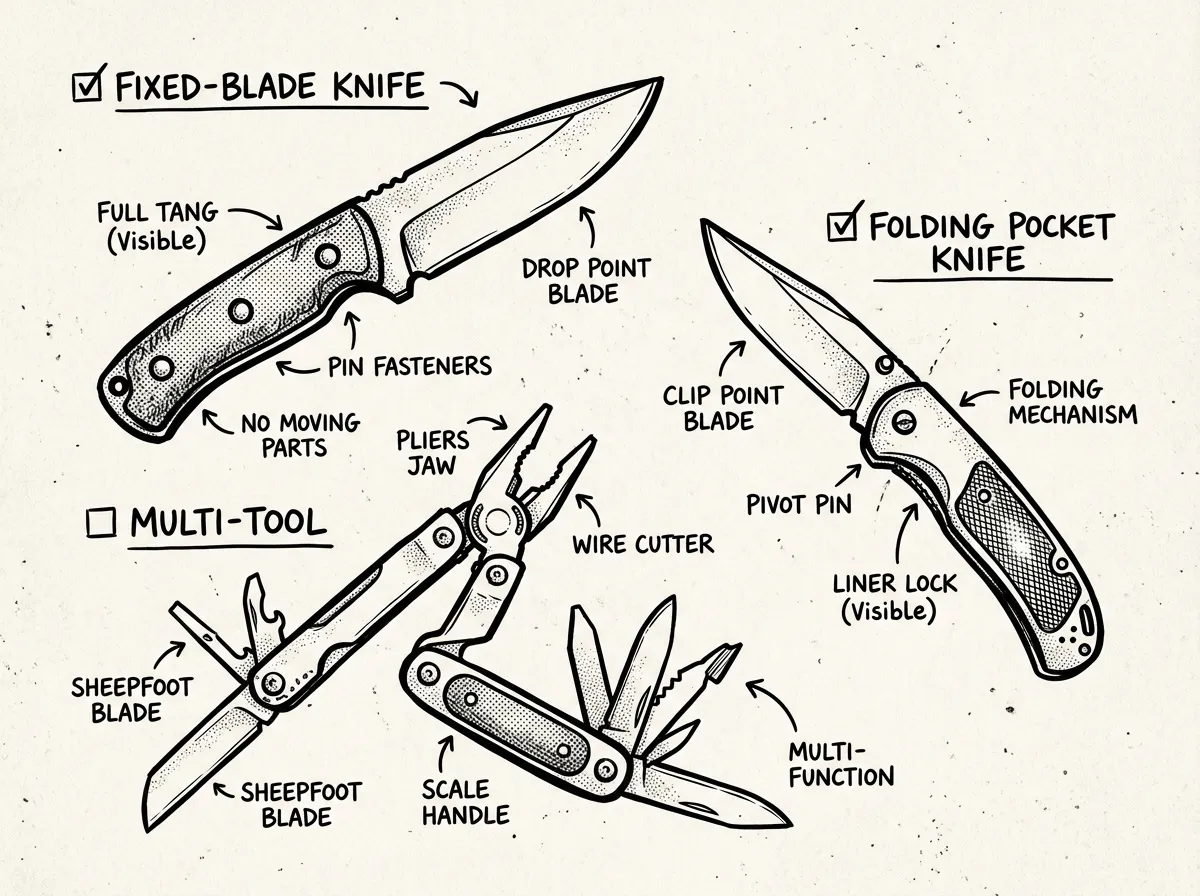 Three-knife comparison: fixed blade, folding knife, and multi-tool laid flat
A common question is whether one good folding knife is enough on its own. It isn’t.
A fixed blade has no moving parts, no lock to fail, and no hinge to weaken under stress. That’s what makes it your workhorse — the tool you reach for when you’re batoning wood for a fire, processing game, or building a shelter frame. A folding knife earns its place through convenience. It rides in your pocket all day, handles opening packages and cutting cordage, and stays out of the way until you need it.
A multi-tool is a different animal entirely. It’s not trying to be your best cutting tool — it’s trying to be your pliers, your screwdriver, and your saw when your vehicle kit or repair situation calls for something a knife alone can’t do.
A common mistake among new preppers is buying one nice folding knife, feeling prepared, and stopping there. A folder is great for what it’s built for, but folding locks aren’t rated for batoning firewood and can fail under that kind of stress. A fixed blade should be the first purchase, with a folder as the secondary tool.
The recommended kit is simple: one medium fixed blade as your primary tool, plus one folder or multi-tool as your secondary. That combination covers cutting, chopping, batoning, food prep, fine detail work, and mechanical repairs without weighing your pack down with redundant steel.
Blade Length and Construction: What Actually Holds Up
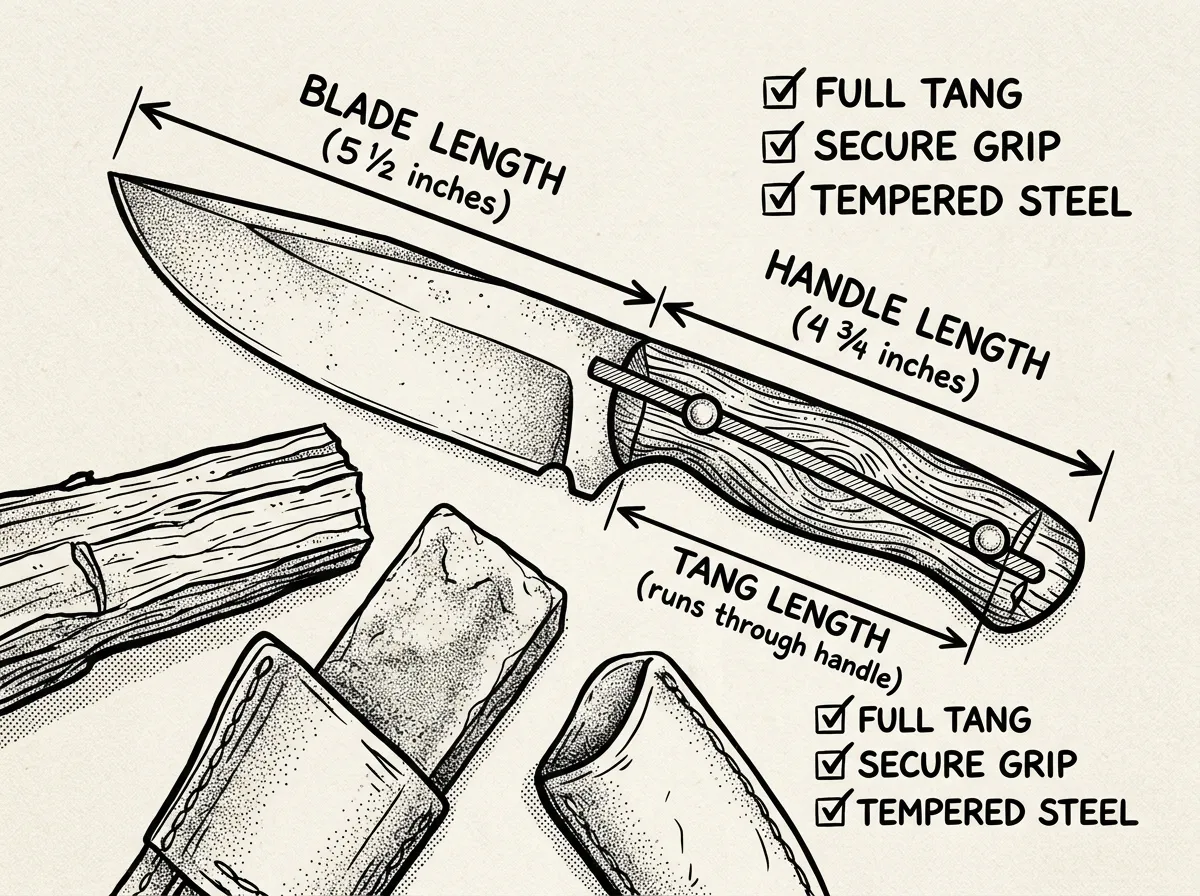 Fixed-blade knife anatomy: full tang construction and blade length measurements
Blade length isn’t about looking tough. It’s about matching the tool to the job.
A blade in the 4- to 7-inch range is the sweet spot for camp chores, shelter-building tasks, food prep, and moderate batoning. Go under 4 inches and you gain precision and easier legal carry in a lot of jurisdictions, but you lose chopping capability. Go over 7 inches and you get more chopping power at the cost of weight, control, and — frankly — practicality for most day-to-day survival tasks.
Construction matters just as much as length. Full tang means the blade steel runs the entire length of the handle instead of stopping partway through and getting capped with a separate handle material. That single design decision determines whether your knife survives being used as a small axe or snaps at the worst possible moment.
If you’re buying one knife to bet your safety on, make it full tang.
Steel Choice: Carbon vs. Stainless for Your Climate
This is a simpler decision than people often make it out to be.
Carbon steels like 1095 and 5160 are tough, take an aggressive edge, and are genuinely easy to touch up in the field with basic tools. The tradeoff is corrosion. Leave a carbon steel blade wet overnight and you’ll find surface rust waiting for you in the morning. That’s not a flaw — it’s just the nature of the metal, and it means you need to build a light coat of oil into your after-use routine.
Stainless steels like 440C, 154CM, AUS-8, and CPM-S30V resist corrosion far better and need less daily attention. If you’re in a humid Gulf Coast climate, near saltwater, or somewhere with constant rain, stainless is going to save you a lot of maintenance headaches. High desert is a different problem entirely — dry conditions are more forgiving of carbon steel, so if you’re maintaining your gear regularly, carbon becomes a very reasonable choice for the extra toughness.
If you’re not sure which steel fits your situation, ask yourself one honest question: will I actually oil this blade every time I use it? If the answer is “probably not,” buy stainless. A slightly harder-to-maintain edge beats a rusted one every time.
Handle, Blade Shape, and Sheath Considerations
A knife you can’t grip when your hands are wet, cold, or bloody is a knife that’s going to hurt you. Look for handle materials that stay grippy in bad conditions — Micarta, G10, textured rubber, and glass-filled nylon (FRN) all hold up well. Smooth wood handles look great on a shelf and get slick fast in the rain.
Blade shape matters more than most beginners realize. A drop point handles the widest range of general tasks and is generally the recommended choice for a first knife. A clip point gives you finer control for detail work. A tanto shape trades some slicing performance for better piercing strength, which matters less for most prepper tasks than manufacturers want you to believe.
Don’t overlook the sheath. A Kydex or molded polymer sheath handles wet and muddy conditions far better than leather, which absorbs moisture and can actually accelerate rust on a carbon steel blade if you store it there long-term. Whatever sheath you end up with, check the retention before you rely on it — a knife that falls out of its sheath during a hike is a knife you’ve lost.
Top Starter Knives Worth Your Money
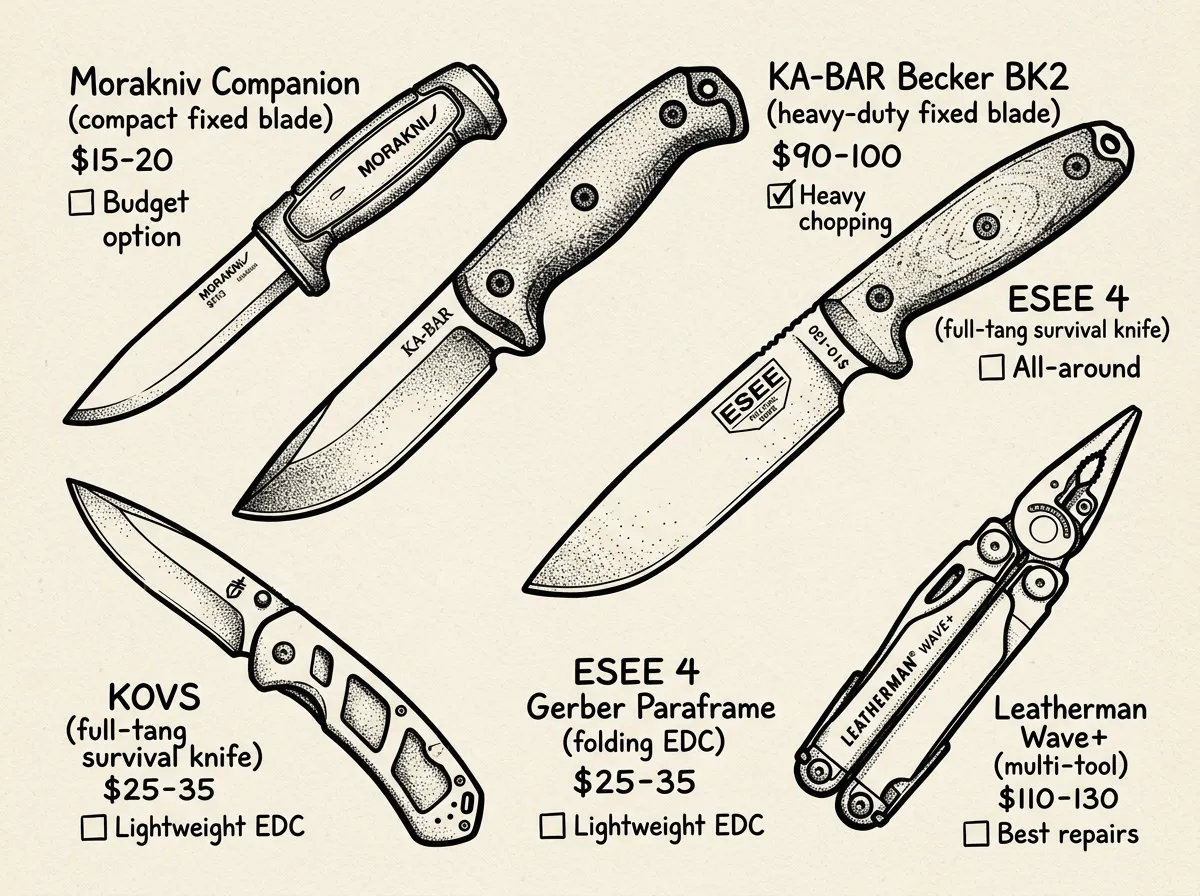 Five recommended beginner prepper knives: Morakniv, KA-BAR, ESEE, Gerber, Leatherman
None of these are exotic or hard to find, and that’s intentional — a knife you can’t easily replace isn’t a knife worth depending on.
Morakniv Companion — around $15-25, Budget fixed blade Blade runs about 3.5-4.1 inches, available in both stainless and carbon versions. It’s lightweight and holds a good edge for the price, making it a solid choice for camp chores and bug-out bags. The tradeoff: many versions aren’t full tang, so it isn’t the best choice for extreme batoning.
KA-BAR Becker BK2 — around $80-100, Heavy-duty use Blade about 5.25 inches, full tang, thick stock steel. This thing chops and batons like it means it. The tradeoff is weight — it’s not the knife you want for fine carving or detail work, but that’s not what it’s built for.
ESEE 4 — around $130-160, All-around survival knife Blade about 4.5 inches, full tang, offered in carbon and coated stainless. This is often recommended as a do-it-all knife, with a strong reputation built up across years of field reports. Carbon versions need real rust discipline.
Gerber Paraframe — around $20-30, Folding EDC backup Lightweight frame-lock folder, blade about 2.5-3.5 inches. Good for everyday tasks and quick cutting jobs. It is not, and was never meant to be, a substitute for a proper fixed blade.
Leatherman Wave+ — around $100-120, Multi-tool for repairs Pliers, screwdrivers, a saw, and a knife blade in one tool. This is a common permanent fixture in vehicle kits. Heavier than a standalone folder, and the blade is smaller than what you’d want for real cutting tasks, but nothing beats it for mechanical repairs on the move.
Partial-tang budget knives can have the handle separate from the tang under heavy batoning stress. Spending the extra $30-50 to get full tang on a primary blade is inexpensive insurance for the whole kit.
When to Upgrade to Premium Steel
Once you know what you actually want from a knife — blade shape, handle feel, weight in hand — premium brands like Benchmade, Spyderco, Buck, and higher-end ESEE lines start making sense. You’re paying for tighter tolerances, higher-grade steels, and refined ergonomics, and you’ll typically get a longer service life out of the blade.
Starting there isn’t necessary. Buy an entry-level knife first, use it hard for a season, and figure out what actually matters to you before you spend real money on premium gear.
Matching Knives to Your Kit
Different kits call for different setups. Here’s how it typically breaks down:
- Home emergency kit: compact fixed blade or a solid multi-tool
- Bug-out bag: medium fixed blade (4-7 in) plus a compact multi-tool
- Vehicle kit: multi-tool plus a reliable folder
- Wilderness prep: sturdy full-tang fixed blade primary plus a folder or multi-tool backup
Don’t duplicate the same knife across every kit just because it worked well once. A vehicle kit benefits more from a multi-tool’s pliers and screwdrivers than from a second survival knife you’ll rarely use in that context.
Knife Maintenance That Actually Keeps a Blade Working
A good knife with no maintenance routine turns into a bad knife fast — especially carbon steel. Here’s a maintenance routine that keeps a blade working in the field.
- Clean the blade after each use — remove dirt and moisture, wash with mild soap when needed, dry it completely
- Apply a light coat of oil to carbon steel blades every time; stainless benefits from occasional oiling too
- Sharpen using a stone, guided sharpener, or ceramic rod, keeping a consistent 20-25 degree angle per side
- Store the knife in a cool, low-humidity spot — never leave it long-term in a damp leather sheath
- Check sheath retention and edge protection before you trust the kit again
A sharpening stone — usually $15-40 depending on grit and material — is one of the cheapest, most overlooked pieces of gear in a prepper’s setup. It’s common for people to spend hundreds on premium knives and then let the edge go dull because they never learned to sharpen it. Practice the angle now, before you need it during an actual emergency.
A dull knife in a crisis is worse than no knife at all — it’s a false sense of security that fails you exactly when you need it most.
Legal and Safety Considerations Before You Carry
Knife laws vary a lot by state and even by city, so check your local blade-length limits, fixed-blade carry restrictions, and any rules around concealed carry of a blade before you build your kit around a specific knife. What’s legal to carry openly in rural Idaho might get you in trouble walking through a courthouse in another state.
Beyond legality, get comfortable with safe handling. Practice batoning, carving, and basic first aid for cuts before you’re relying on these skills in a real situation. A wilderness first aid or basic wilderness medicine class will teach you how to handle a knife-related injury — something worth knowing regardless.
Buying Checklist
- Primary: fixed blade, 4-7 inches, full tang recommended
- Secondary: folder around 2.5-3.5 inches or a multi-tool
- Steel matched to your climate — stainless for wet/humid, carbon if you’ll actually maintain it
- Handle material that grips well when wet
- Sheath with solid retention and moisture-resistant material
- Budget $50-150 for a dependable starter setup
- Confirmed against your local blade-length and carry laws
Getting Started
Pick a medium fixed blade as your primary tool, and pair it with a folder or multi-tool for everyday tasks and repairs. Try an entry-level model first — something in that $50-150 range — and put real hours into it before you spend more. Once you know how a knife feels in your hand after a full weekend of use, you’ll know exactly what to look for when you’re ready to invest in premium steel.
[INTERNAL_LINK: Becoming a Prepper: The Beginner’s Guide to Survival Readiness] [INTERNAL_LINK: How to Build a Bug Out Bag: Essentials for a Quick Getaway] [INTERNAL_LINK: Gadgets and Gizmos Aplenty: Tech Tools for the Modern Prepper] [INTERNAL_LINK: Water, Water Everywhere: How to Store H2O Without Losing Your Sanity] [INTERNAL_LINK: Canned Goods and Other Edibles: Your First Steps to Stockpiling Food]
The Complete
Prepper's Reference.
149 articles synthesized into one comprehensive PDF — twelve chapters covering water, food, shelter, first aid, comms, and scenario-specific preparedness. Free with your email.
Unsubscribe anytime · We never share your email
You're in. Check your inbox.
Keep Reading
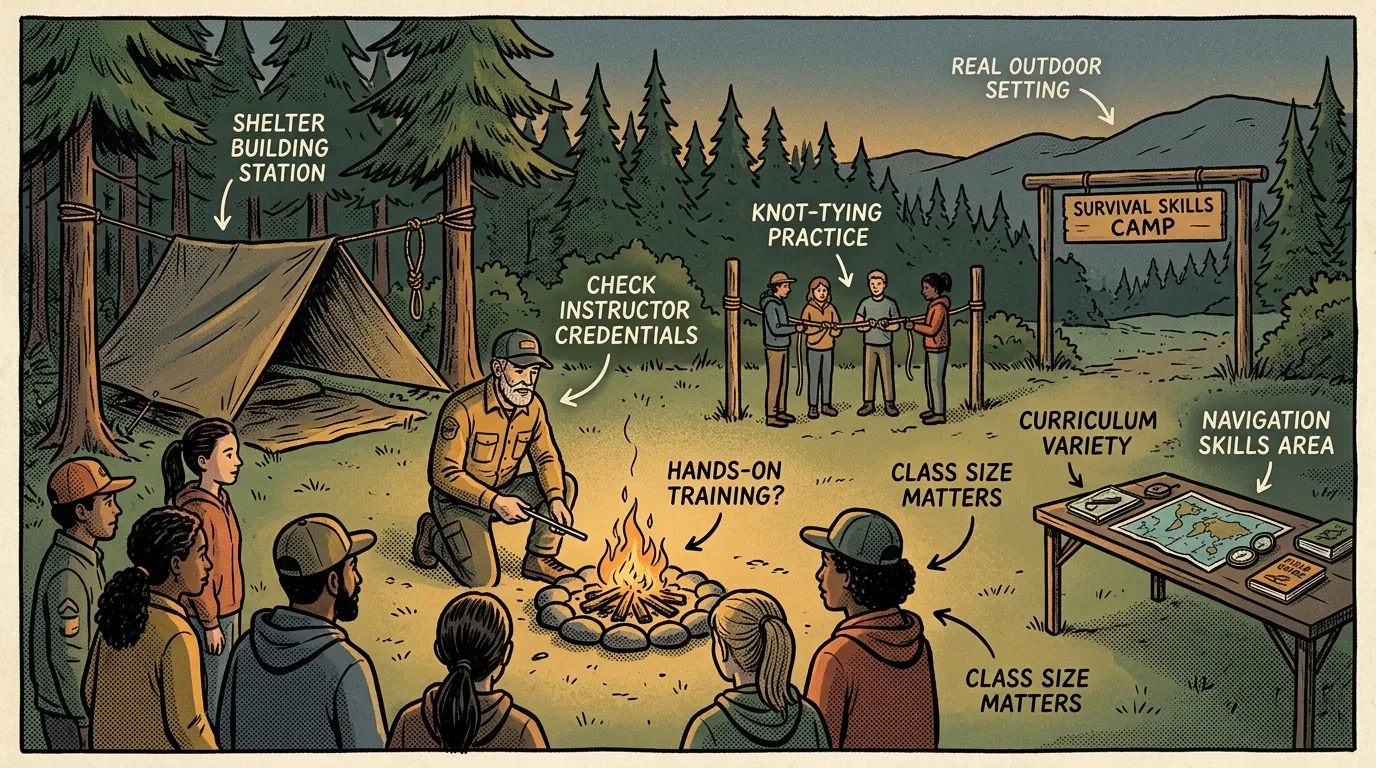
Survival Skills Camp: How to Choose the Right One
Choosing a survival skills camp? Here's what to look for, red flags to avoid, and what real training teaches you.
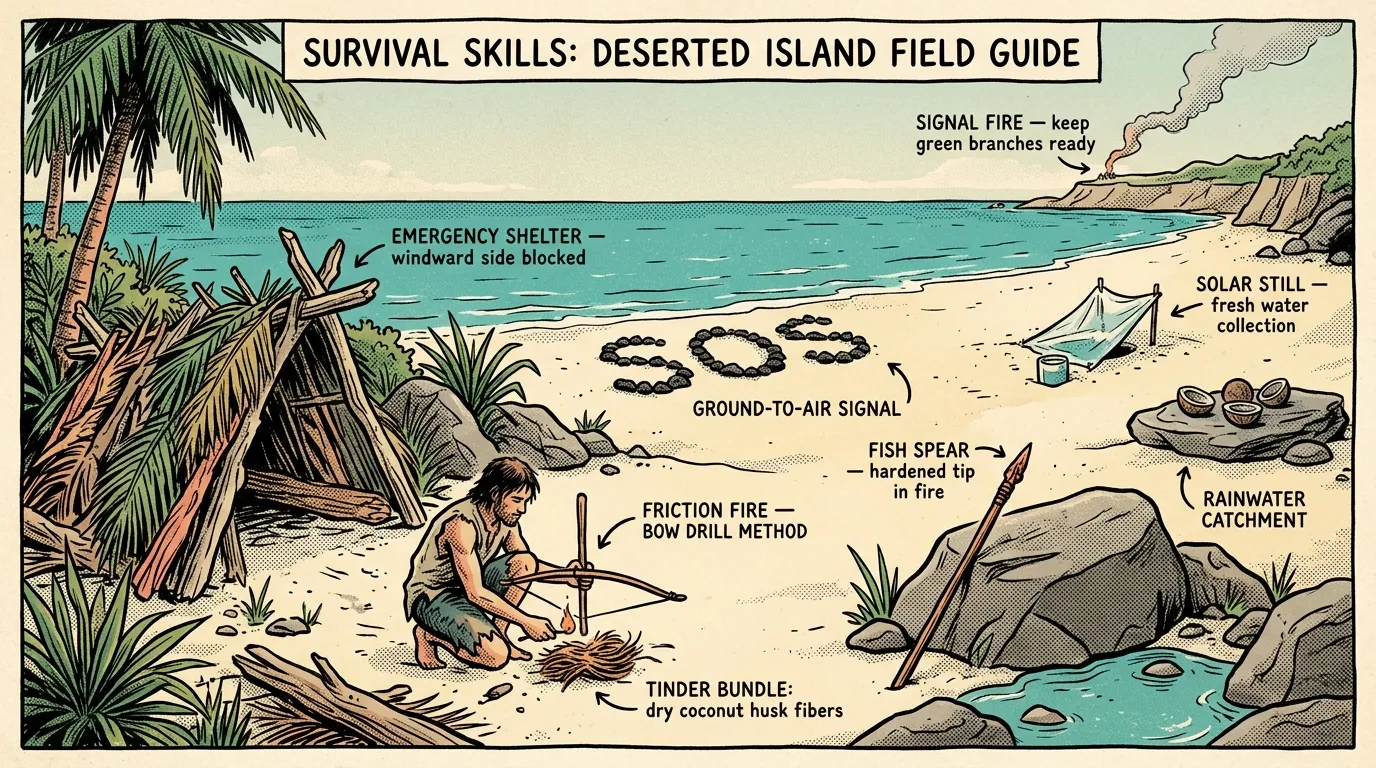
Survival Skills on a Deserted Island: Field Guide
Master survival skills on a deserted island — water, shelter, fire, food, and rescue signaling. Start learning now.
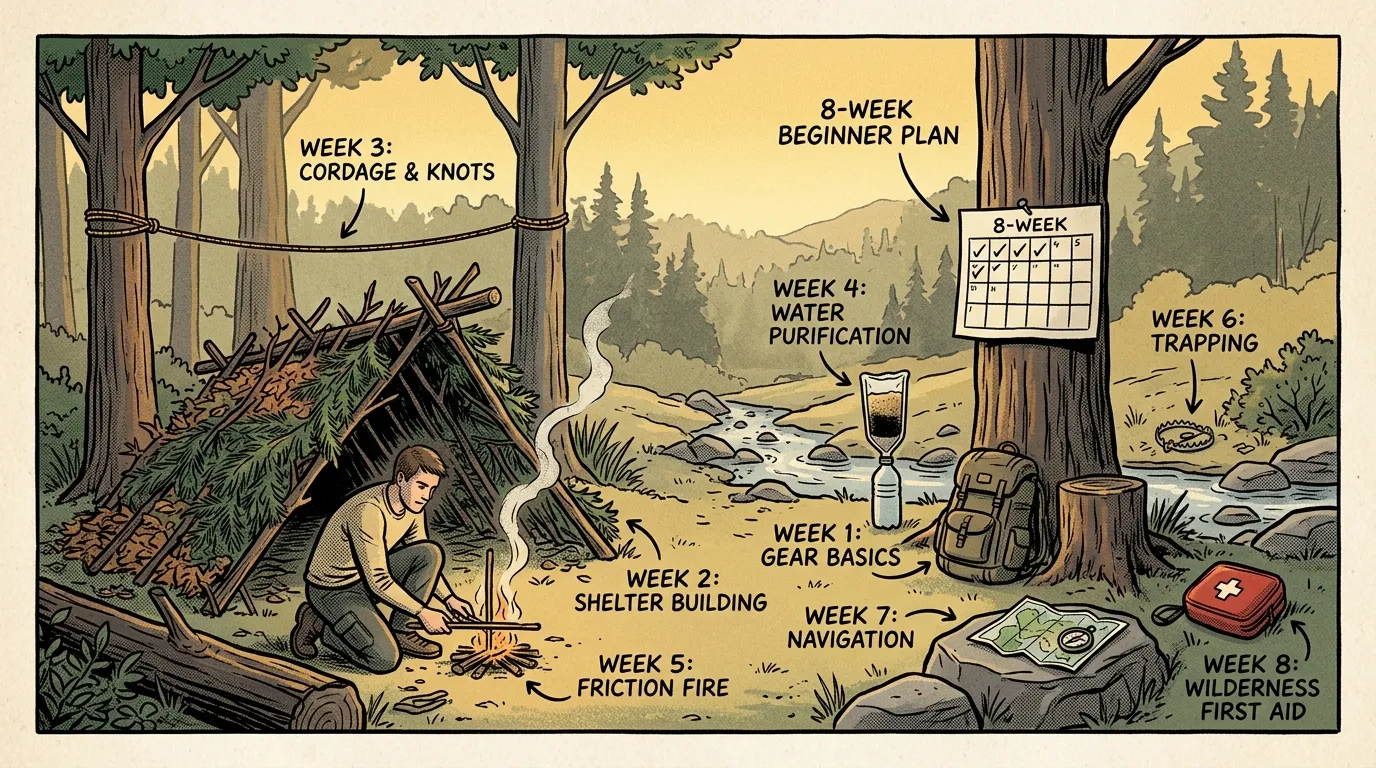
Survival Skills Training: 8-Week Plan for Beginners
Follow this 8-week survival skills training plan to master shelter, fire, water, navigation & first aid. Start this weekend.