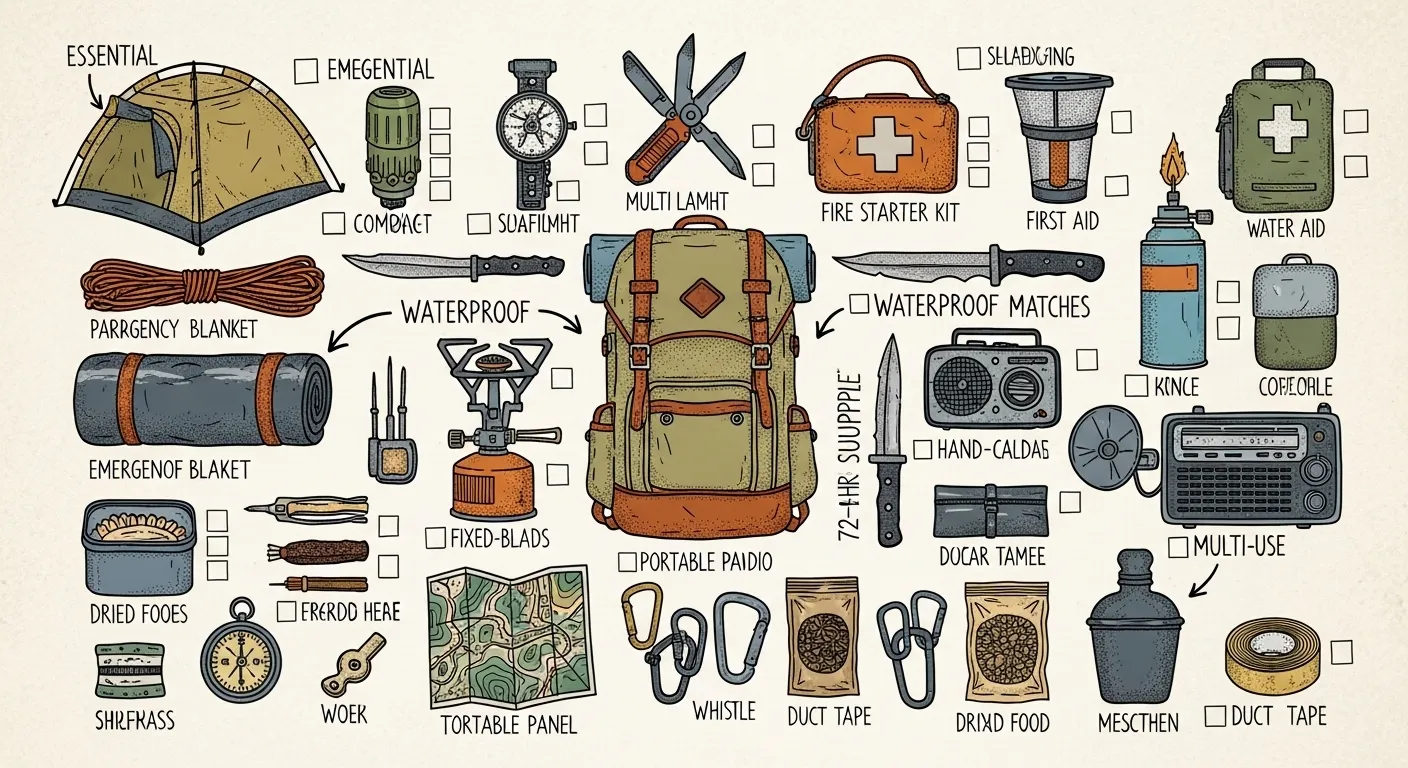
The best camping gear for emergency preparedness includes a durable shelter, warm sleeping bag and pad, portable stove, reliable lighting, first aid supplies, water filtration, and versatile tools. For beginner preppers, the smartest choices are multi-use items that work for both recreational camping and real emergency situations like outages, evacuations, or shelter-in-place scenarios.
Key Takeaways
- Buy one reliable item per category — shelter, sleep, water, cooking, lighting, first aid, tools — before you upgrade anything.
- A stove that boils a liter of water in 5 to 8 minutes on a small canister is fast enough for real-world use; slower means you're burning fuel and daylight you don't have.
- Check first aid kit expiration dates and rotate consumables every 6 to 12 months — expired antiseptic and brittle adhesive bandages fail exactly when you need them most.
- Practice pitching your shelter at home in bad light until you can do it in under 10 minutes — fumbling with poles in the dark during a real event is a bad time to learn.
- Field-test your full kit on an overnight trip or a timed home drill. That's how you find the gaps spreadsheets and gear lists never show you.
Best Camping Gear for Preppers: Essential Survival Kit for Emergencies
The best emergency gear and the best camping gear are almost always the same gear. If it can keep you dry, warm, and fed on a backcountry trip, it’ll do the same job when the power’s out for four days.
This isn’t about buying everything. It’s about buying the right thing once, in each category, and actually knowing how to use it before you need to.
Quick Summary
- Prioritize one reliable item per category — shelter, sleep, water, cooking, lighting, first aid, tools — before you chase upgrades.
- A tent or tarp you can pitch in under 10 minutes beats a fancier setup you’ve never practiced with.
- Redundancy matters most for water and fire: carry a mechanical filter plus a chemical backup, and more than one way to spark flame.
- Match your sleep system’s temperature rating to your coldest realistic night, not the average forecast.
- Test your full kit on a real trip or a timed home drill — that’s where you find out what’s actually missing.
Definitions
Prepping / prepper: getting ahead of outages, evacuations, and disasters by building up supplies, skills, and a plan before you need any of them.
Prepper camping gear: camping equipment chosen specifically because it does double duty — good enough for a weekend trip, dependable enough to lean on in a real emergency.
Quick Priority Checklist
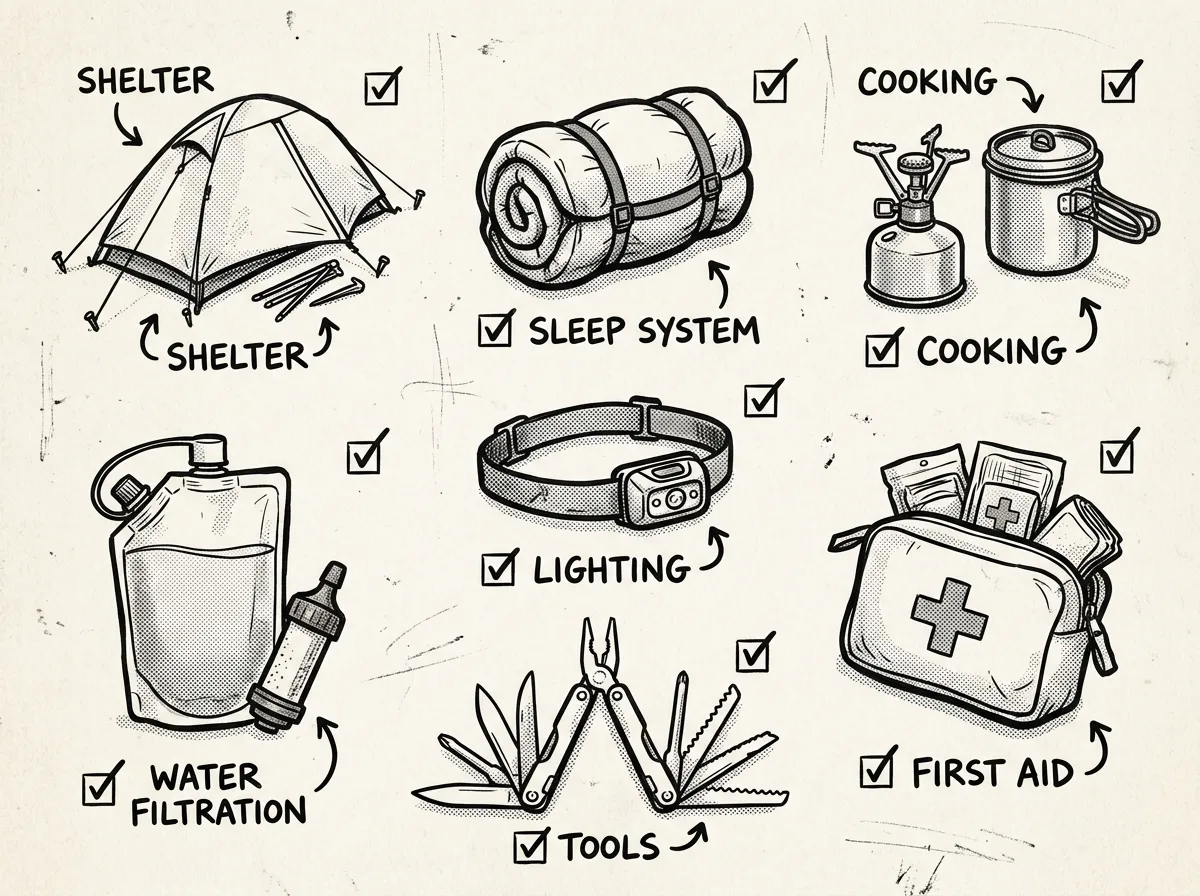 Essential prepper gear categories laid out
Here’s a recommended order for building a kit from zero.
- Shelter: tent, tarp, or emergency bivy for weather protection
- Sleep system: temperature-rated bag, insulated pad, foam backup
- Water treatment: mechanical filter plus chemical tablets
- Cooking and fuel: canister stove, pot, spare fuel
- Lighting and power: headlamp, lantern, power bank
- First aid: basic kit plus trauma items for remote settings
- Tools: knife, multi-tool, ferro rod, paracord
Build in that order. Buy one solid item per category, and don’t move to the next until you’ve actually used the last one.
Why the Best Camping Gear for Preppers Matters
Ever wonder why so many “prepper gear” lists just repeat the same camping catalog? It’s because the physics don’t change. Camping gear and emergency gear both have to perform with limited supplies, in rough conditions, without a backup plan if something breaks. Pick items that match what you’re actually likely to face — not what looks impressive in a flat-lay photo.
A few concrete benchmarks worth using when evaluating gear:
- Shelter you can pitch in 10 minutes that keeps out wind and rain without babysitting.
- A stove that boils a liter of water in 5 to 8 minutes on a small canister.
- A filter that clears bacteria and protozoa without constant backflushing or maintenance.
FEMA and the American Red Cross both lay out the same core priorities for a reason: shelter, water, food, medical. Everything else is refinement.
Shelter: Tents, Tarps, and Emergency Covers
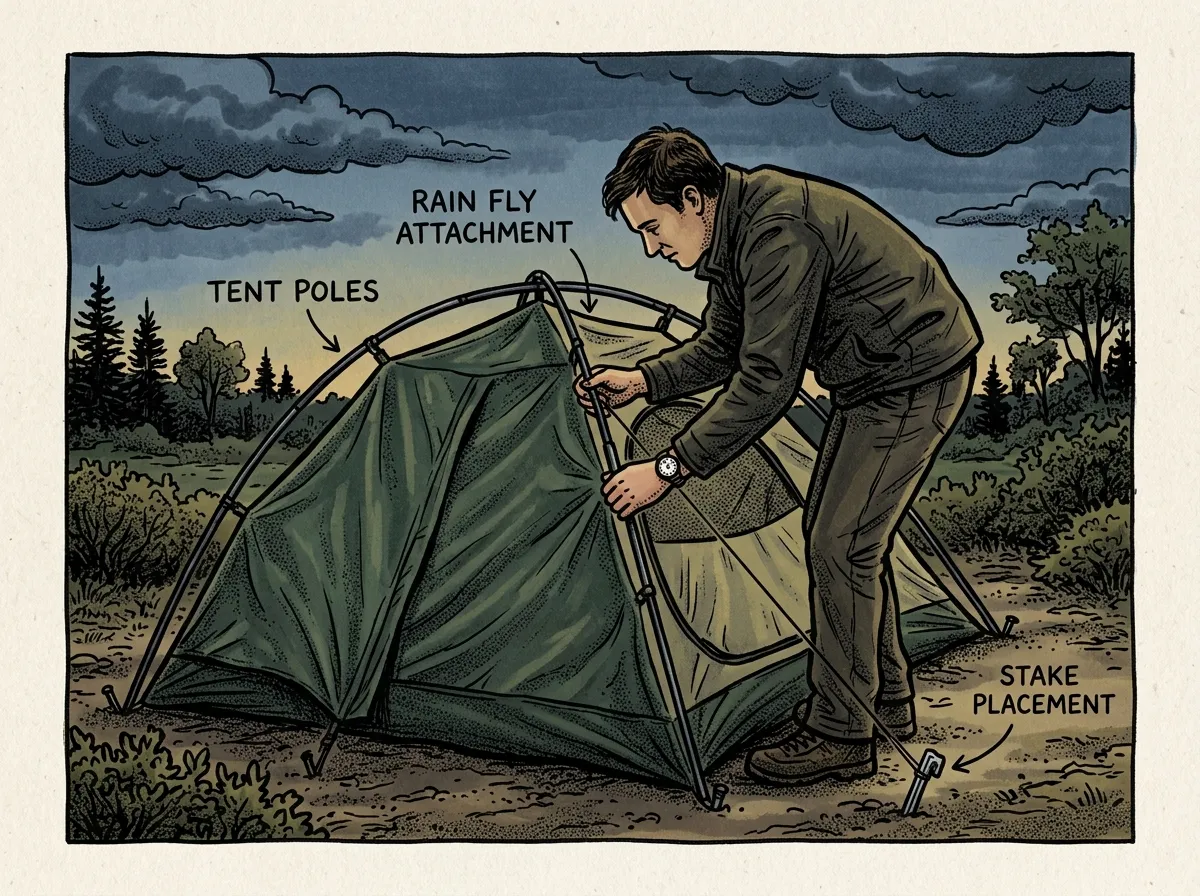 Pitching a tent quickly in low light
You want a shelter that goes up fast and keeps you dry when you’re tired, cold, and it’s already raining. That’s the real test — not how it looks folded up in your garage.
Look for:
- A simple pitch, waterproof rainfly, taped seams
- A durable floor and zippers that won’t jam with grit in them
- Ventilation so you’re not sleeping in your own condensation
- A packed size small enough for your vehicle or your bug-out bag
For beginners, a good starting point is a dome tent in the 1-to-4-person range — straightforward setup, forgiving in wind. A tarp with paracord gets you an ultralight, versatile backup that weighs almost nothing. And keep a bivy sack or mylar blanket in your kit regardless, even if you own a tent — it’s cheap insurance for the day your primary shelter fails or gets left behind.
Practice pitching your shelter at home, in the dark, with gloves on. That’s the condition you’ll actually be in during a real event — not a sunny afternoon in the backyard.
Sleep Systems: Sleeping Bags and Pads
A sleep system does one job: keep enough heat in your body that you can actually rest. Sounds simple. It’s the category I see people get wrong most often.
Selection tips:
- Match the bag’s temperature rating to the coldest night you could realistically face — not the seasonal average.
- Go synthetic fill if you’re anywhere humid or wet; down loses most of its loft, and its insulating value, the moment it gets damp.
- Pair an insulated inflatable pad with a closed-cell foam pad underneath it as a fail-safe. If the inflatable punctures at 2 a.m. in December, the foam pad is the difference between uncomfortable and hypothermic.
Sleeping directly on the ground without a pad is a common mistake, even with an expensive sleeping bag. Ground conduction pulls heat out of the body faster than the surrounding air does, so the pad matters as much as the bag — sometimes more. Don’t skip it to save $40.
A minimal starter setup: one synthetic bag (or a properly rated down bag if you can guarantee it stays dry), an insulated pad plus a foam backup, and an emergency bivy or mylar blanket as redundancy. Test the whole system in conditions close to what you’re rating it for before you trust it. A bag rated to 20°F that you’ve only slept in at 55°F is an unknown quantity.
Cooking and Water: Stoves, Cookware, and Filtration
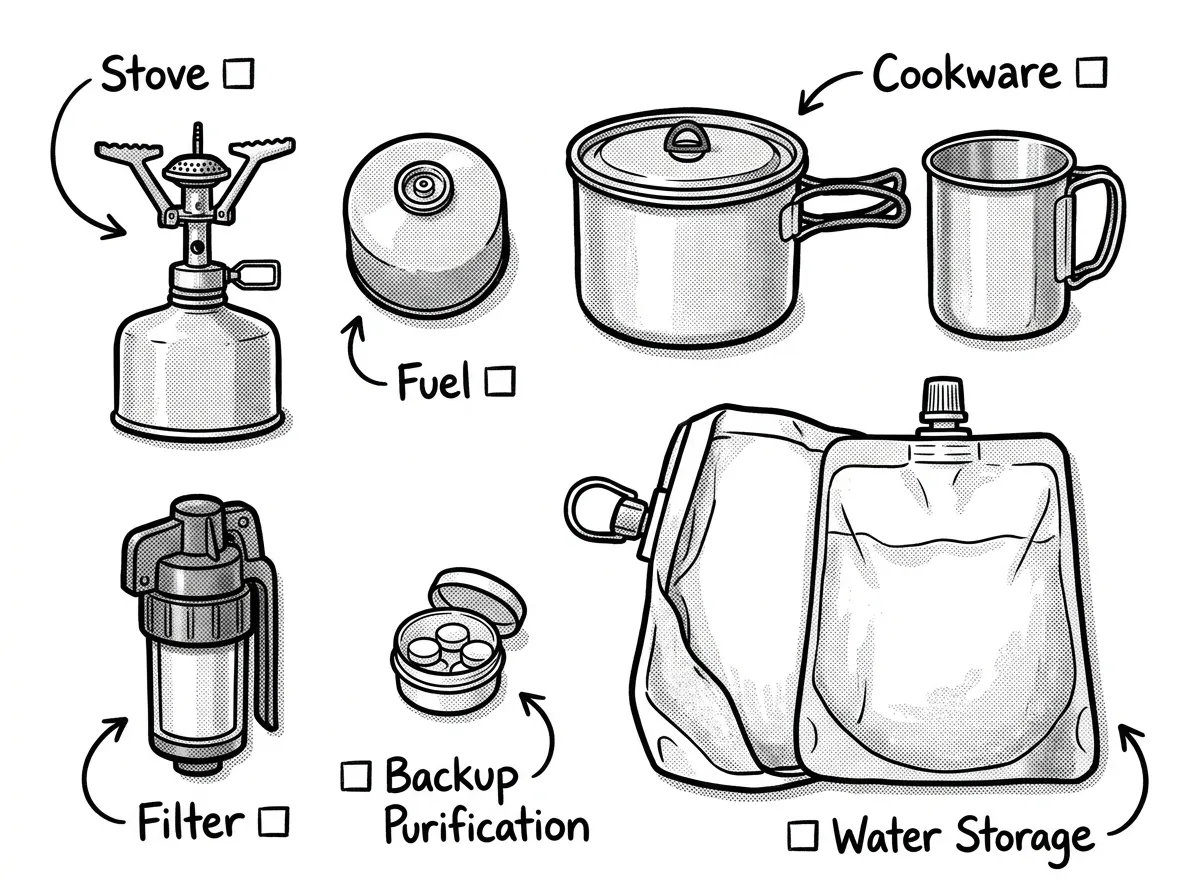 Complete cooking and water purification kit
Food needs heat. Water needs to be safe. Neither is optional, and both categories reward simple, field-proven gear over anything with too many moving parts.
Stove Options
- Canister stoves (Jetboil, MSR) — lightweight, fast, best for one or two people.
- Two-burner propane stoves — better when you’re feeding a family or a group.
- Alcohol or solid-fuel stoves — ultralight backups, dead simple fuel logistics.
The Jetboil Flash — around $100 to $130 — is a common choice for solo trips and emergency kits. According to Jetboil’s published specs, it boils 0.5 liters of water in about 100 seconds, and the whole system packs into itself for easy storage. If you’re outfitting a family, though, a basic two-burner Coleman propane stove — around $40 to $60 — makes more sense; you’ll cook actual meals faster for more people, even if it’s bulkier.
Cookware Essentials
Pot with a lid, a mess tin or small skillet, a metal mug, basic utensils, and a pot gripper. Store spare fuel somewhere safe and rotate it — canisters don’t last forever, and cold weather can reduce canister performance, particularly as fuel runs low.
Water Treatment Priority
- Run a mechanical filter (Sawyer, Katadyn) for daily use
- Carry chemical purification tablets as a lightweight backup
- Boil water when you’ve got fuel to spare and time to wait
The Sawyer Squeeze — around $30 — is a commonly recommended option for beginners. It’s compact, it doesn’t need batteries, and it filters more volume per squeeze than a lot of straw-style filters. Keep a bottle of purification tablets in your kit too, since filters can clog or freeze and you don’t want water treatment riding on a single point of failure.
A common mistake is buying a great filter and never testing it before an emergency, so the first time it’s used under pressure is also the first time troubleshooting begins. Run it through a few times at home first.
Safety note: don’t use most camp stoves indoors unless the stove is specifically rated for indoor use with proper ventilation. Carbon monoxide exposure from running an unrated stove in an enclosed space like a garage or porch during a power outage is a serious, entirely avoidable risk.
Lighting and Power: Headlamps, Lanterns, and Backup Energy
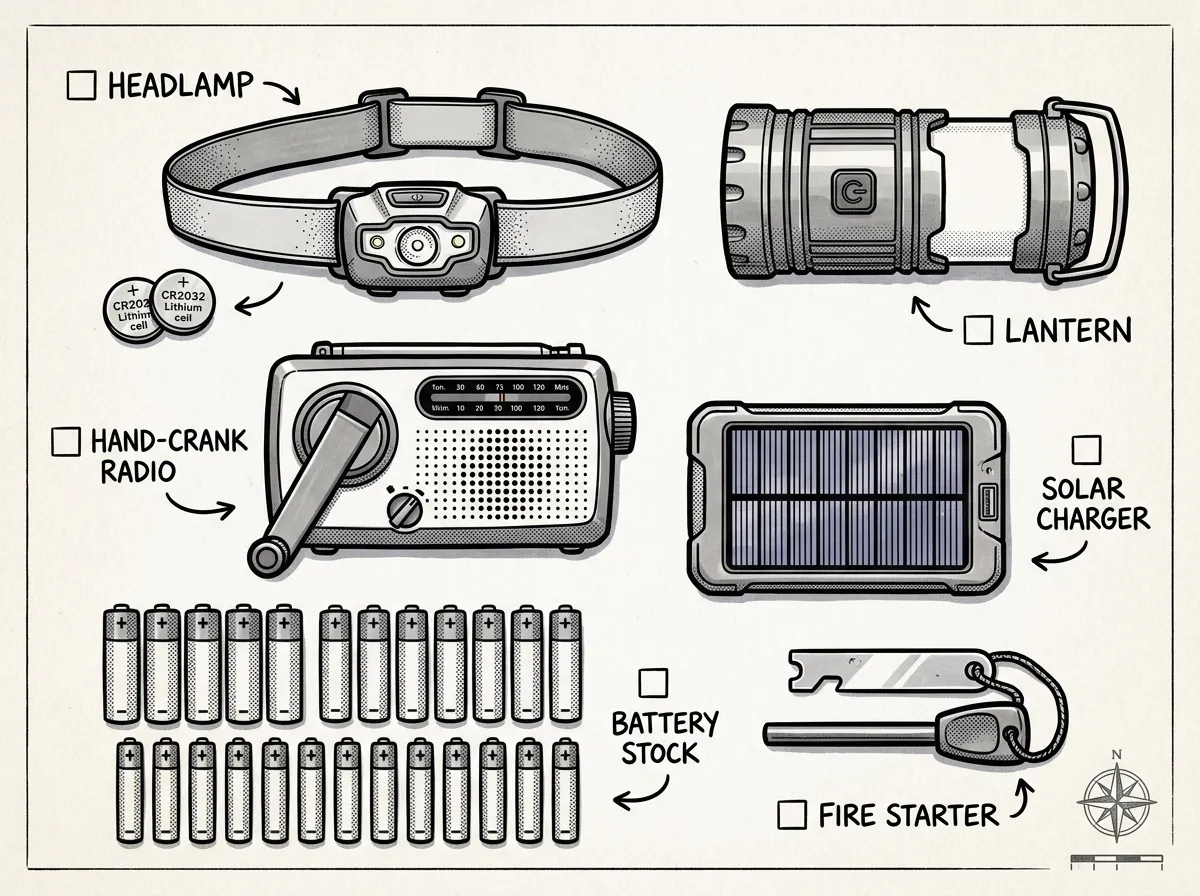 Redundant lighting and power backup systems
Good lighting keeps you from tripping over your own gear at midnight. Good backup power keeps your radio and phone alive when the grid isn’t.
Lighting checklist:
- A headlamp for hands-free work — long battery life, multiple brightness modes.
- A flashlight you can operate with gloved hands.
- A rechargeable LED lantern for lighting a tent or shelter area without burning through headlamp batteries.
Power options:
- Power banks sized to actually recharge a phone and a radio, not just top one off.
- Solar chargers paired with a battery pack for outages that stretch past a few days.
- Portable power stations (Goal Zero, Jackery, EcoFlow) if you need to run larger loads — a CPAP machine, a mini fridge, that kind of thing.
Standardize your battery types across devices where you can, store spares, and actually test your power gear a couple times a year. A hand-crank radio is worth having too — it’s the one piece of gear that keeps working even after your batteries are gone.
First Aid and Emergency Medical Supplies
A first aid kit’s job is to stabilize an injury until you can get real medical care — whether that’s an hour away or three days away depends entirely on your situation.
Baseline contents:
- Bandages, sterile gauze, medical tape
- Antiseptic, antibiotic ointment, tweezers, trauma shears
- Nitrile gloves, pain relievers, antihistamines
- CPR mask, instant cold packs, elastic wraps
Advanced items for remote or high-risk situations: a tourniquet, pressure dressing, chest seals, and a SAM splint. These aren’t overkill if you’re in a rural area or your realistic EMS response time is 30+ minutes. Remote medicine assumes help is far away, and your kit should reflect that assumption too.
Unchecked first aid kits often degrade over time — adhesive can dry out and antiseptic wipes can evaporate inside their packets. Expired gear isn’t just useless — it can waste critical minutes when you’re counting on it working. Check your kit every 6 to 12 months, full stop.
Keep your skills current, not just your supplies. Take an actual first aid and CPR class. A kit in the hands of someone who’s never practiced with it is only half as useful as it should be.
Tools and Useful Gear
Core multipurpose tools:
- A multi-tool (Leatherman, Victorinox) or a knife and multi-tool combo
- A fixed-blade or sturdy folding knife (Morakniv, ESEE)
- A ferro rod, waterproof matches, and a lighter — three separate ways to make fire
- Paracord, duct tape, a compact saw or hatchet
Helpful extras: a NOAA weather radio, binoculars, dry bags, carabiners, a field notebook and pen, and local paper maps. Your phone’s GPS is great until the battery dies or you lose signal — paper doesn’t have that problem.
How to Build Your Prepper Kit, Step by Step
- Pick one category to start — shelter, sleep, cooking, lighting, first aid, or tools
- Buy one reliable baseline item and practice with it until you’re confident
- Add complementary gear and relevant training, like first aid or stove safety
- Field-test everything on an overnight trip or a timed home drill
- Upgrade based on what actually failed or fell short, not on hype
That last step matters more than people think. Plenty of well-funded preppers own expensive gear they’ve genuinely never used outside the box it came in. Testing under mild stress — a cold weekend, a power-out-for-real evening at home — tells you more in one night than any review ever will.
The gear that saves you is the gear you’ve already used, not the gear you just bought.
Notes and Warnings
- Check manufacturer temperature ratings and specs against your actual climate — the rating on the tag is often optimistic.
- Rotate consumables and inspect gear on a schedule, not just when you remember.
- Train with your gear under mild discomfort. Stress reveals gaps that a calm afternoon never will.
Where to Go From Here
The best camping gear for preppers is rugged, compact, and does more than one job. Start with the prioritized essentials above, practice with each one, and rotate your consumables on a schedule you’ll actually keep. Upgrade based on what you learn in the field — not on the next gear review that crosses your feed.
Close one gap this month. Pick a category where you’re weakest, buy one reliable item, and take it on a short trip. Then get real first aid and CPR training if you haven’t already, and rehearse with your full kit at least once a season. That rhythm — buy, practice, test, repeat — is what actually builds readiness. Everything else is just gear sitting in a closet.
For the official baseline priorities, FEMA and the American Red Cross both publish current preparedness guidance and training programs worth reviewing alongside your own kit.
The Complete
Prepper's Reference.
149 articles synthesized into one comprehensive PDF — twelve chapters covering water, food, shelter, first aid, comms, and scenario-specific preparedness. Free with your email.
Unsubscribe anytime · We never share your email
You're in. Check your inbox.
Keep Reading
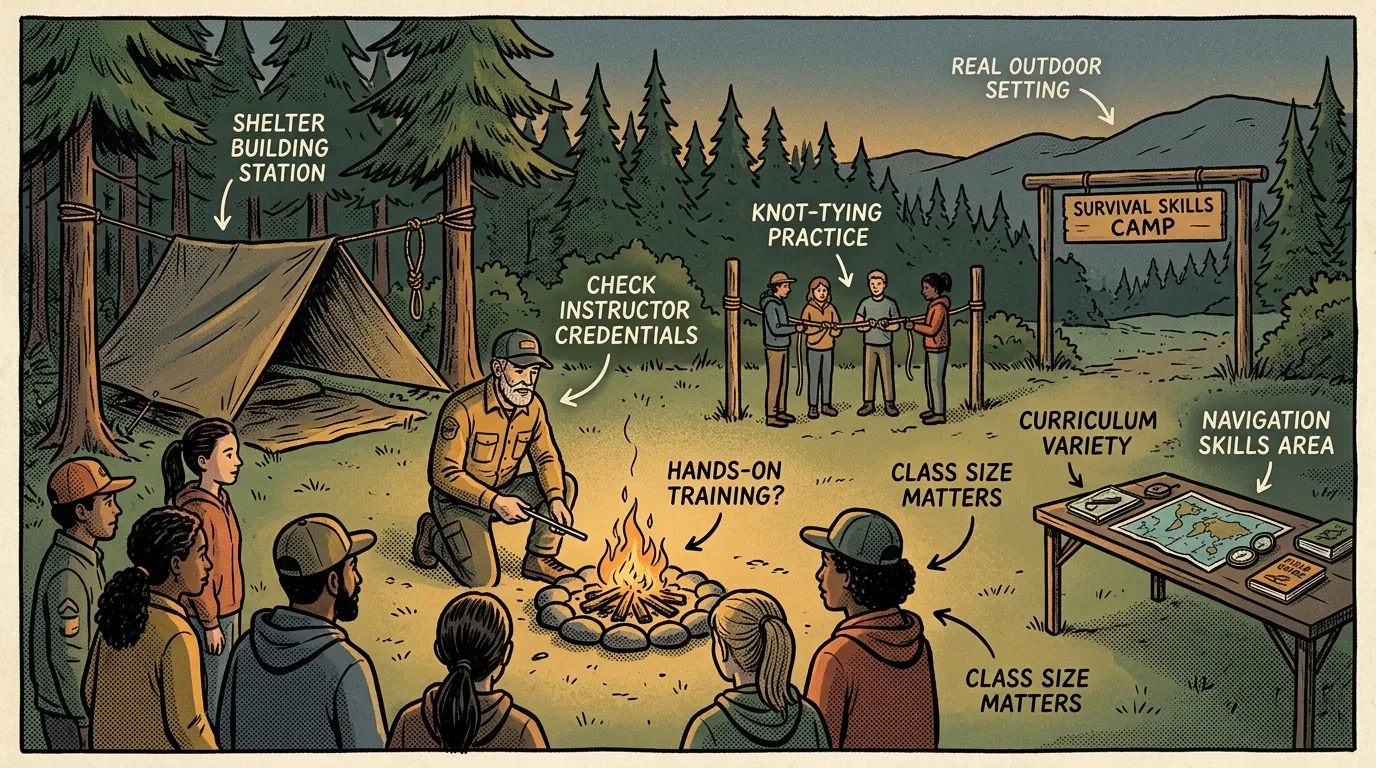
Survival Skills Camp: How to Choose the Right One
Choosing a survival skills camp? Here's what to look for, red flags to avoid, and what real training teaches you.
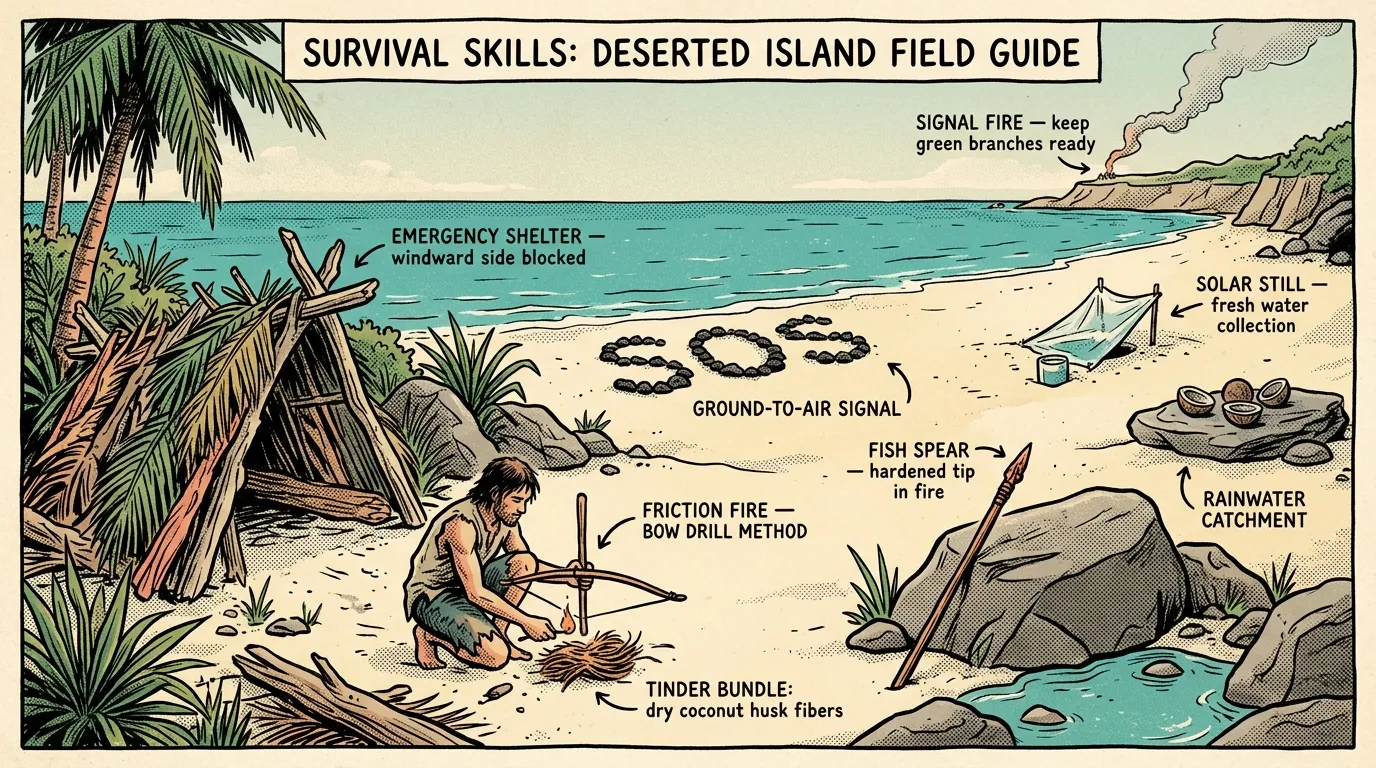
Survival Skills on a Deserted Island: Field Guide
Master survival skills on a deserted island — water, shelter, fire, food, and rescue signaling. Start learning now.
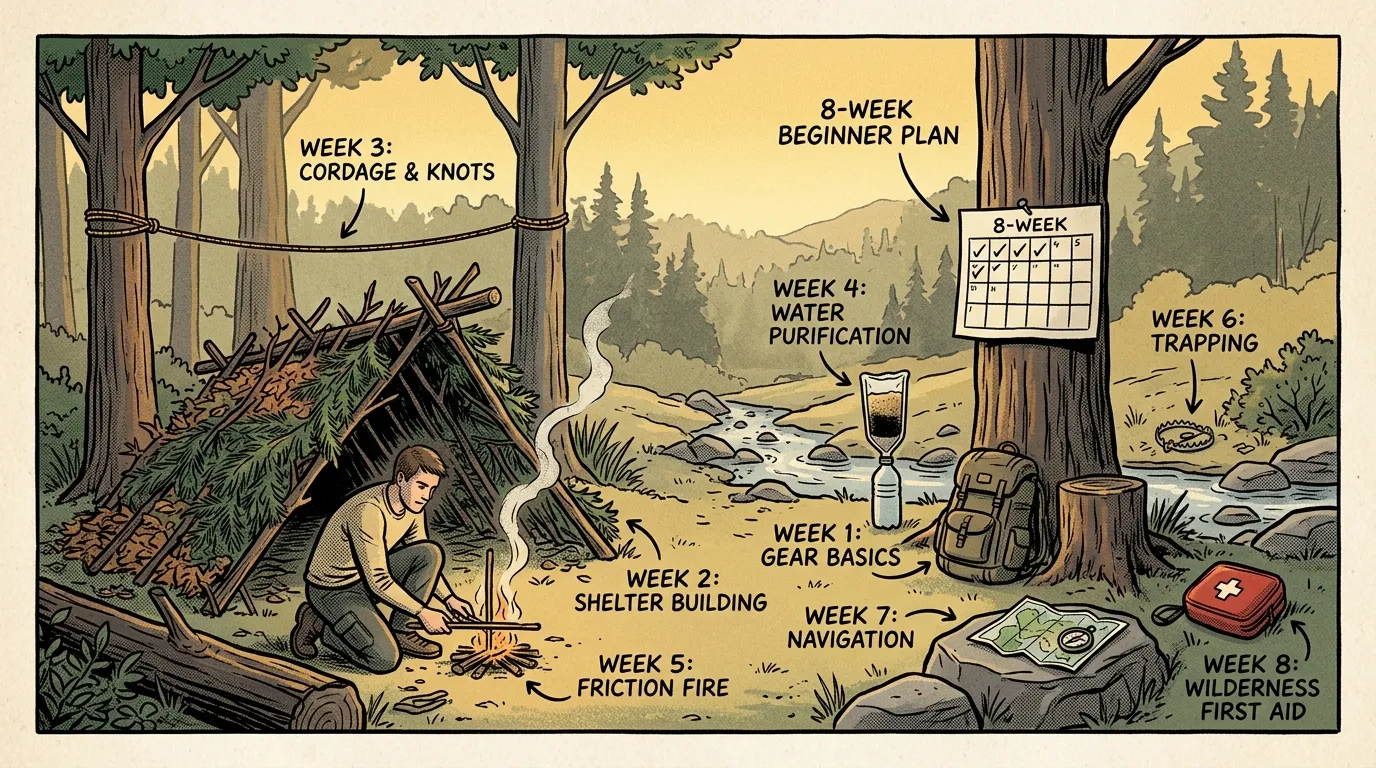
Survival Skills Training: 8-Week Plan for Beginners
Follow this 8-week survival skills training plan to master shelter, fire, water, navigation & first aid. Start this weekend.